Background
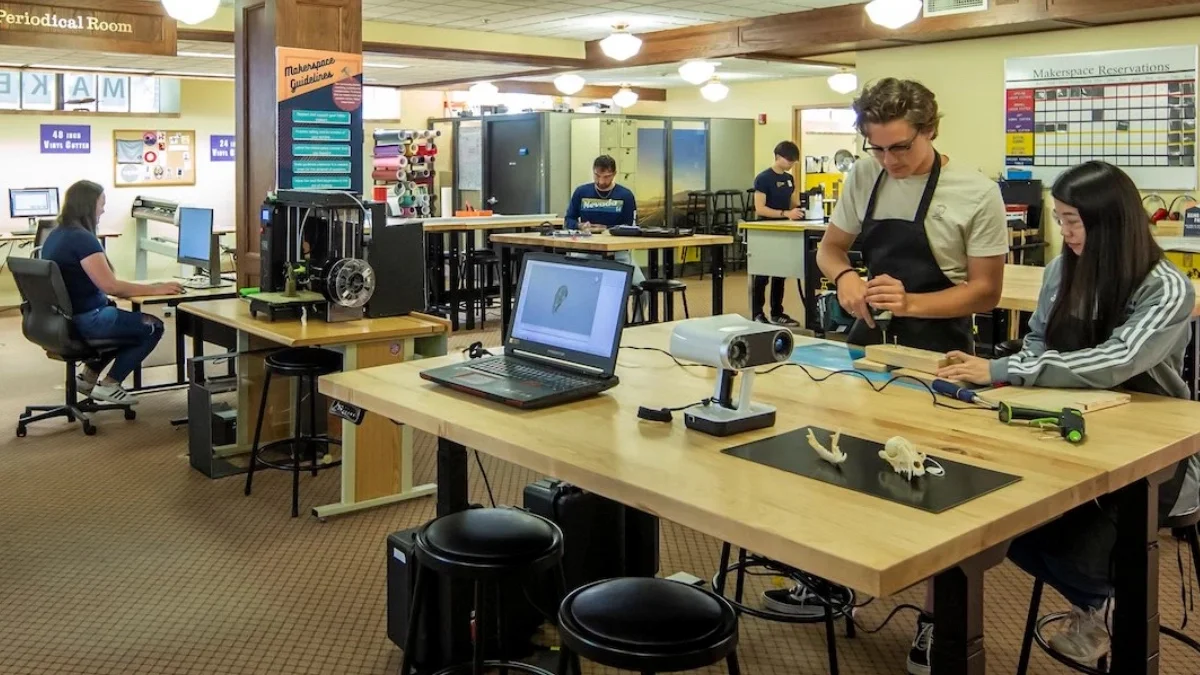
Makerspace Observation & Interviews

Went to various makerspaces around Cincinnati and Kentucky to interview the staff, observe the users and take notes.
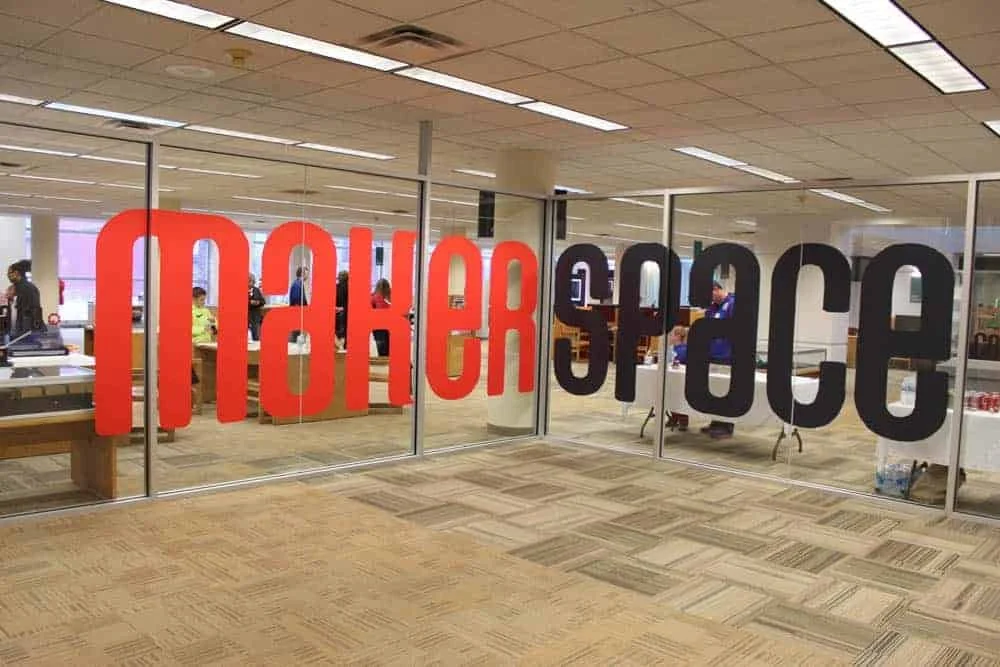
Cincinnti Public Library Makerspace
Makerspaces
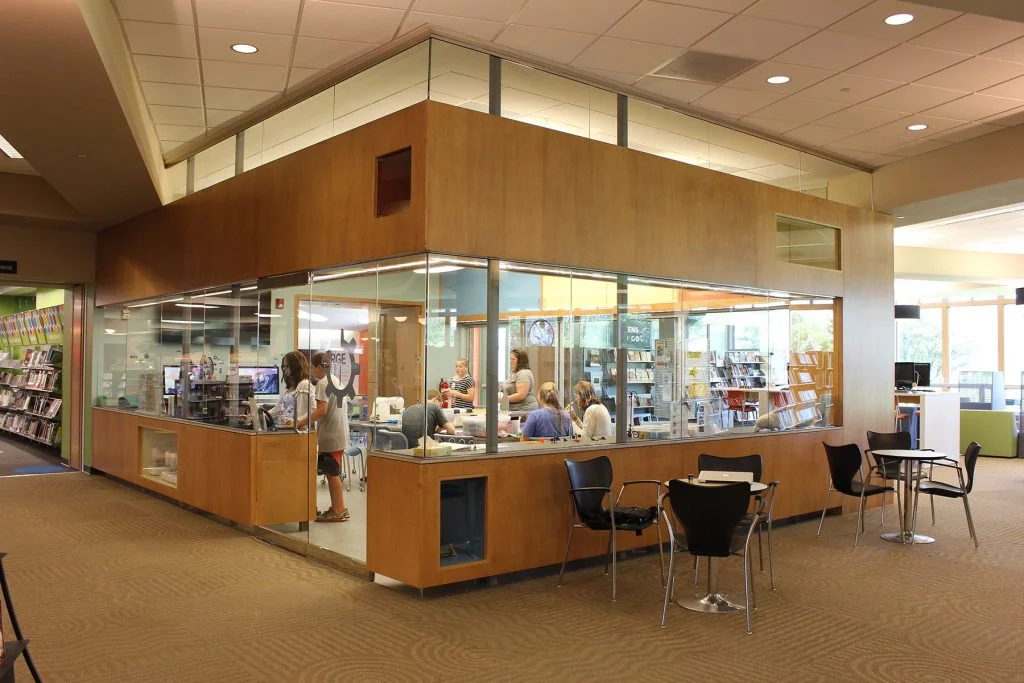
Makerspaces are public, community spaces where members can use technologies such as laser cutting, graphics printing and other tools to create personal projects
Observations & Notes

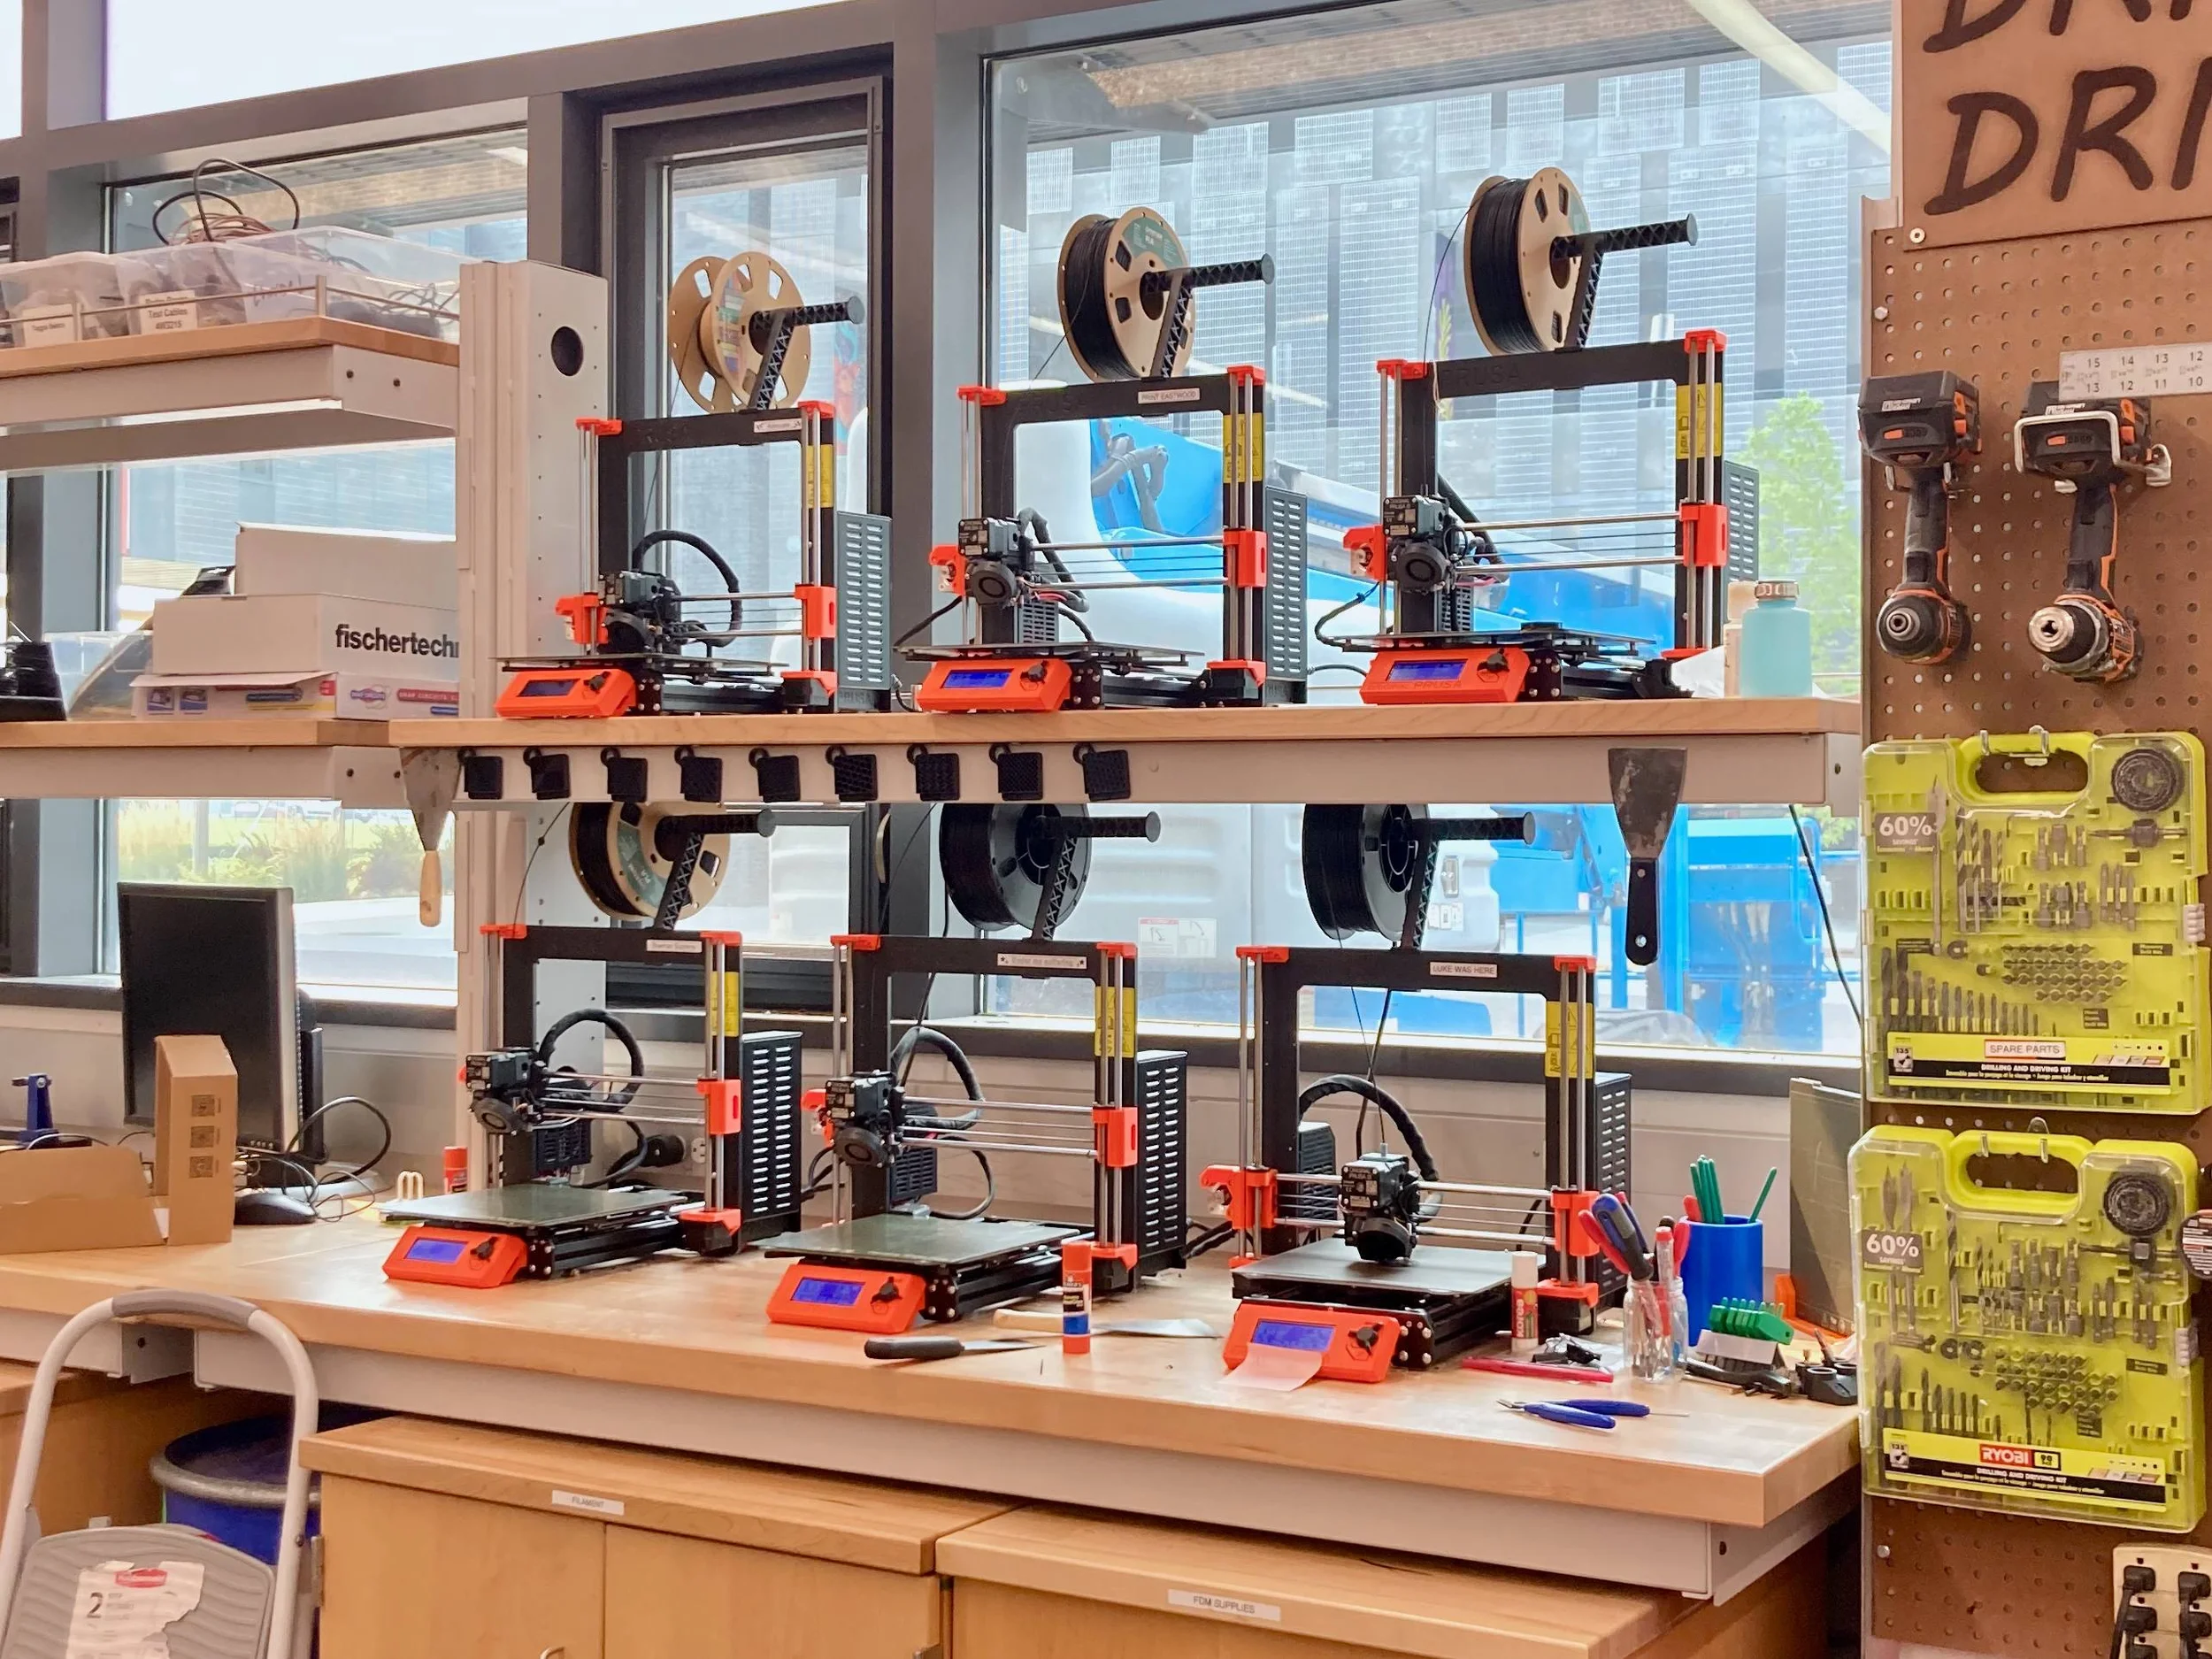
Kenton County STREAM Center
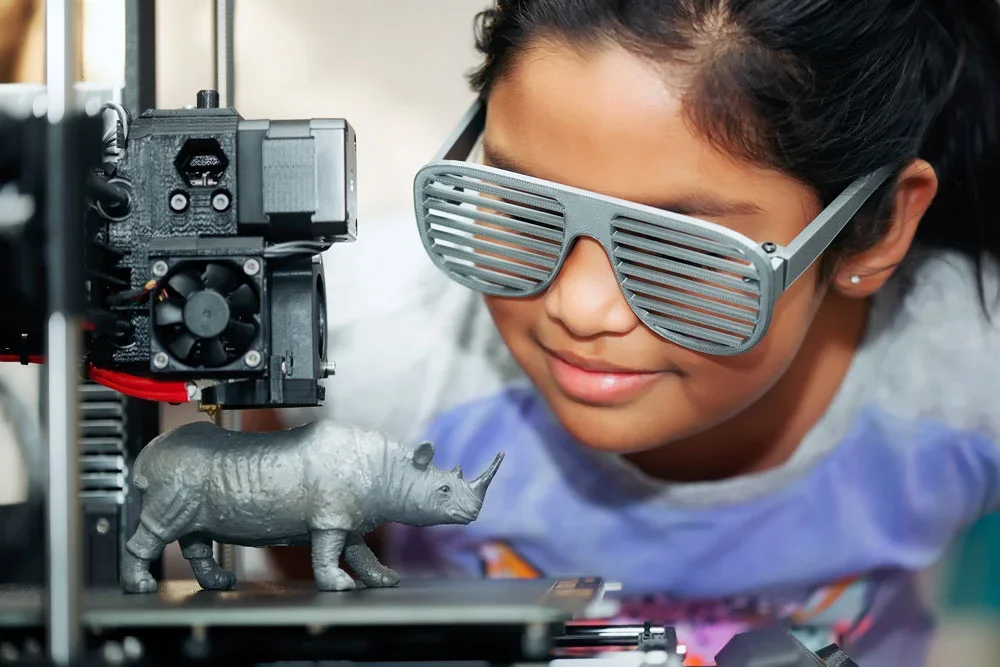
Within almost every makerspace, 3D printing is the most used technology. The users of 3D printing are most commonly families with children, often with the goal of creating some kind of 3D printed toy.
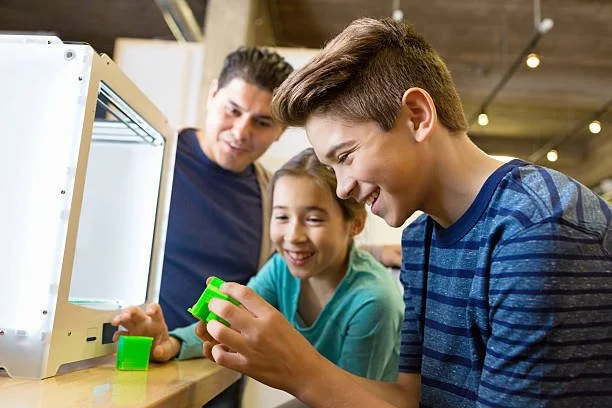
However, this process is typically very hands-off for the users. Once the family selects an object to print, the staff handles the rest of the process through until the end of the print. This means that the families, and especially their children, don’t have the chance to learn about the printing process as a whole.
Design Goal
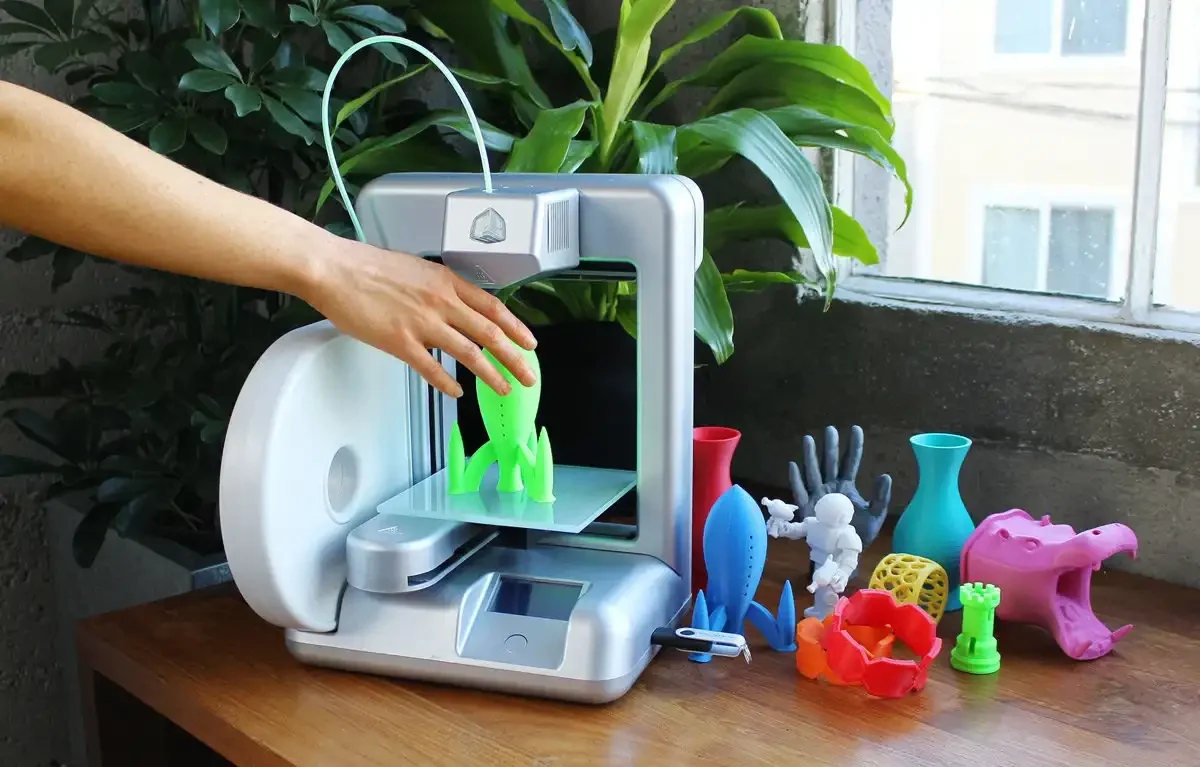
Create an acessable, 3D printing-based toy system that can educate younger children interested in the technology while also giving them a fun, customizable reward for their learning efforts
Research

One-on-One Interviews

Former senior designer at Fisher-Price and Hasbro
Freelance experience
Program manager at Baylor University
Hannah Dahl
Formerly worked at the Chicago Field Museum in the Family PlayLab
Current worker at the 1819 Makerspace
Olivia Belk
Interview Results - Hannah Dahl
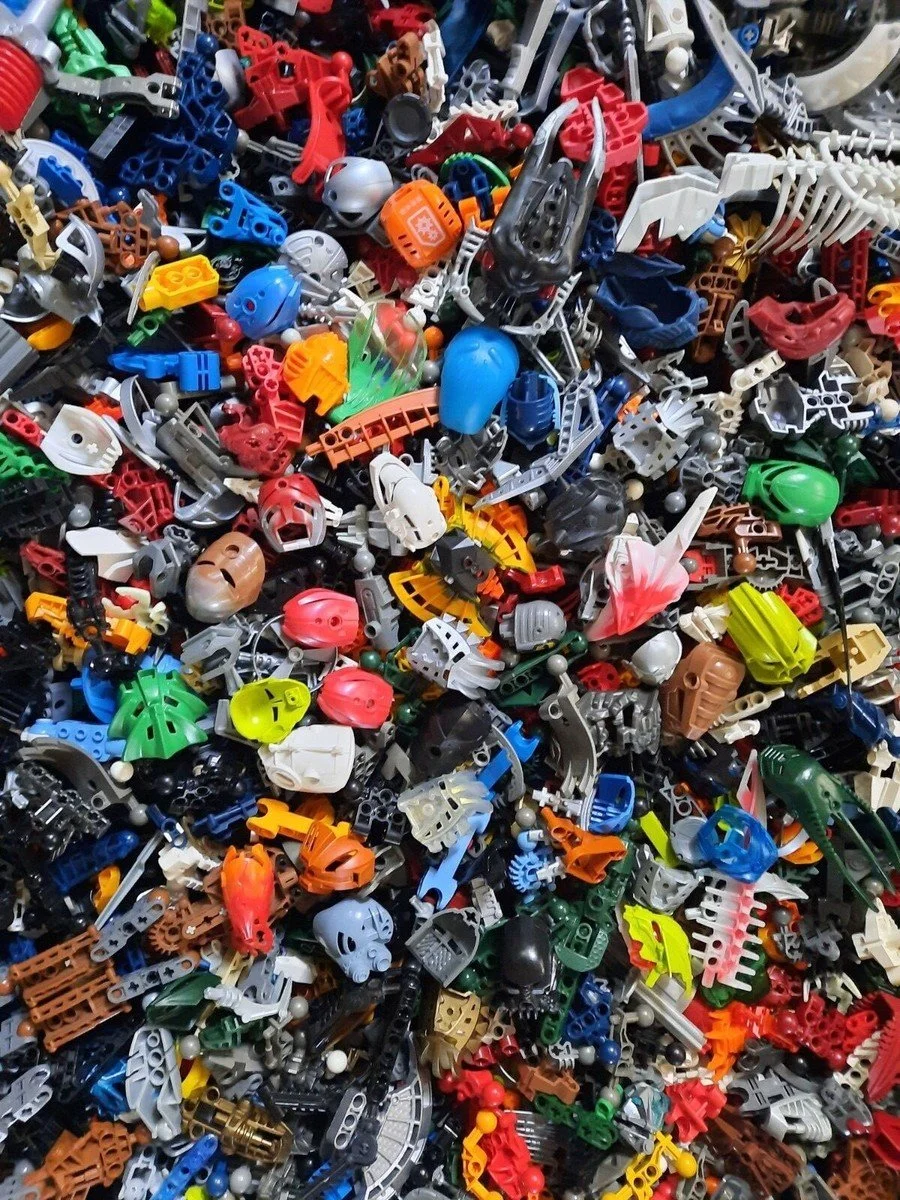
The main discussion with Hannah was the idea of evergreen concepts. An evergreen concept, specifically with toy design, means an idea that remains popular or high-demand, no matter the generation of children interacting with it. Some examples given were modular or build-able figures and designs based on creepy or weird creatures.
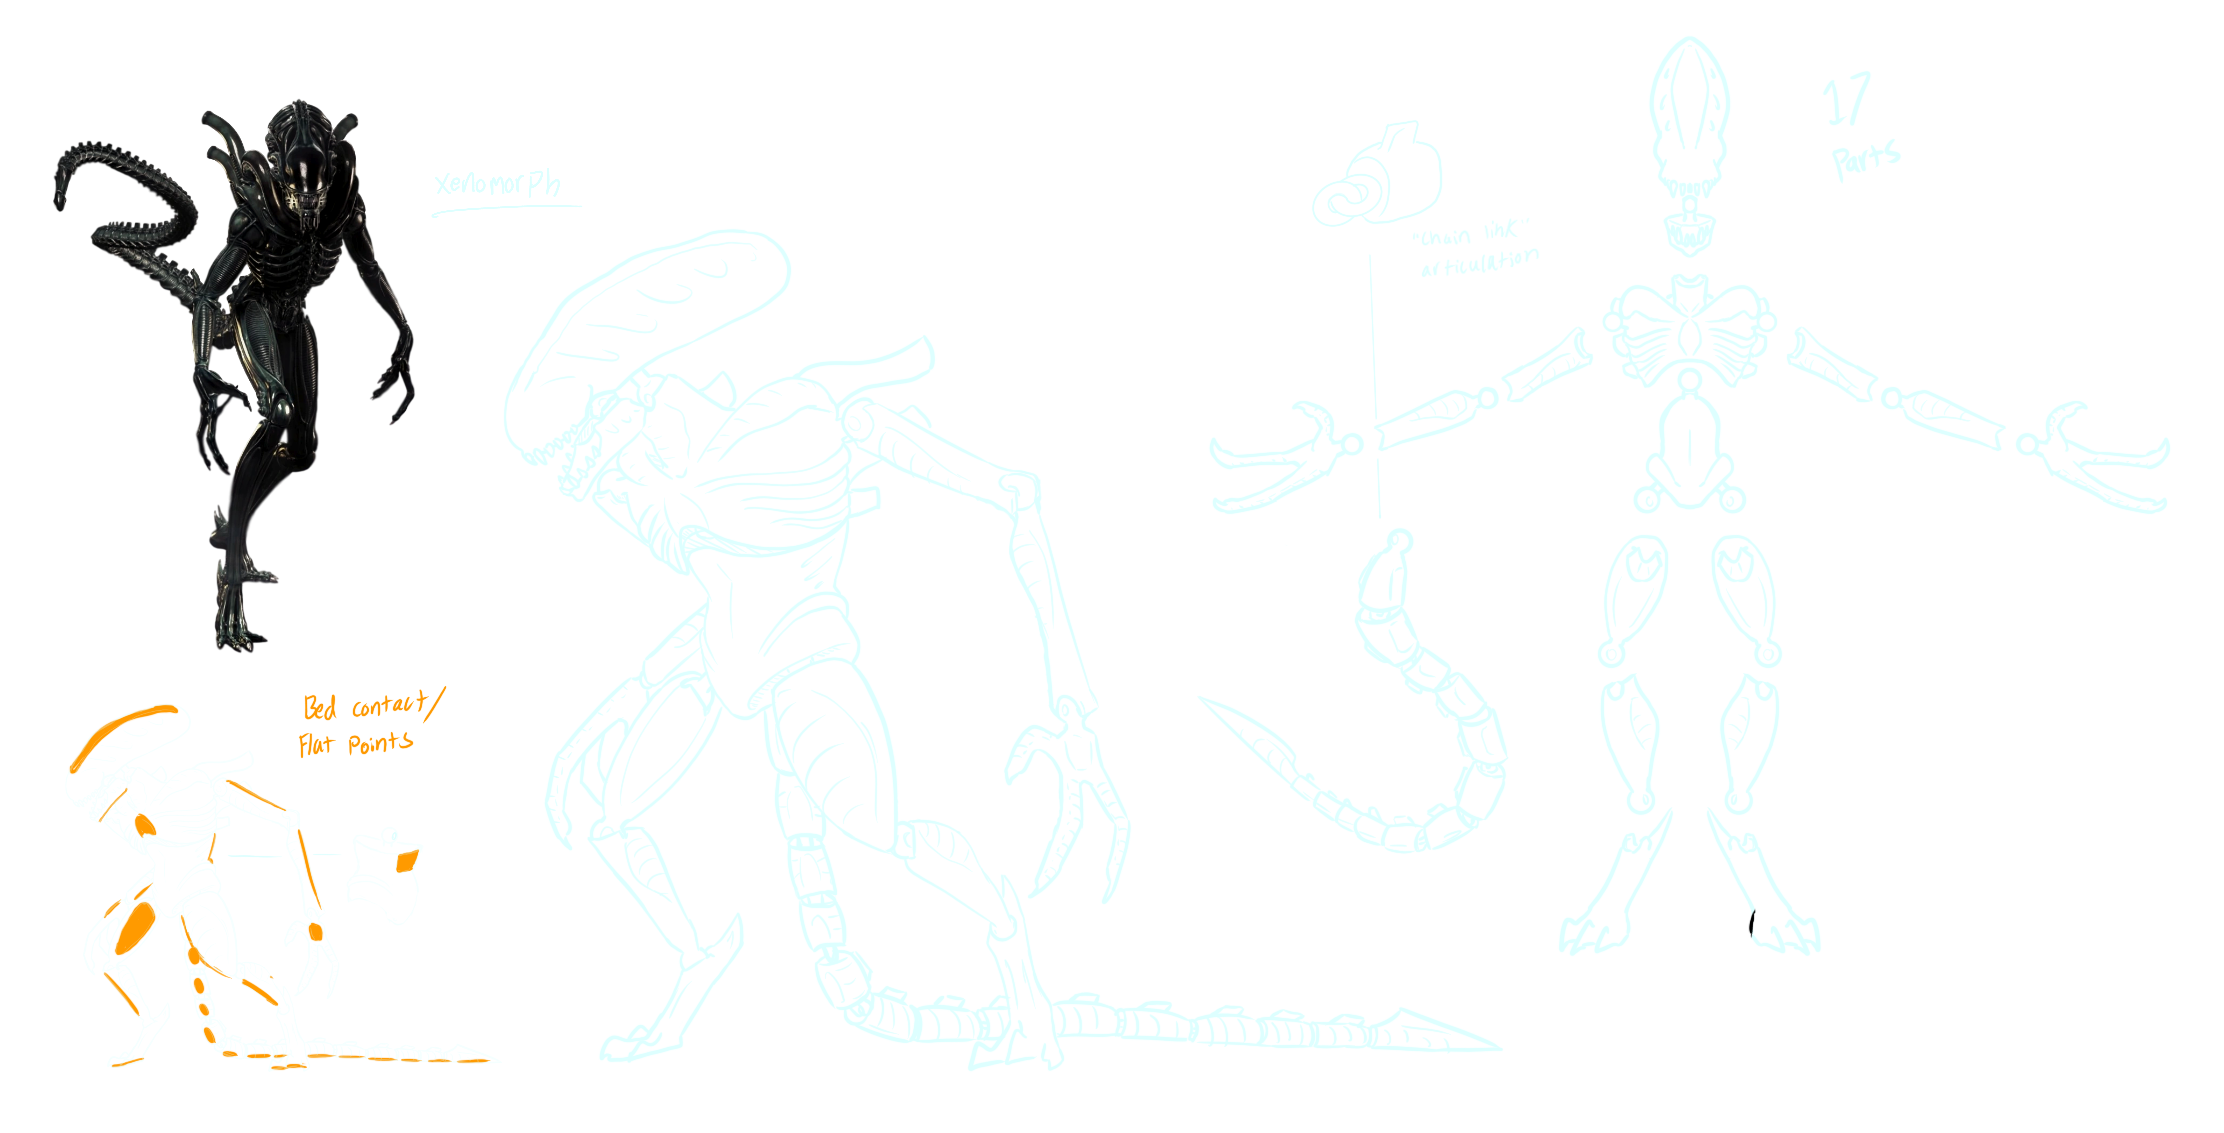
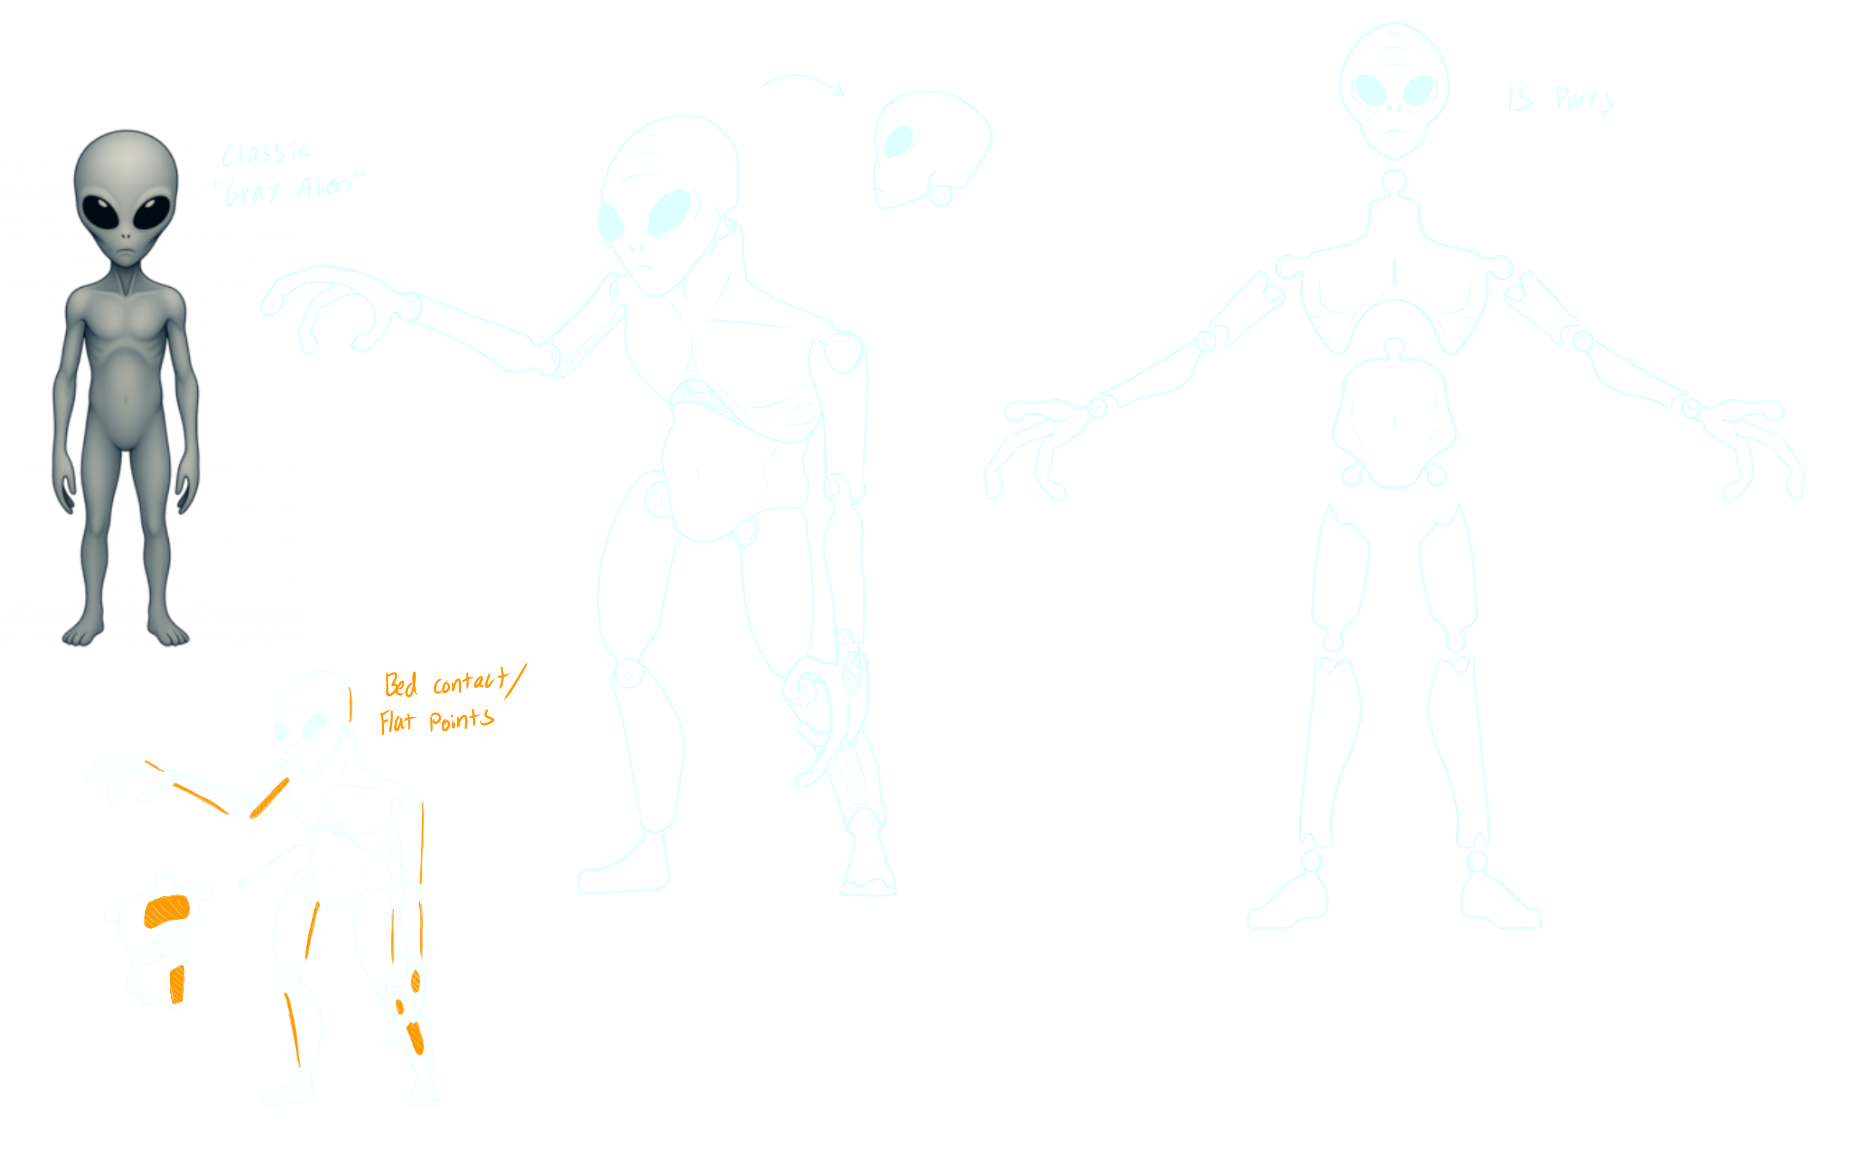
In order to make these models easy to use for beginner printers and be usable by various brands and qualities of printers, a set of rules was created to design the figures around
Interview Results - Olivia Belk
Designing for 3D Printing
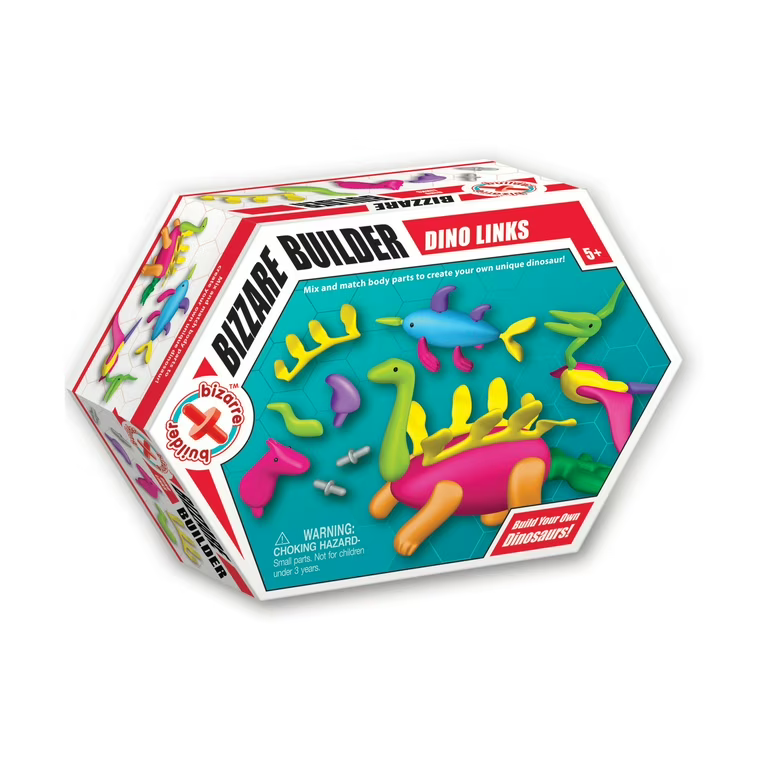
Olivia spoke about her time working in the Family PlayLab. The most popular toy by far was called Bizarre Builders, which was a “build-your-own” figure playset. She talked about how children loved making their own creatures by mixing and matching parts, then drawing what they made. This toy was so popular that parents were calling the museum asking where they could buy it.
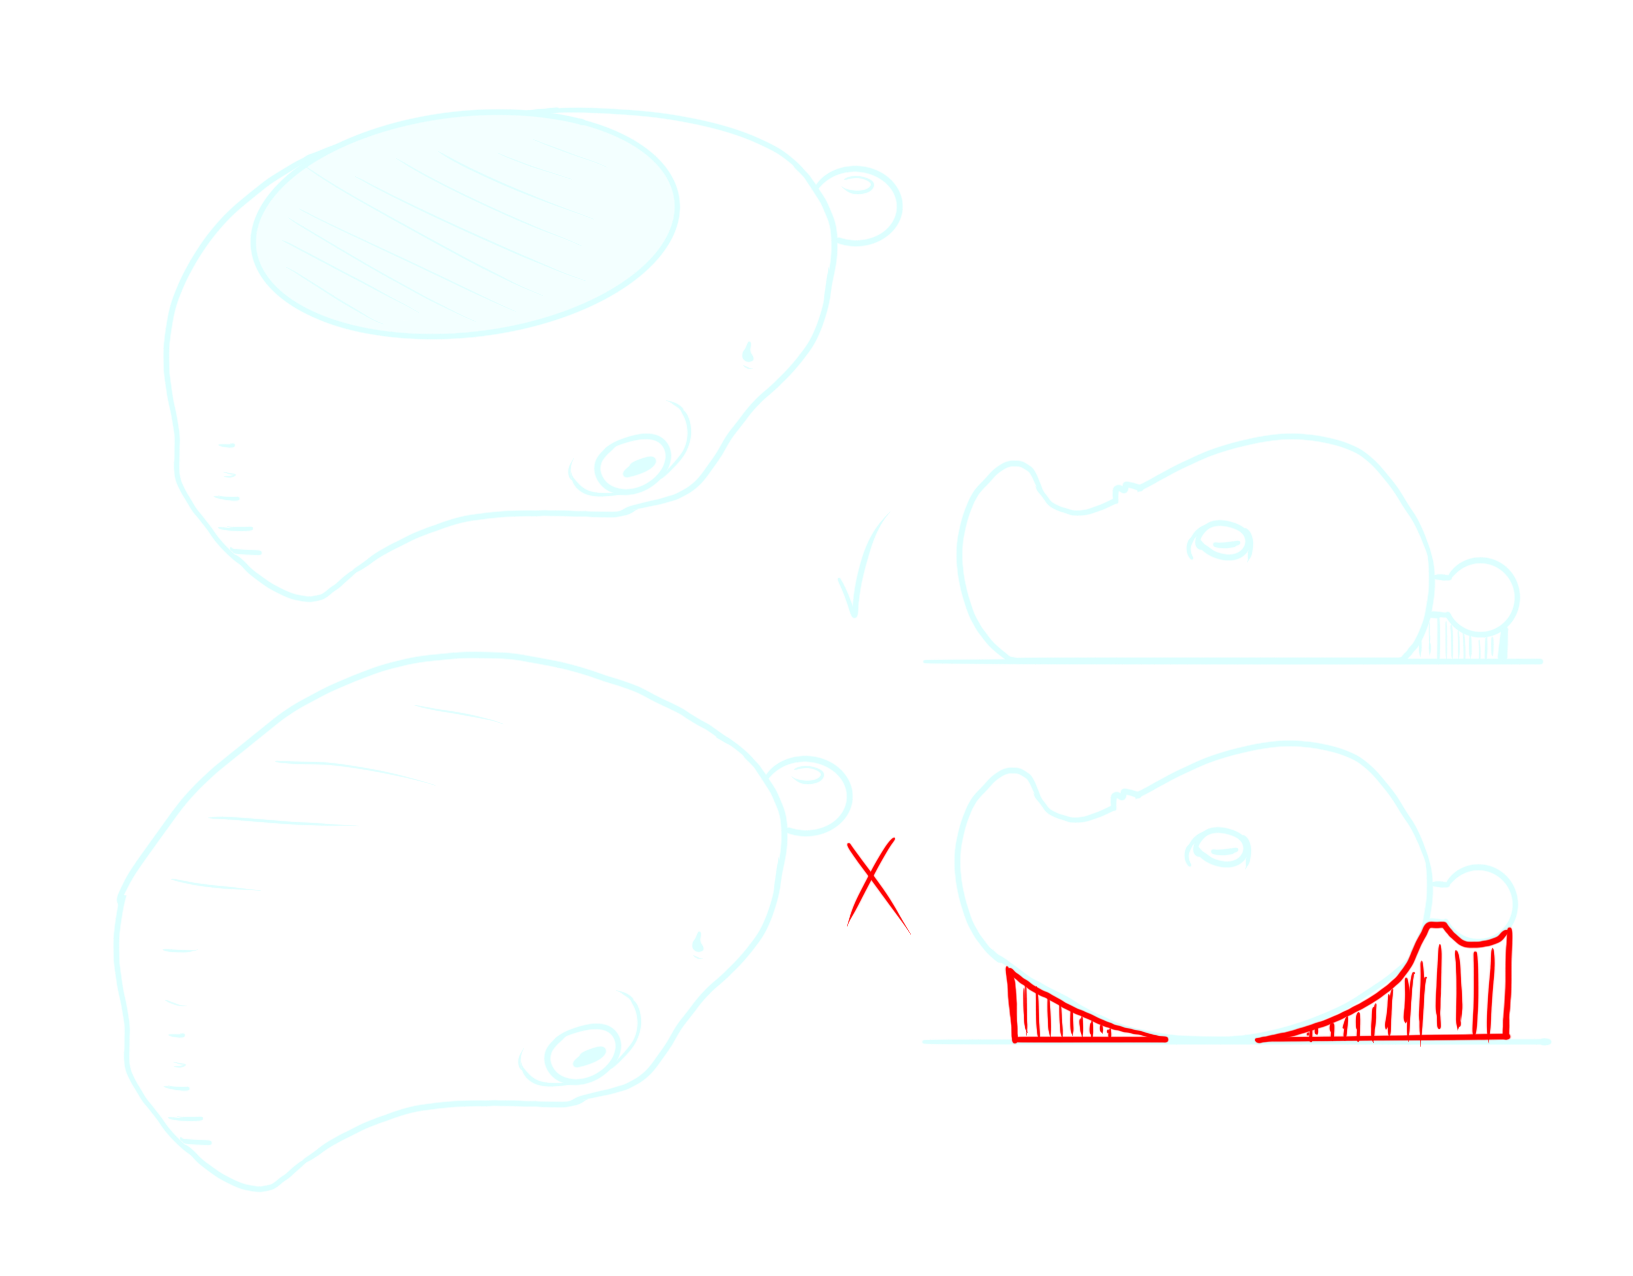
The first rule was that every part required a flat surface to lay on while printing. This design promotes better bed adhesion for each piece and reduces the amount of supports needed on the models.
Flat Surfaces
Too many fine
details
Fine points will be fragile and sharp
Small, hard to print gaps
Details are more
defined
Sharp points are rounded
No small gaps
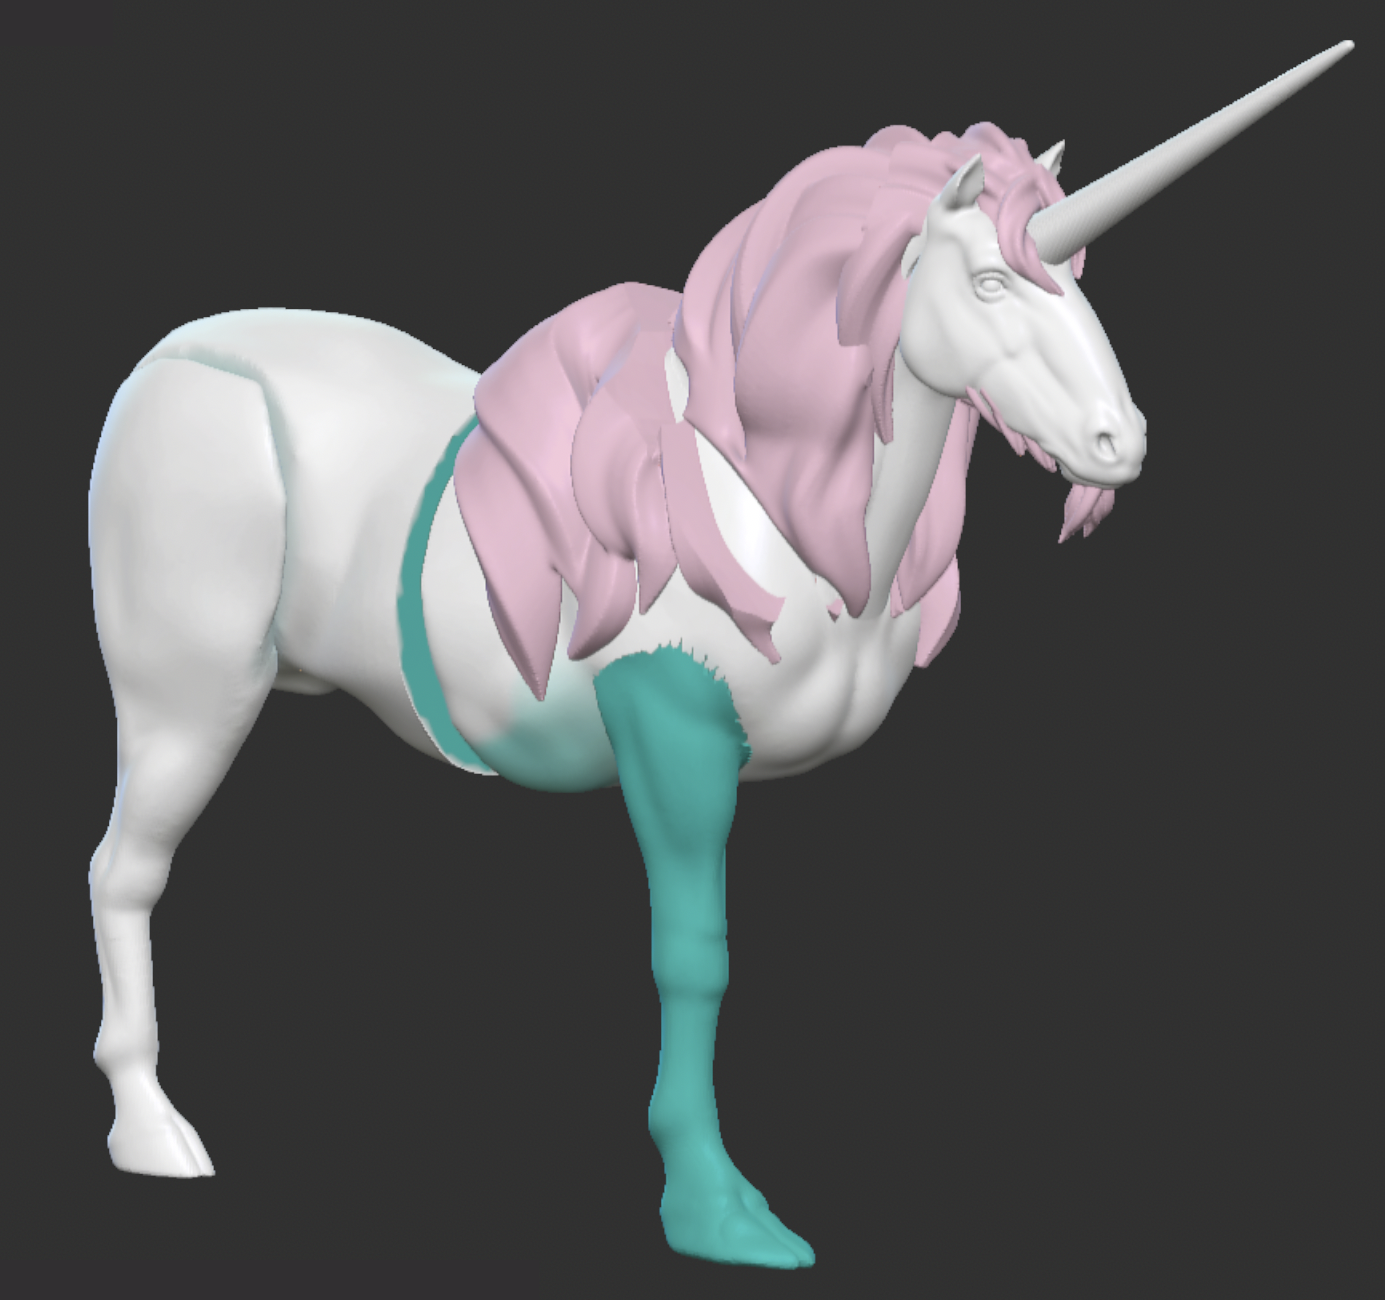
Since this project is designed with FDM printing in mind, the level of detail must be accounted for. While some higher end printers can capture fine levels of detail, cheaper printers may not be able to do so. Additional, reduction in detail helps keep print times down.
Detail & Definition
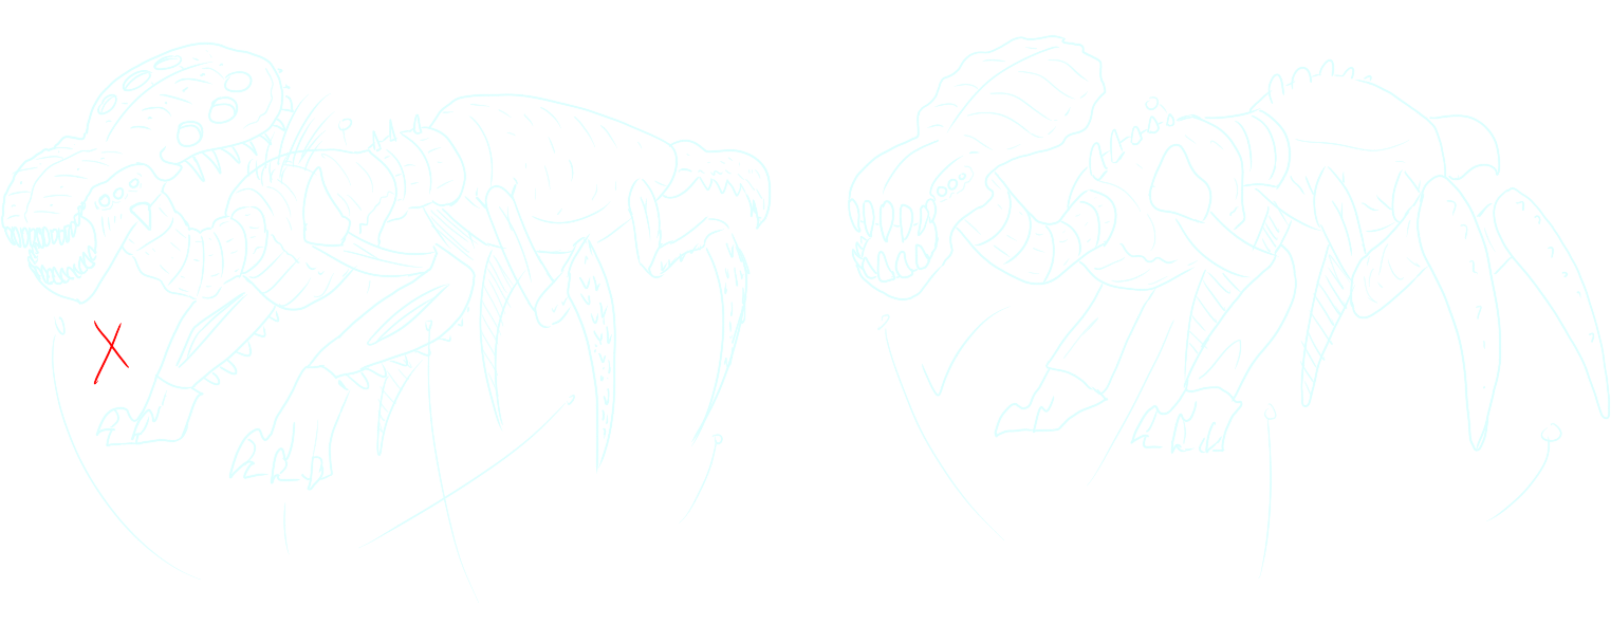
Using popular creatures in fiction to do “test runs” with these rules in place
Concept Sketches
Brand Design

Initial Concepts

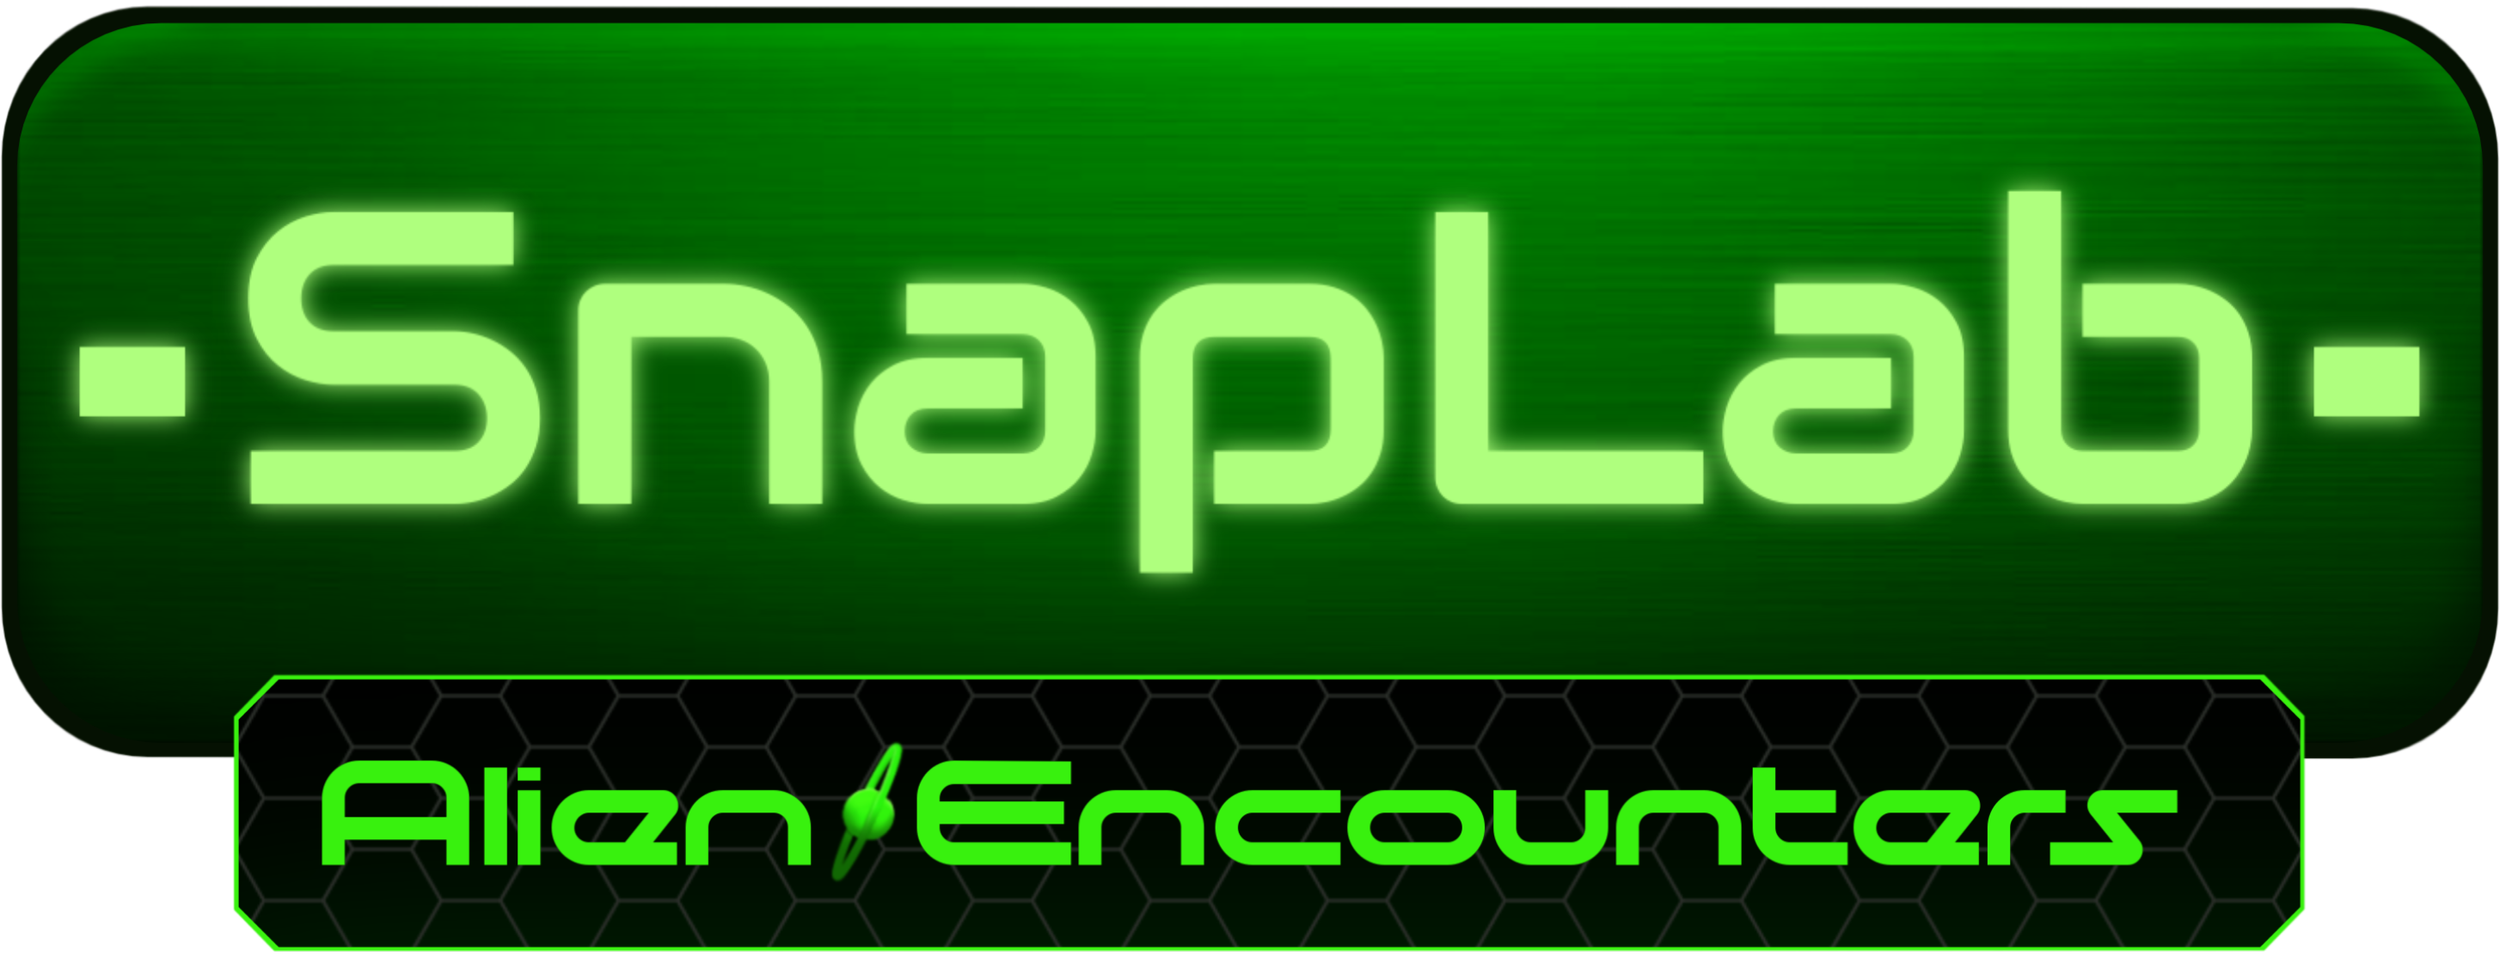
The original idea for this project was to theme it around an alien aesthetic. The reasoning for this is that with an alien theme, each figure and its parts could be unique.

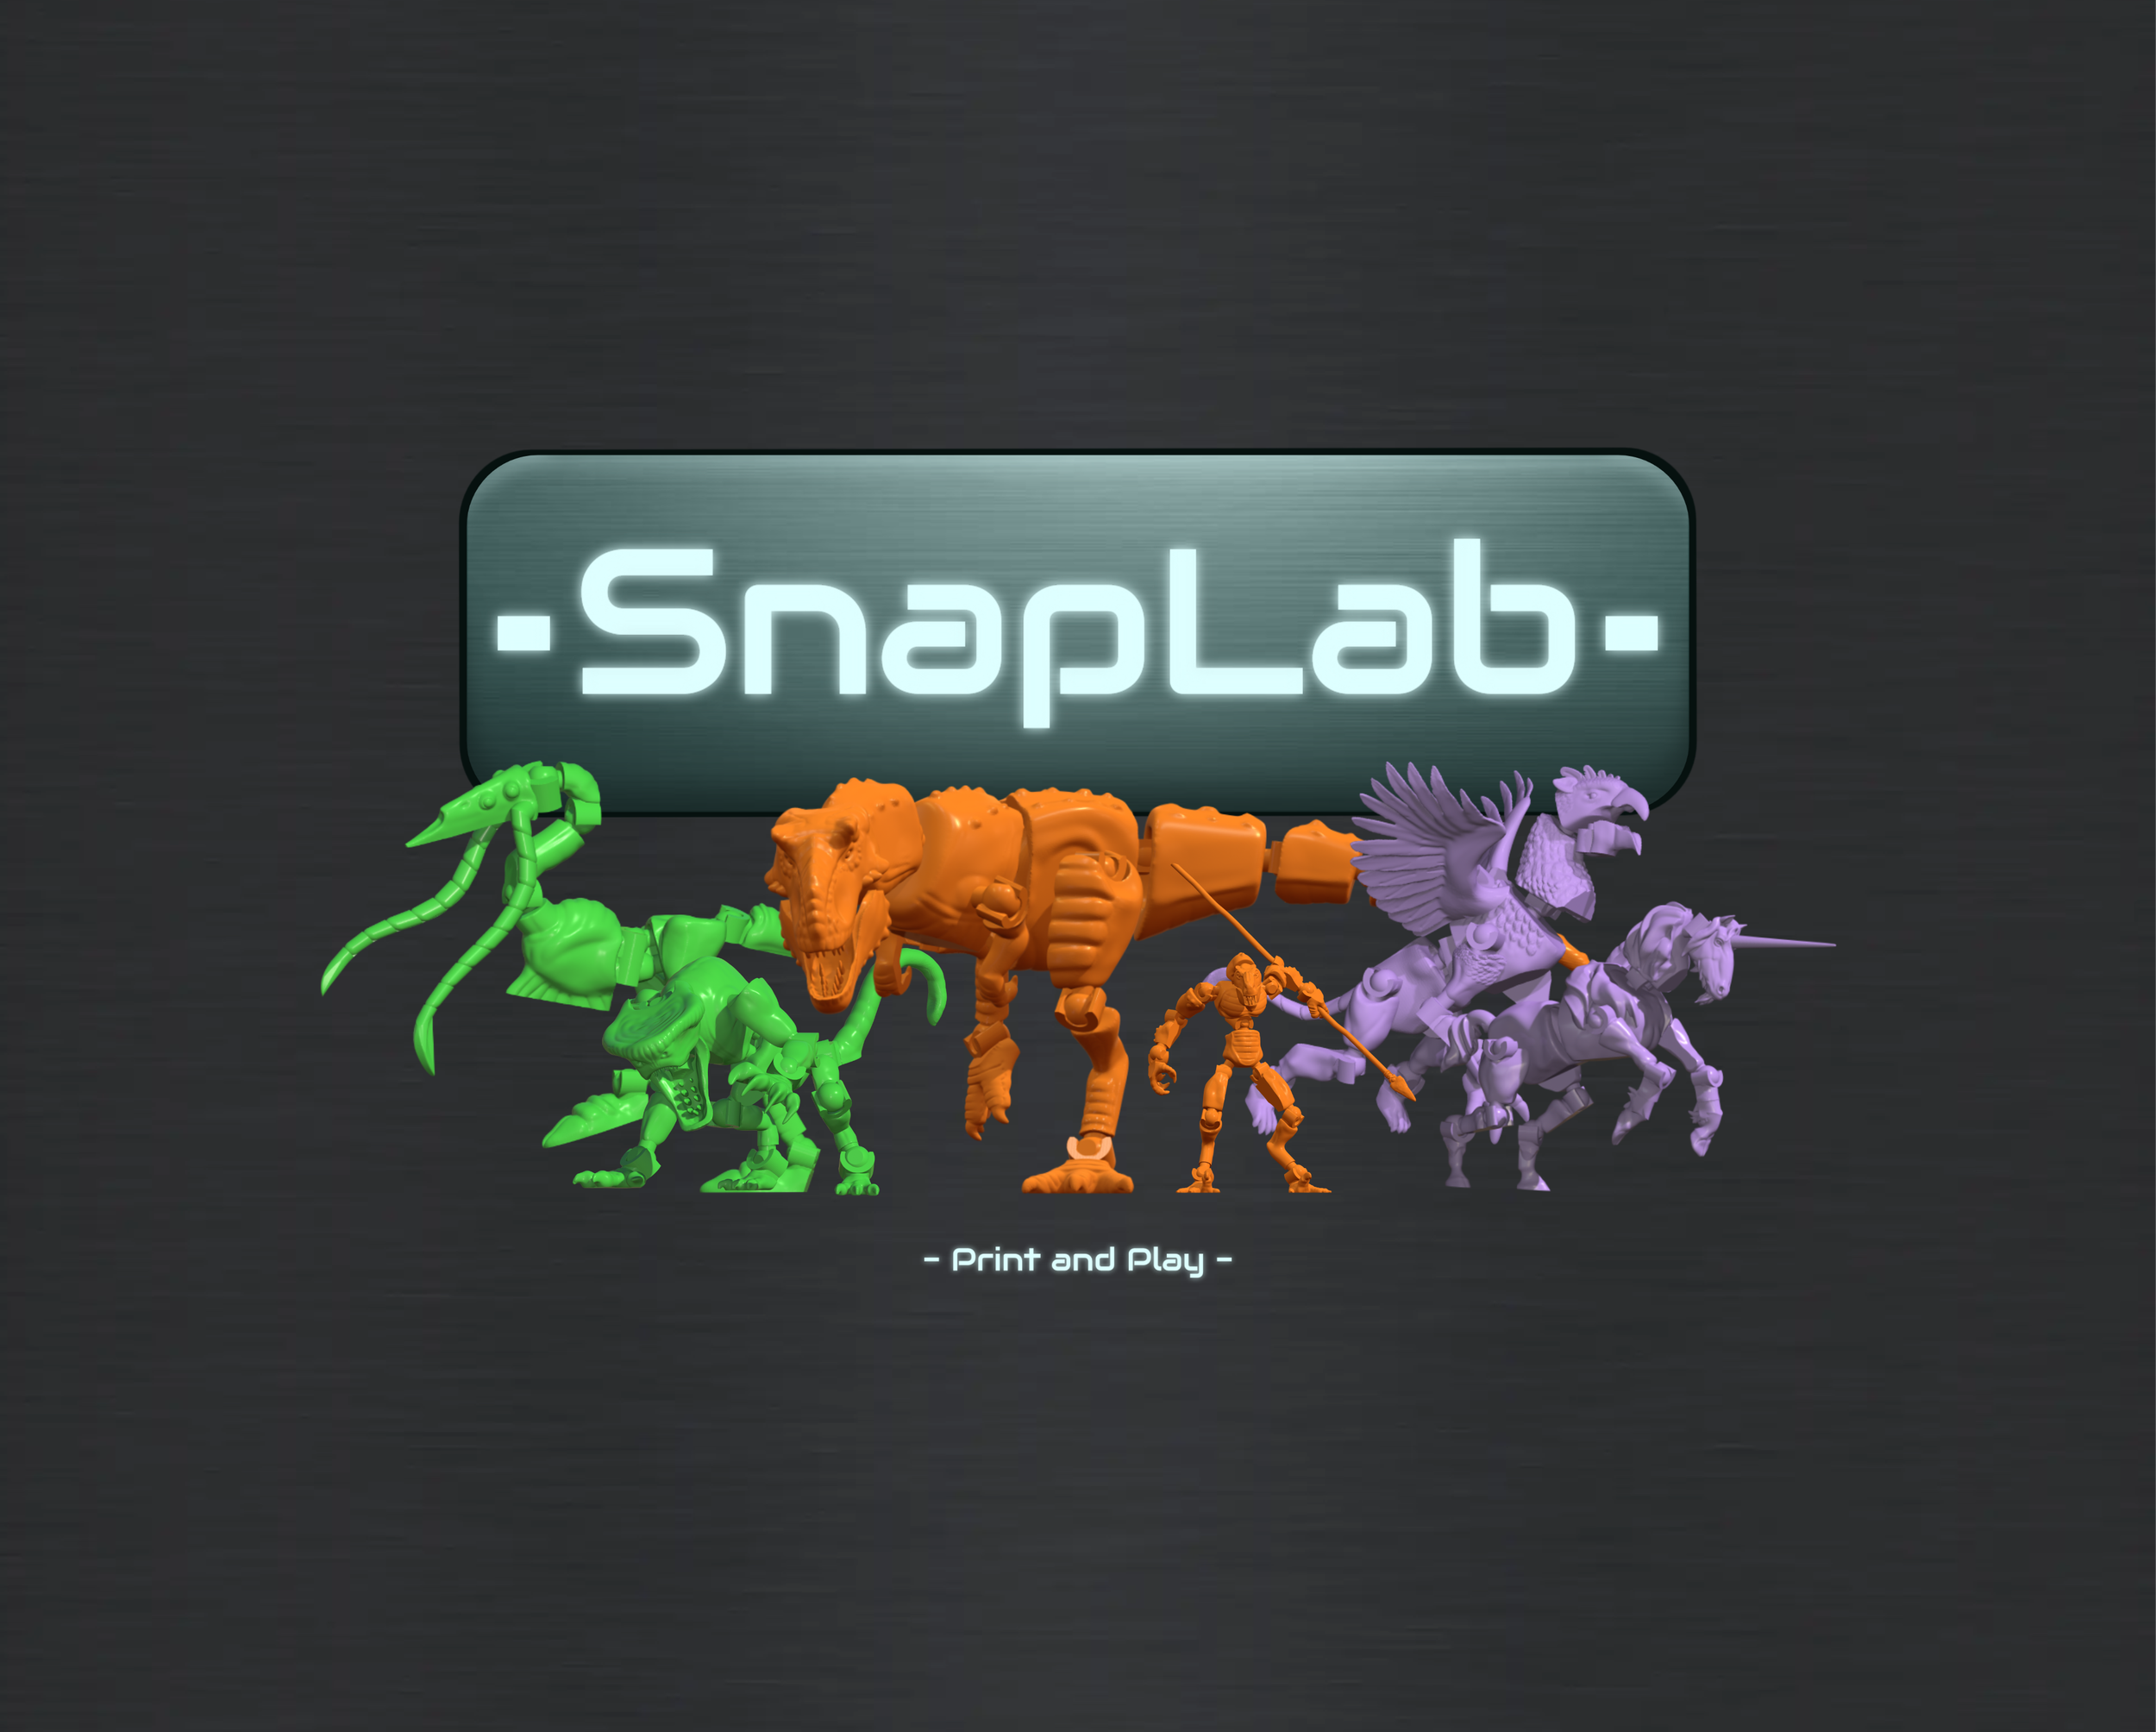
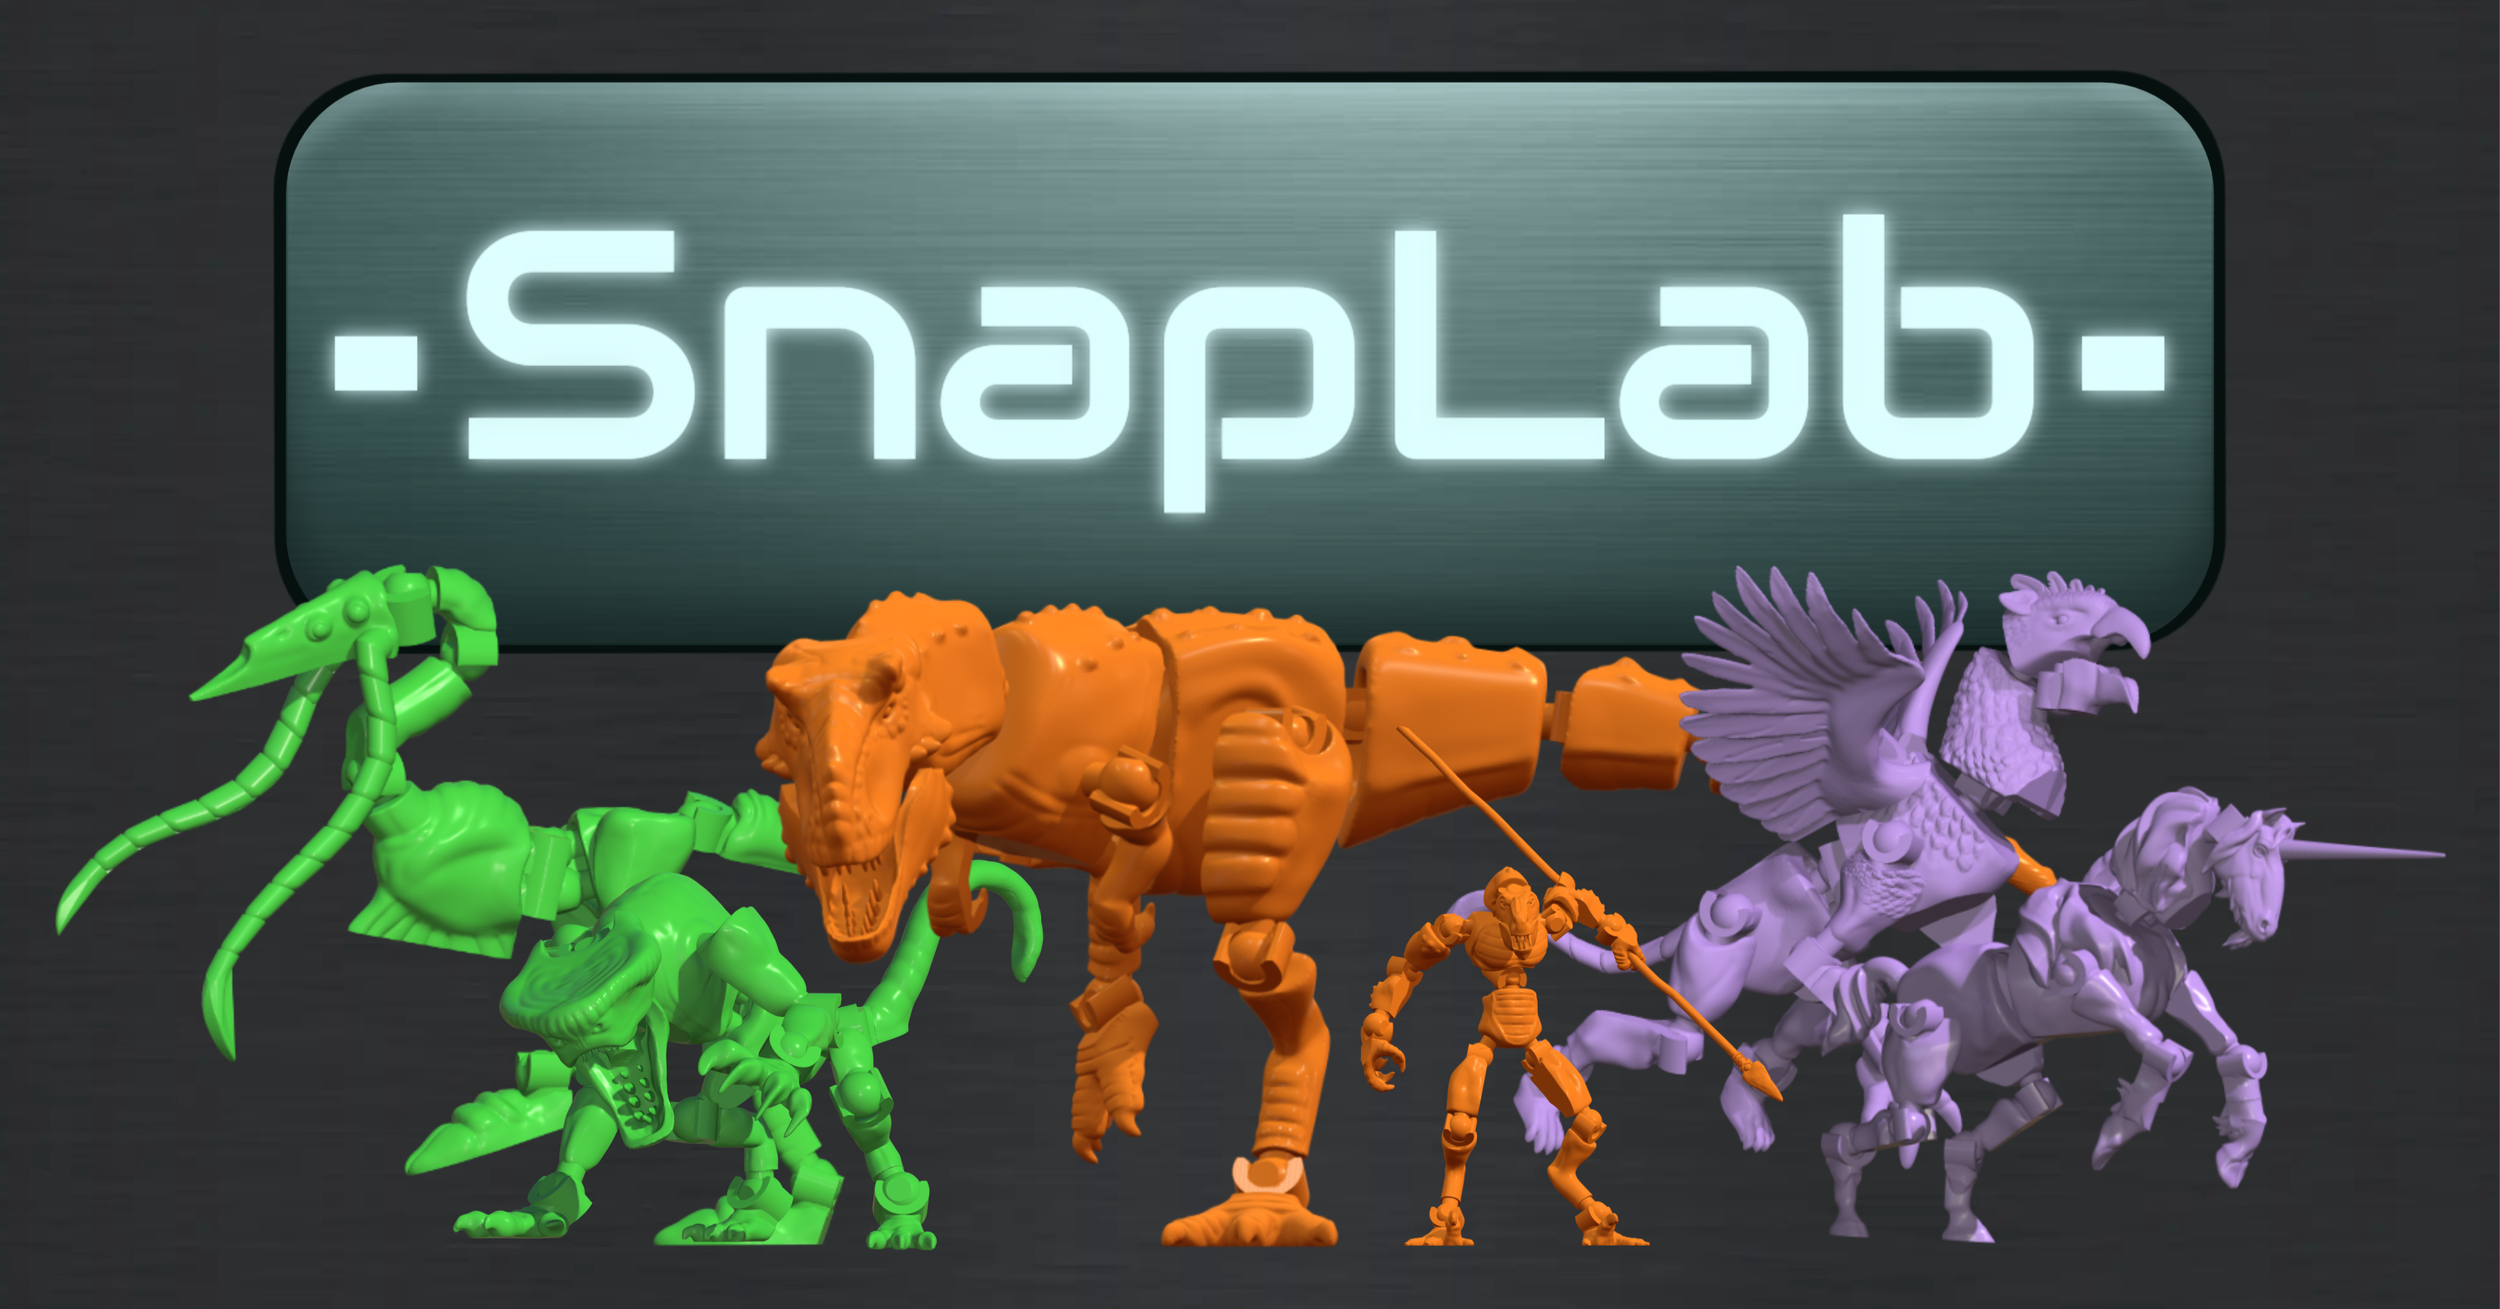
The branding of “Connected Systems” felt too plain for a toy brand, so it was dropped in favor of the name SnapLab
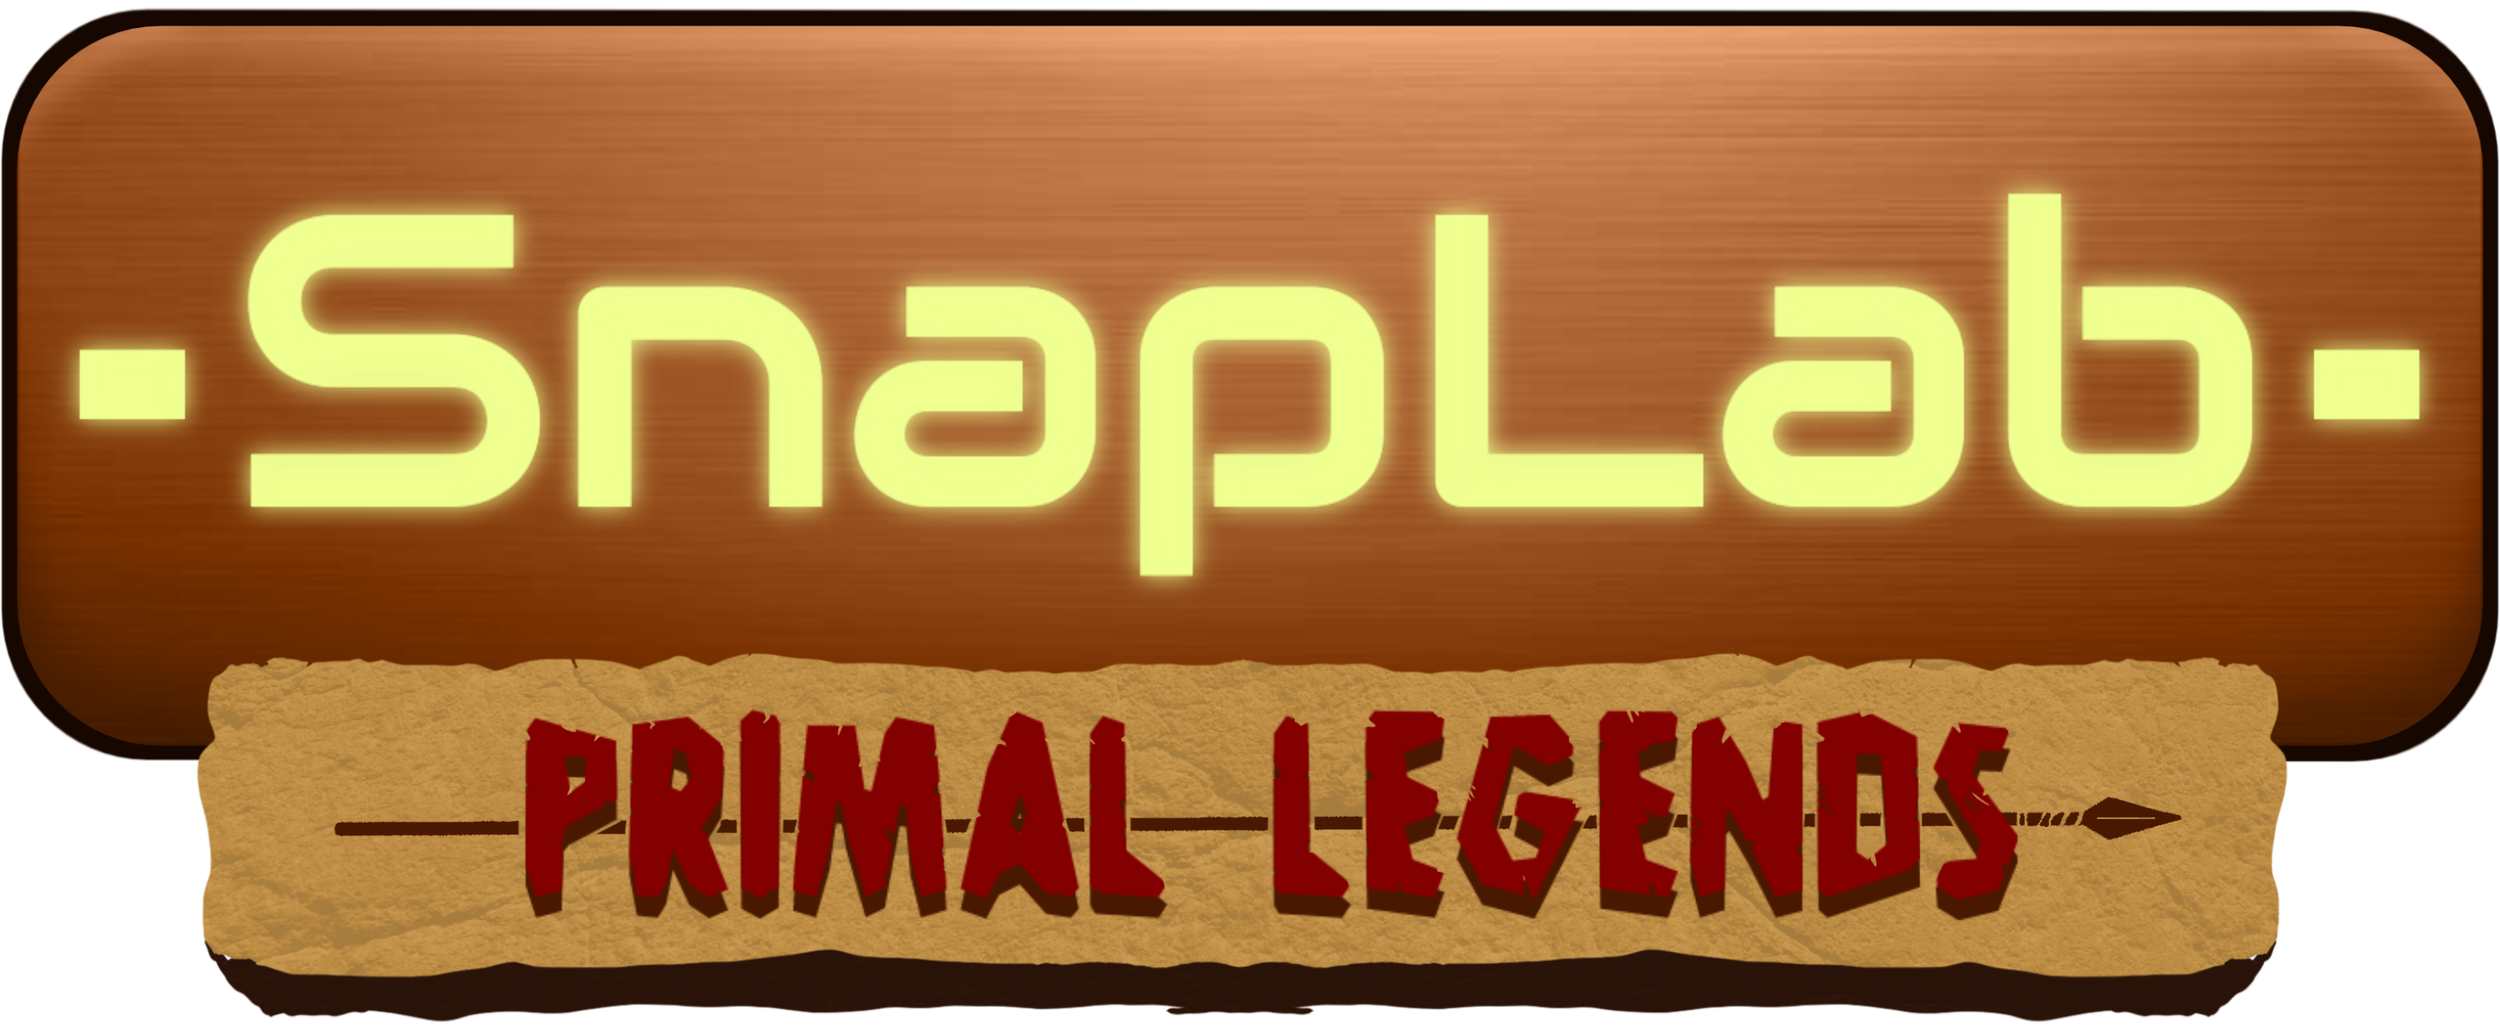
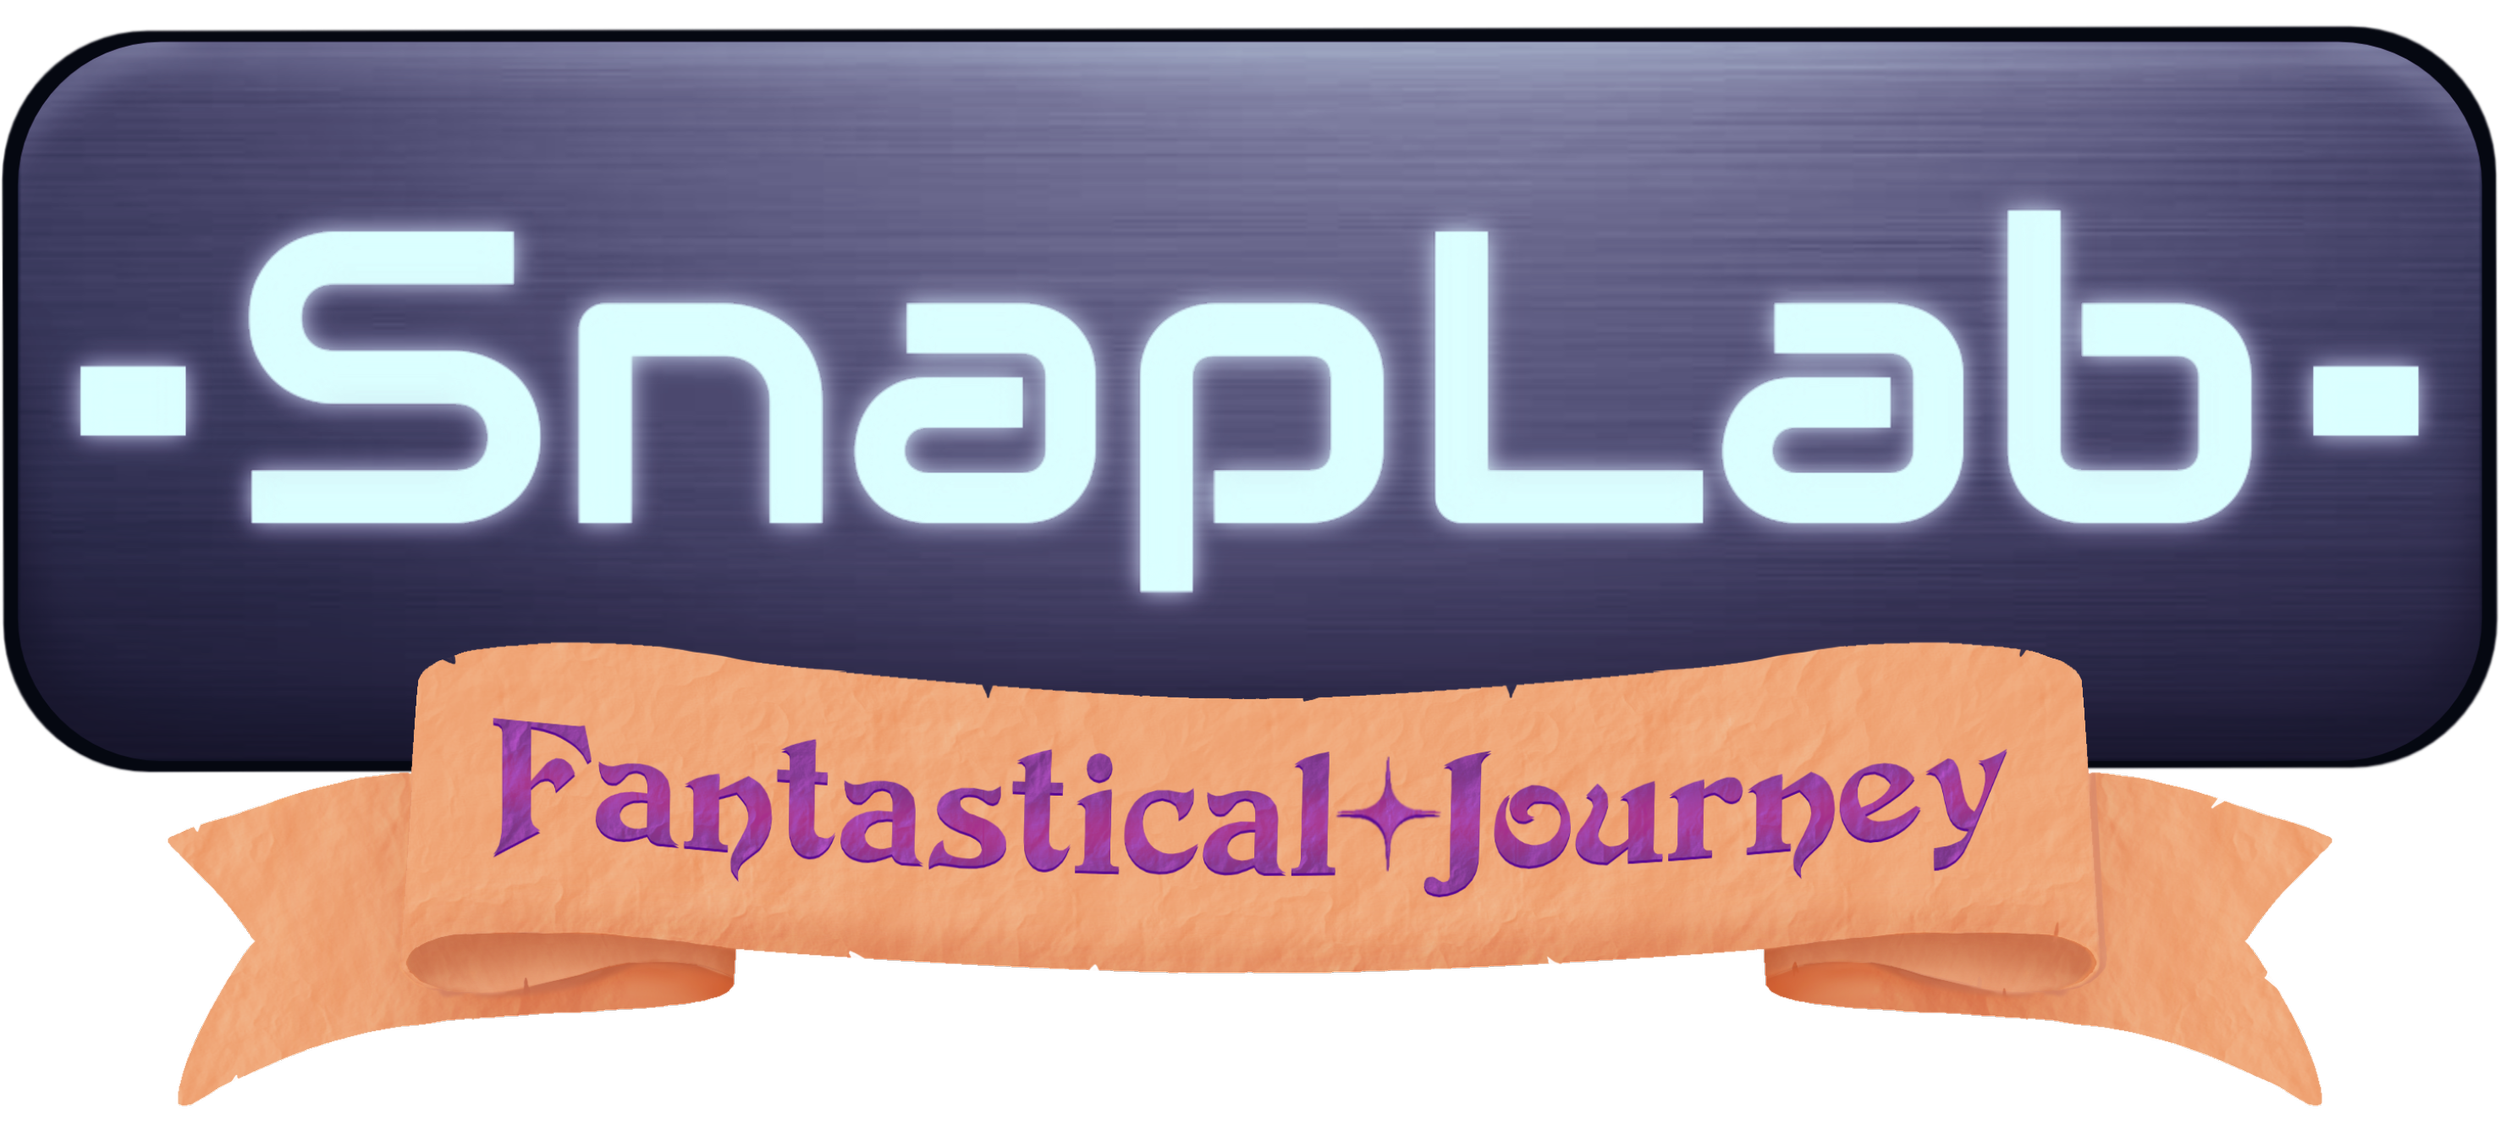
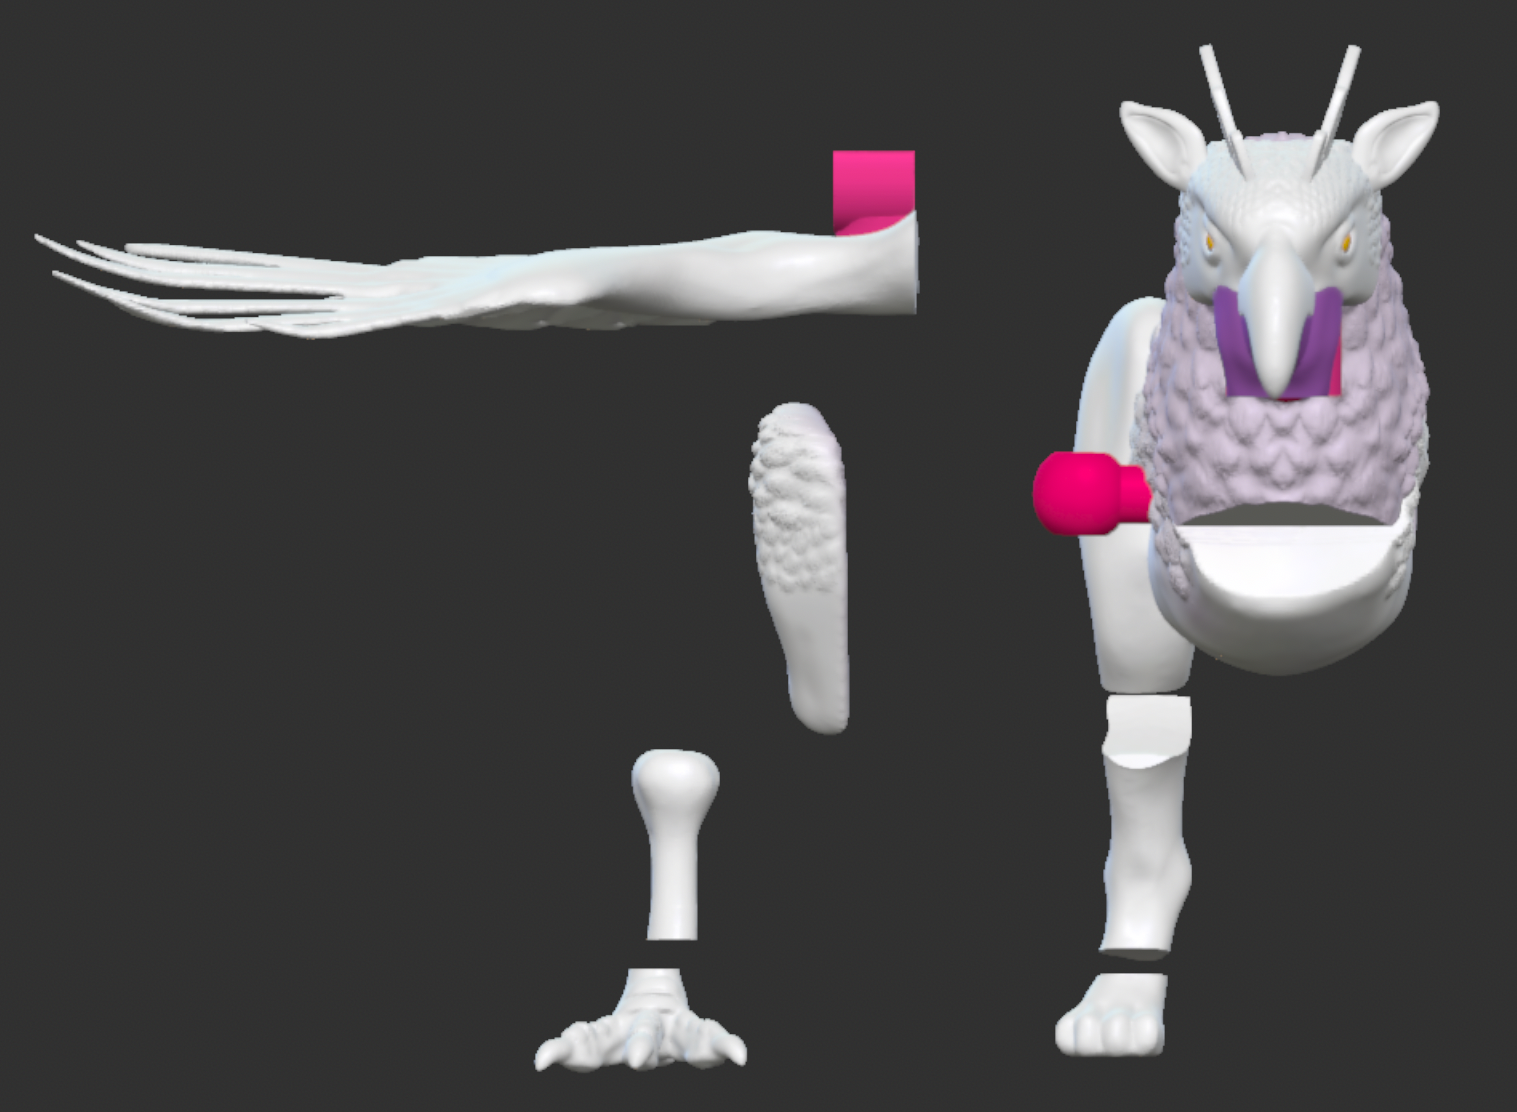
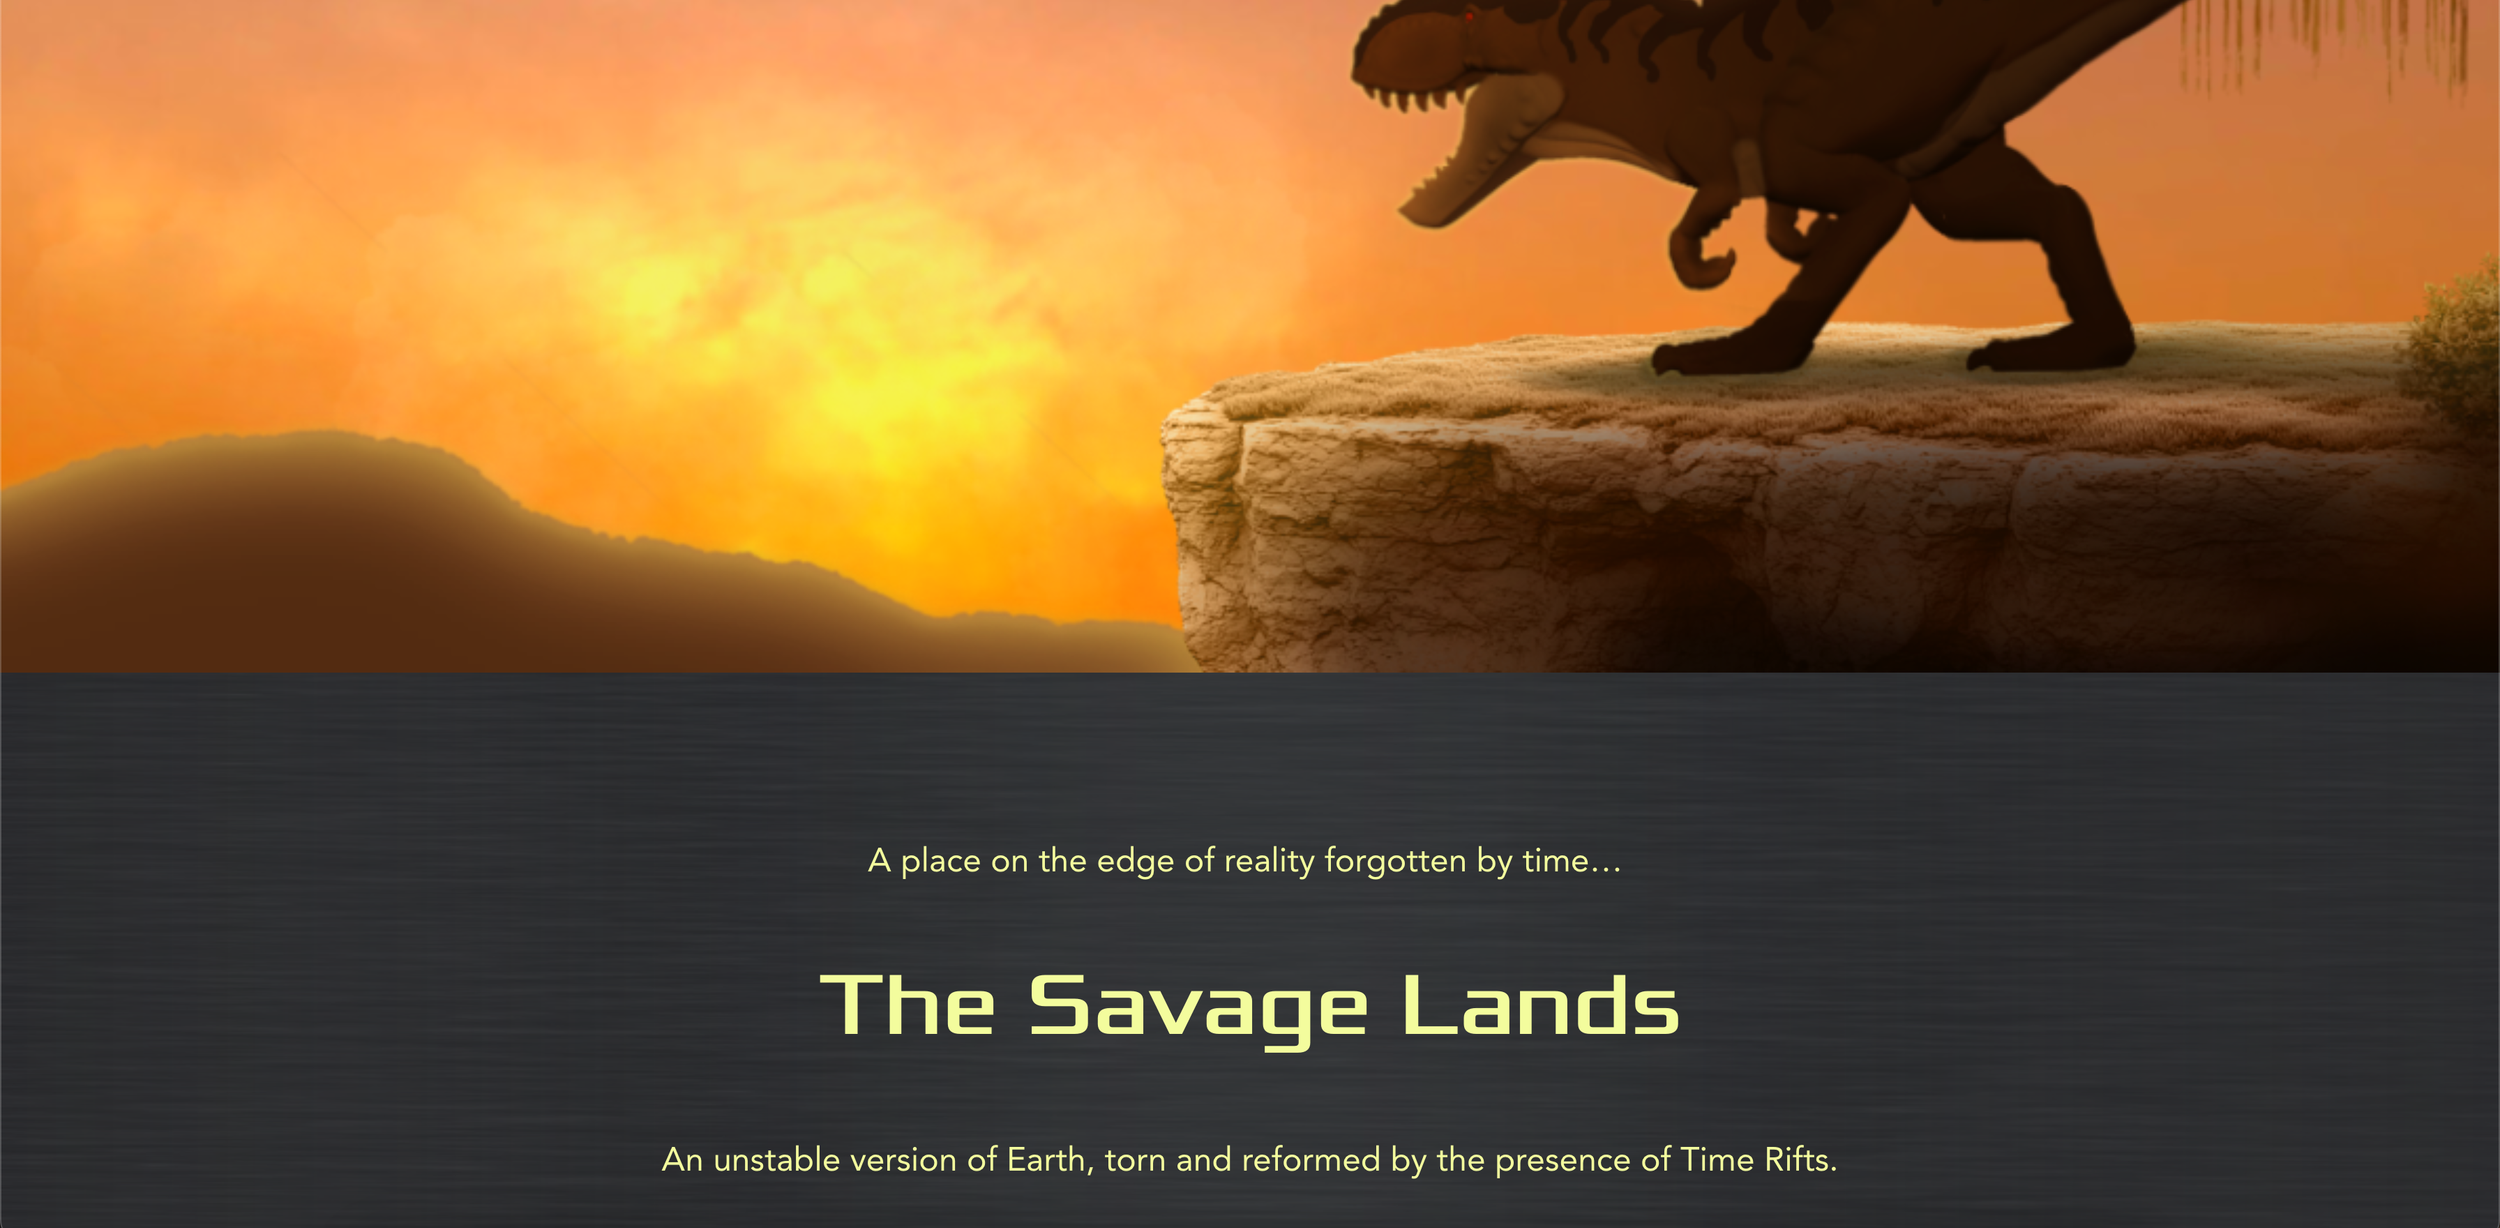
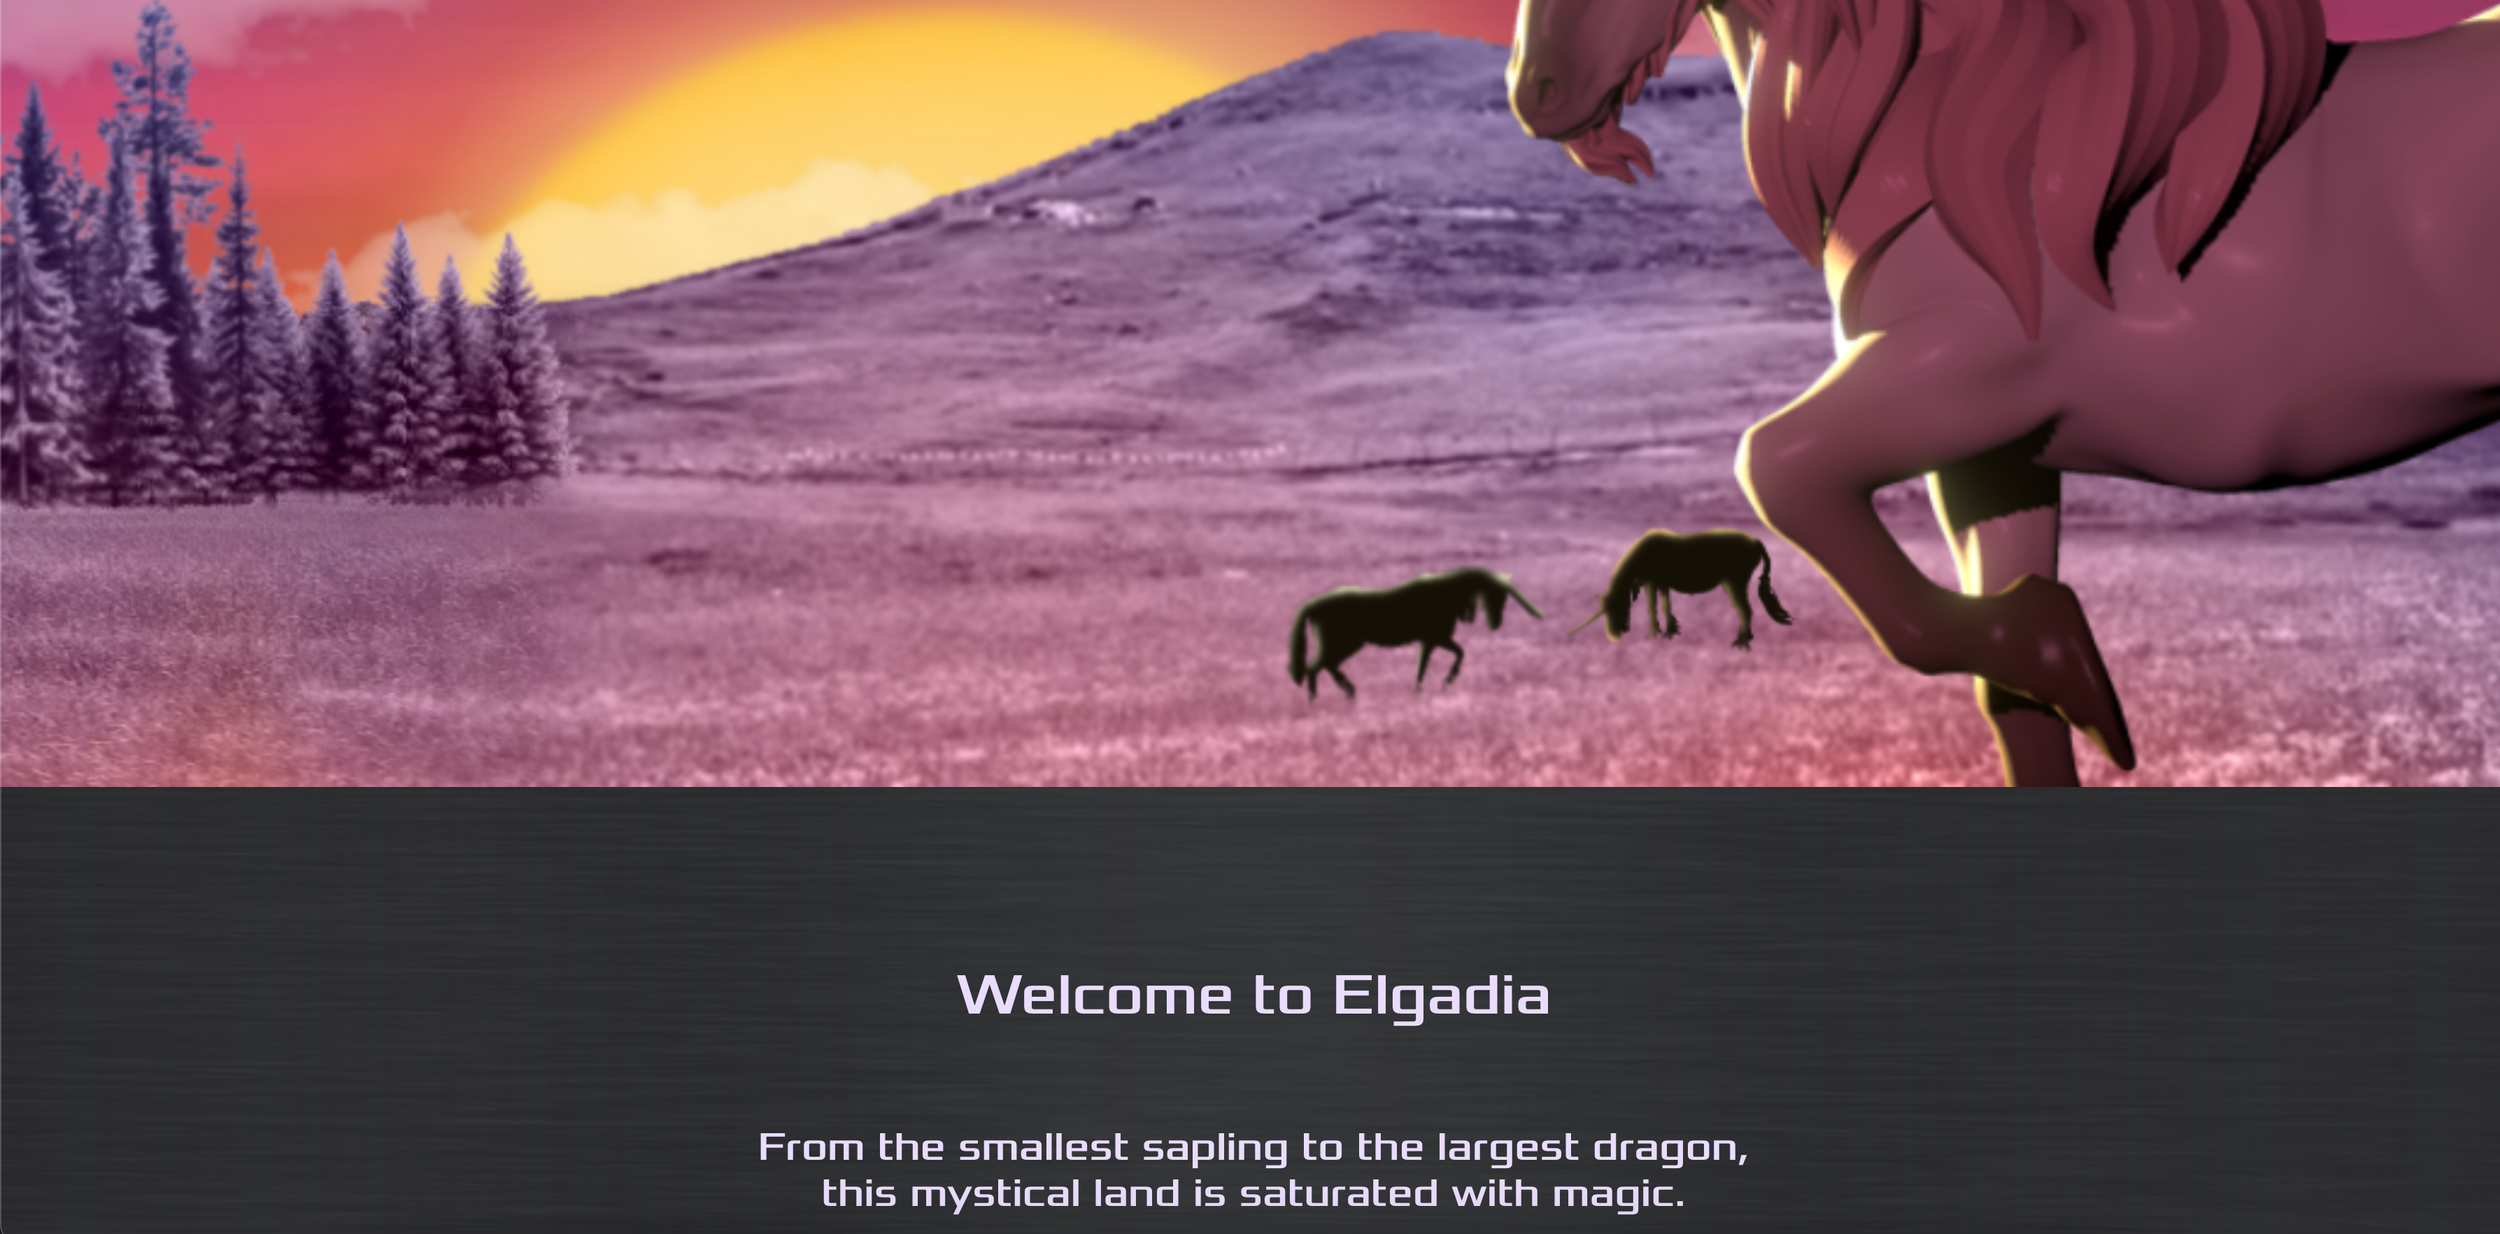
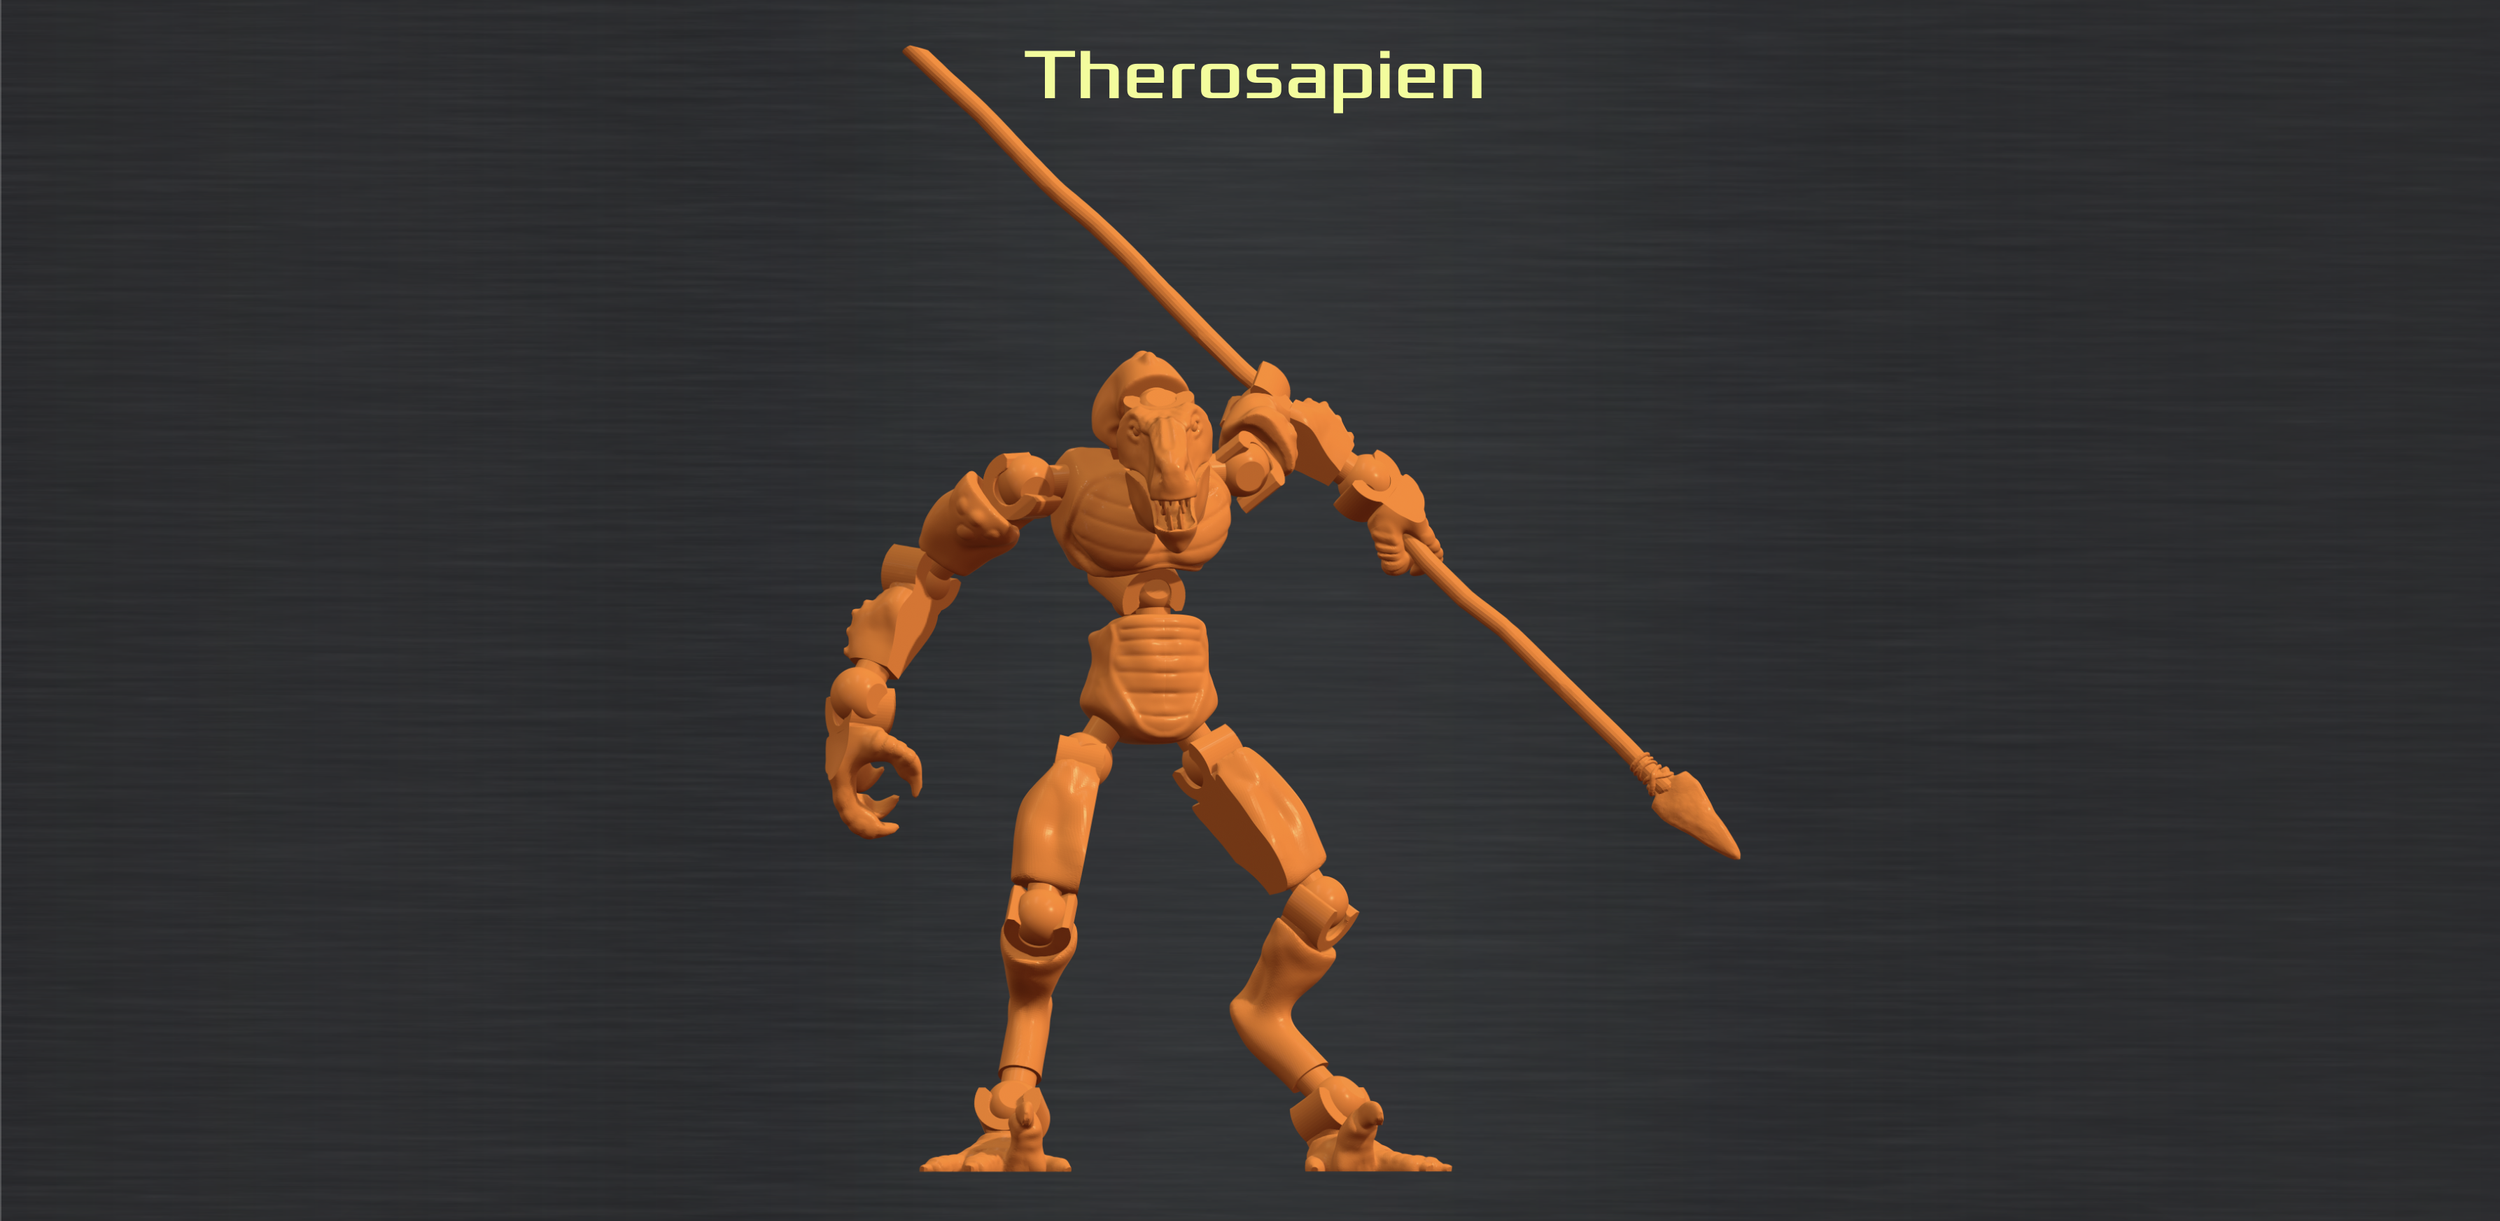
When the SnapLab logo had been finalized, the design had strayed from the original alien aesthetic. However, this new look gave room for more theming opportunities. Three themes were created for the new brand: an alien theme, a prehistoric theme and a fantasy theme.

Modeling

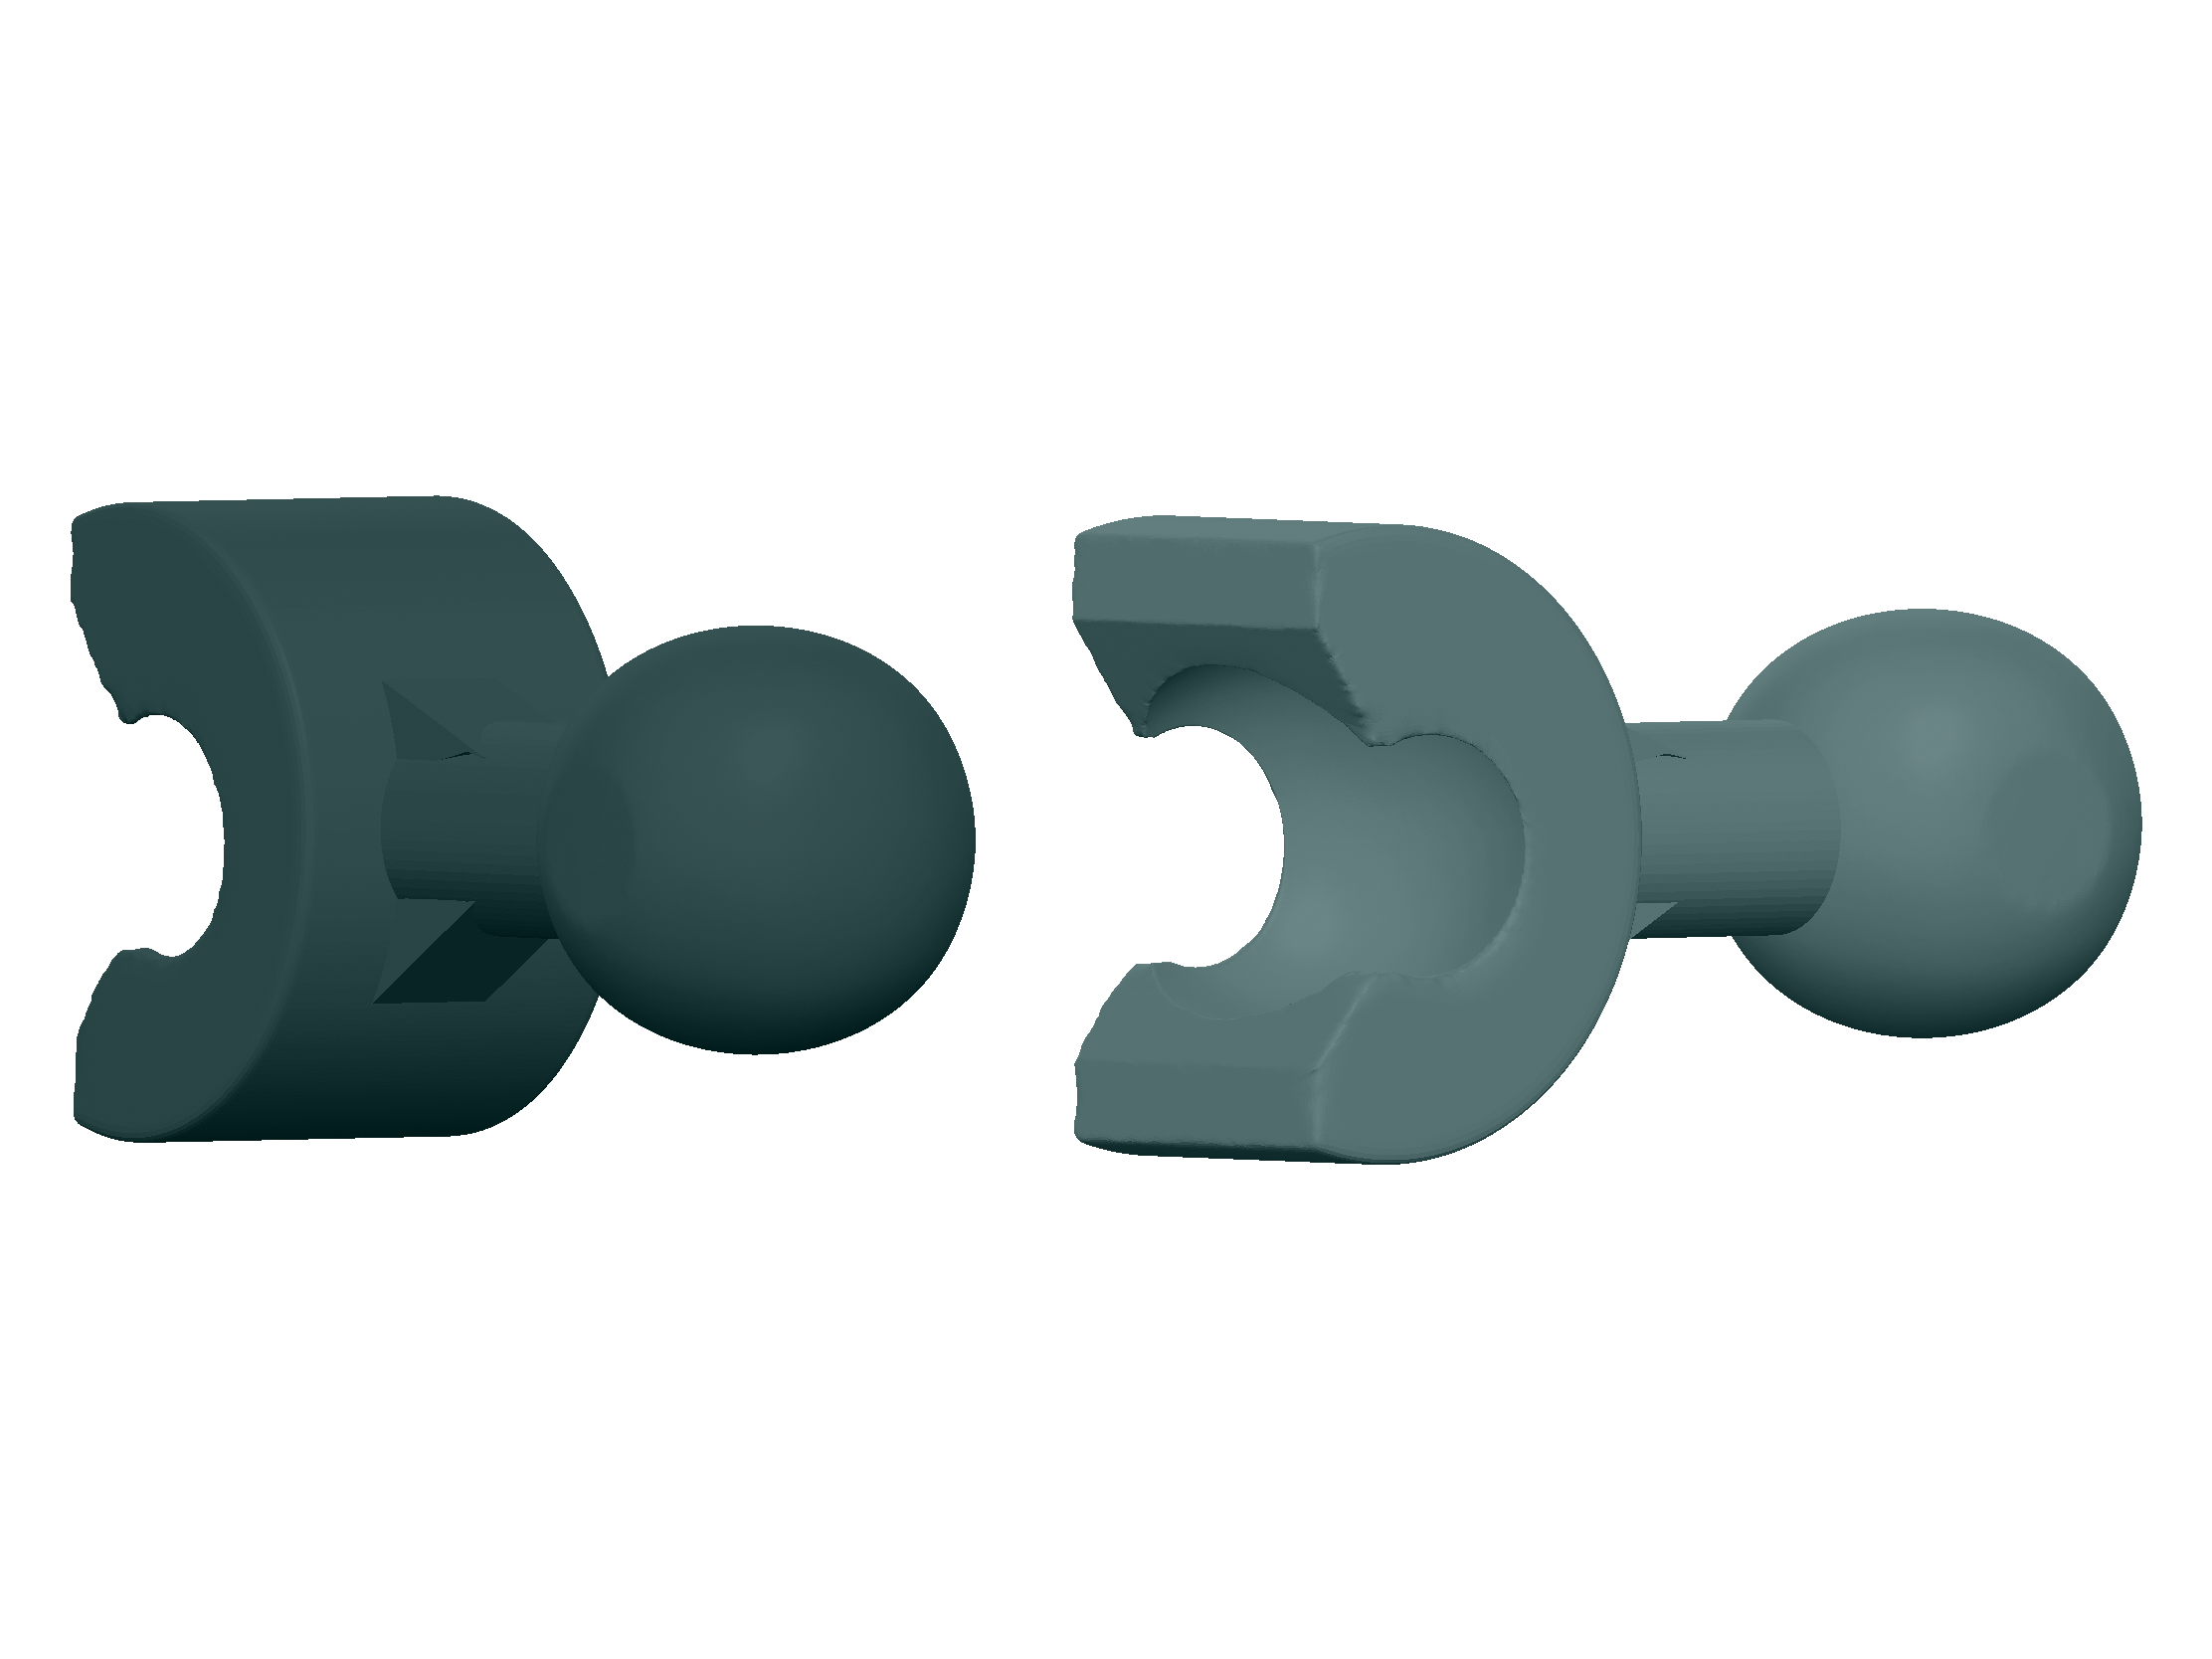
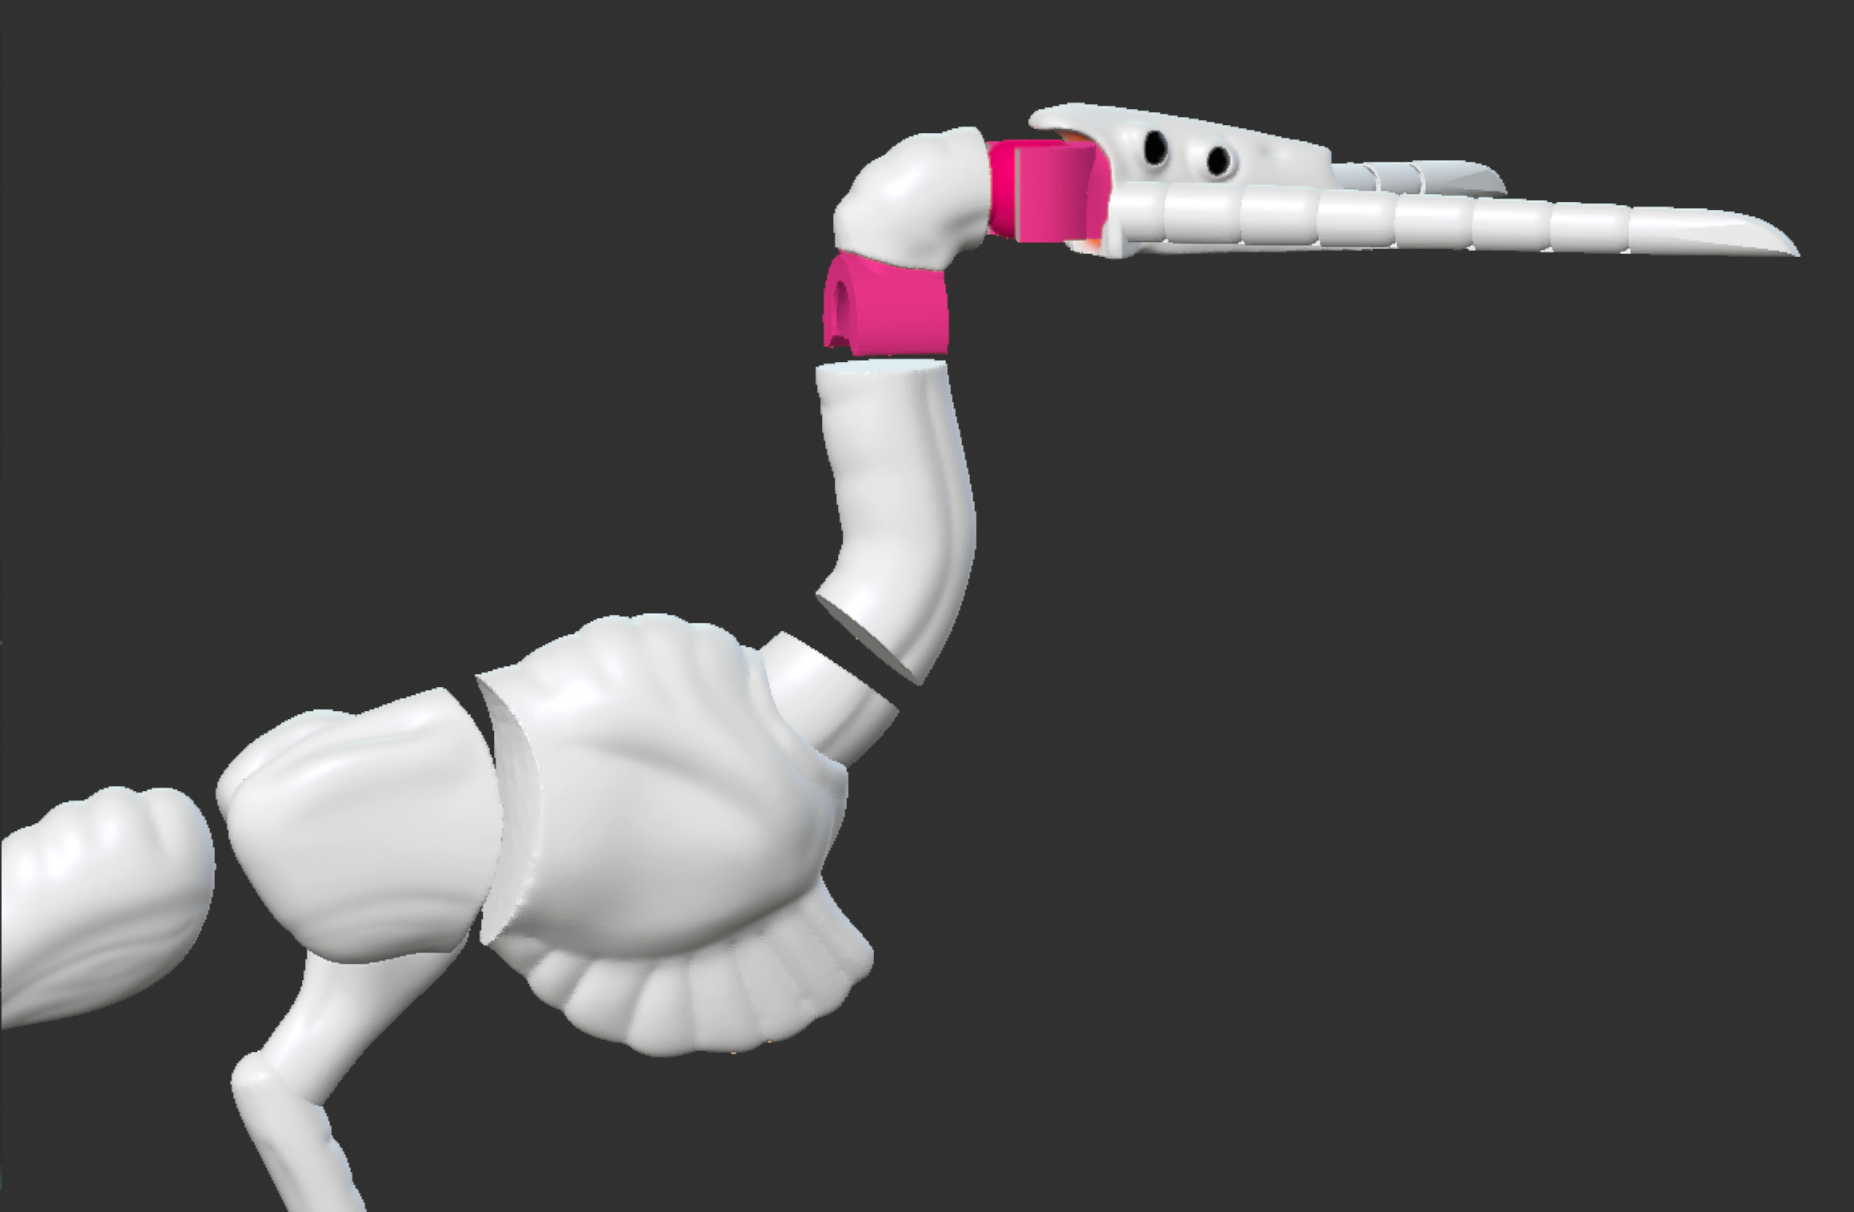
Along with the finalized ball joint, a stacked variant was made for figures that need more support, such as waist sections
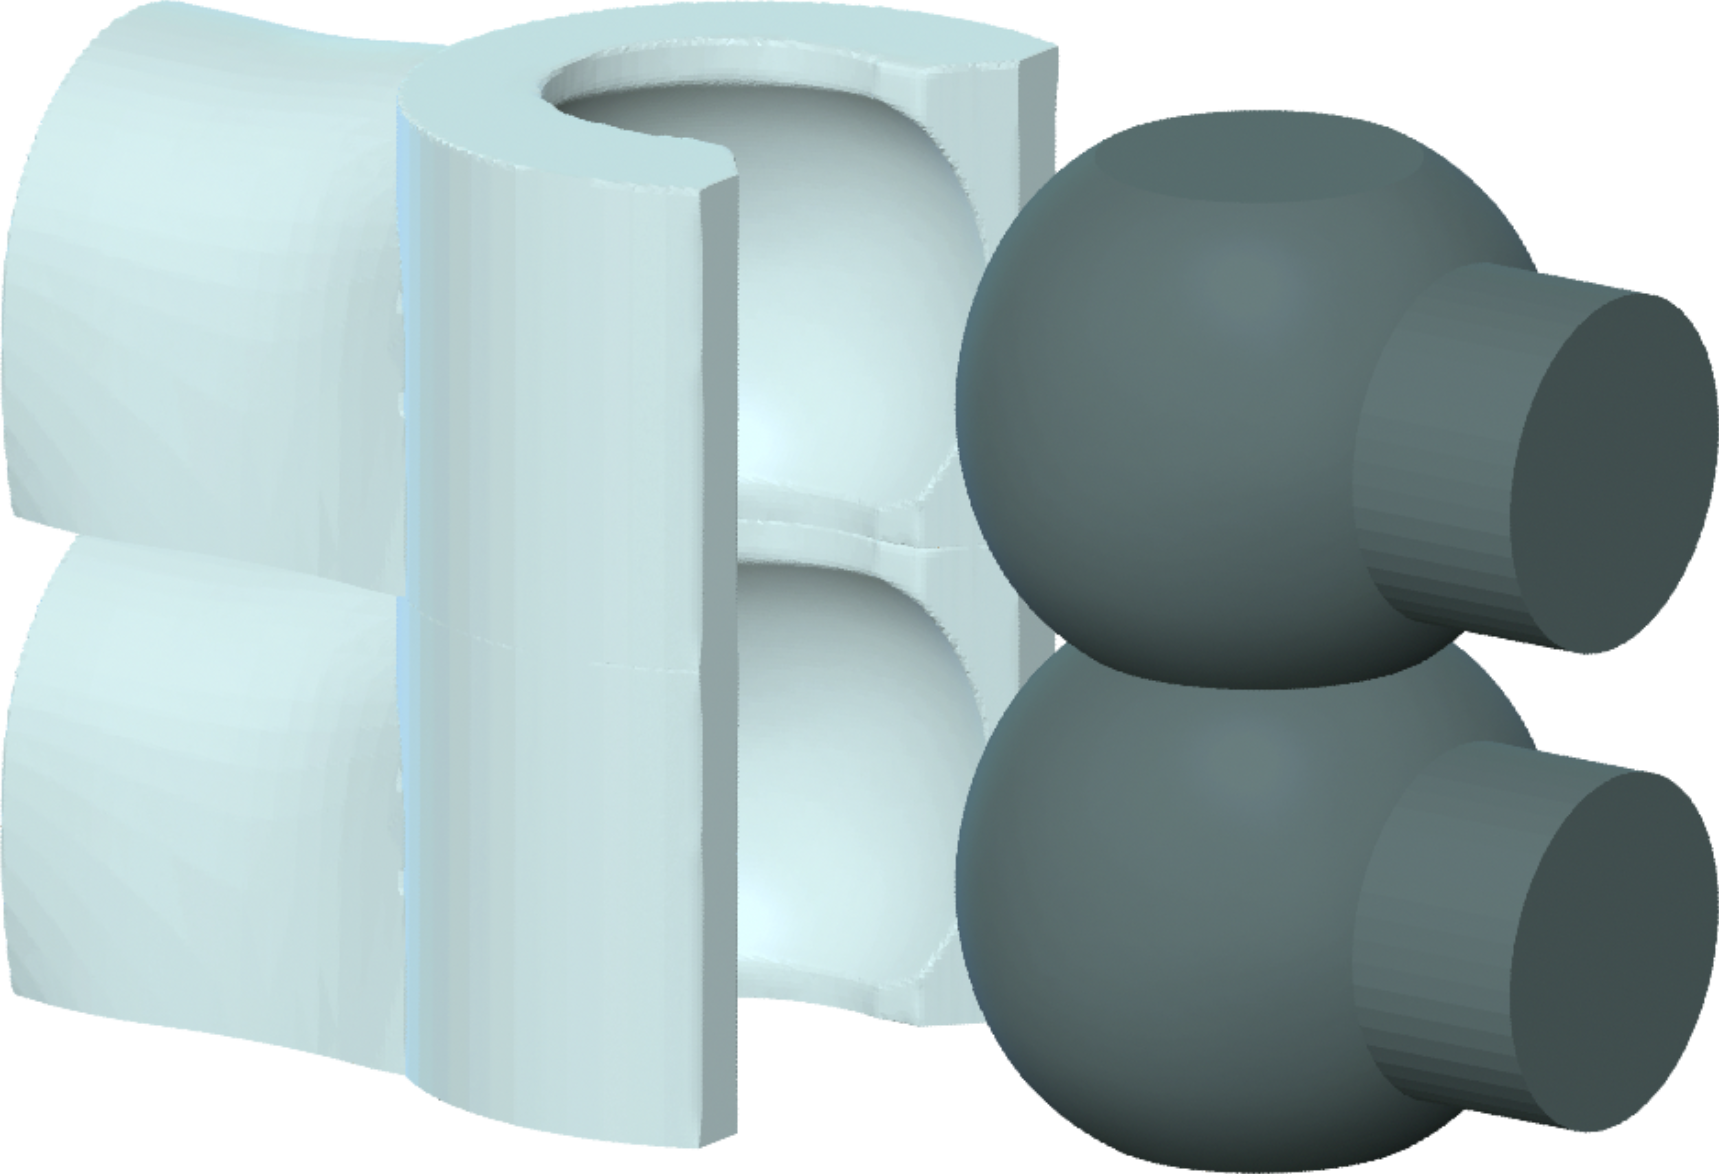
Ball Joint System
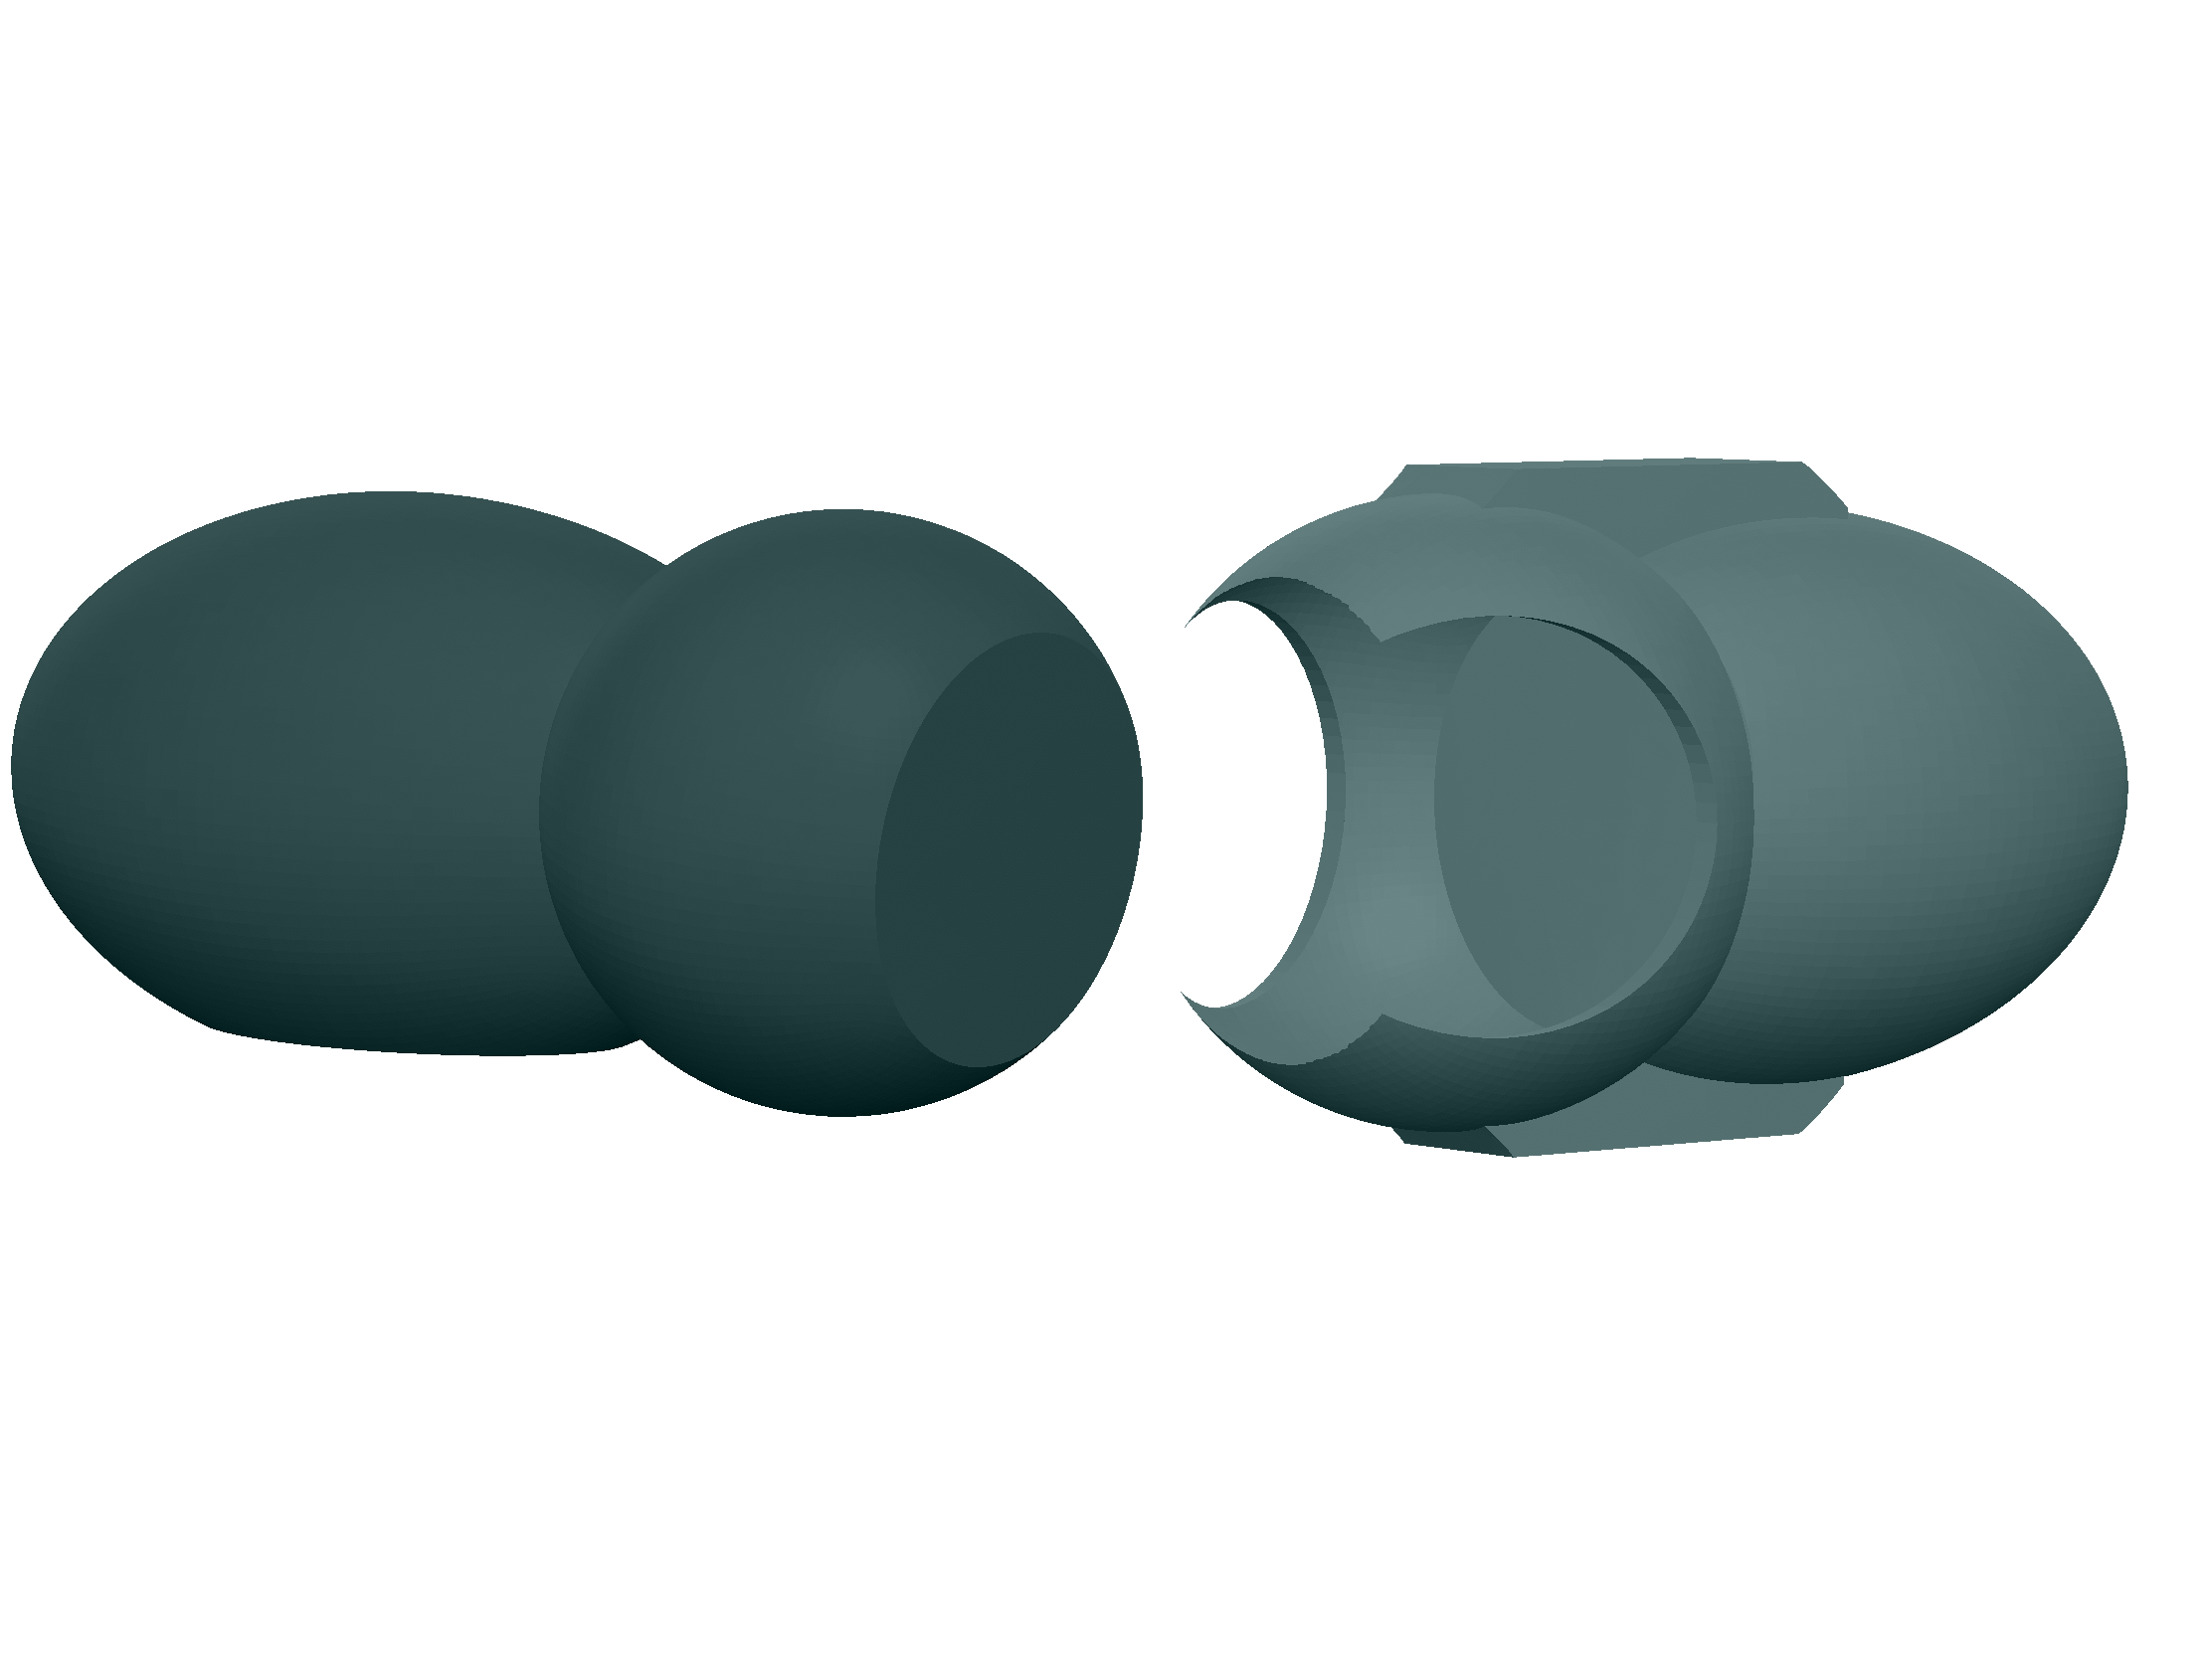
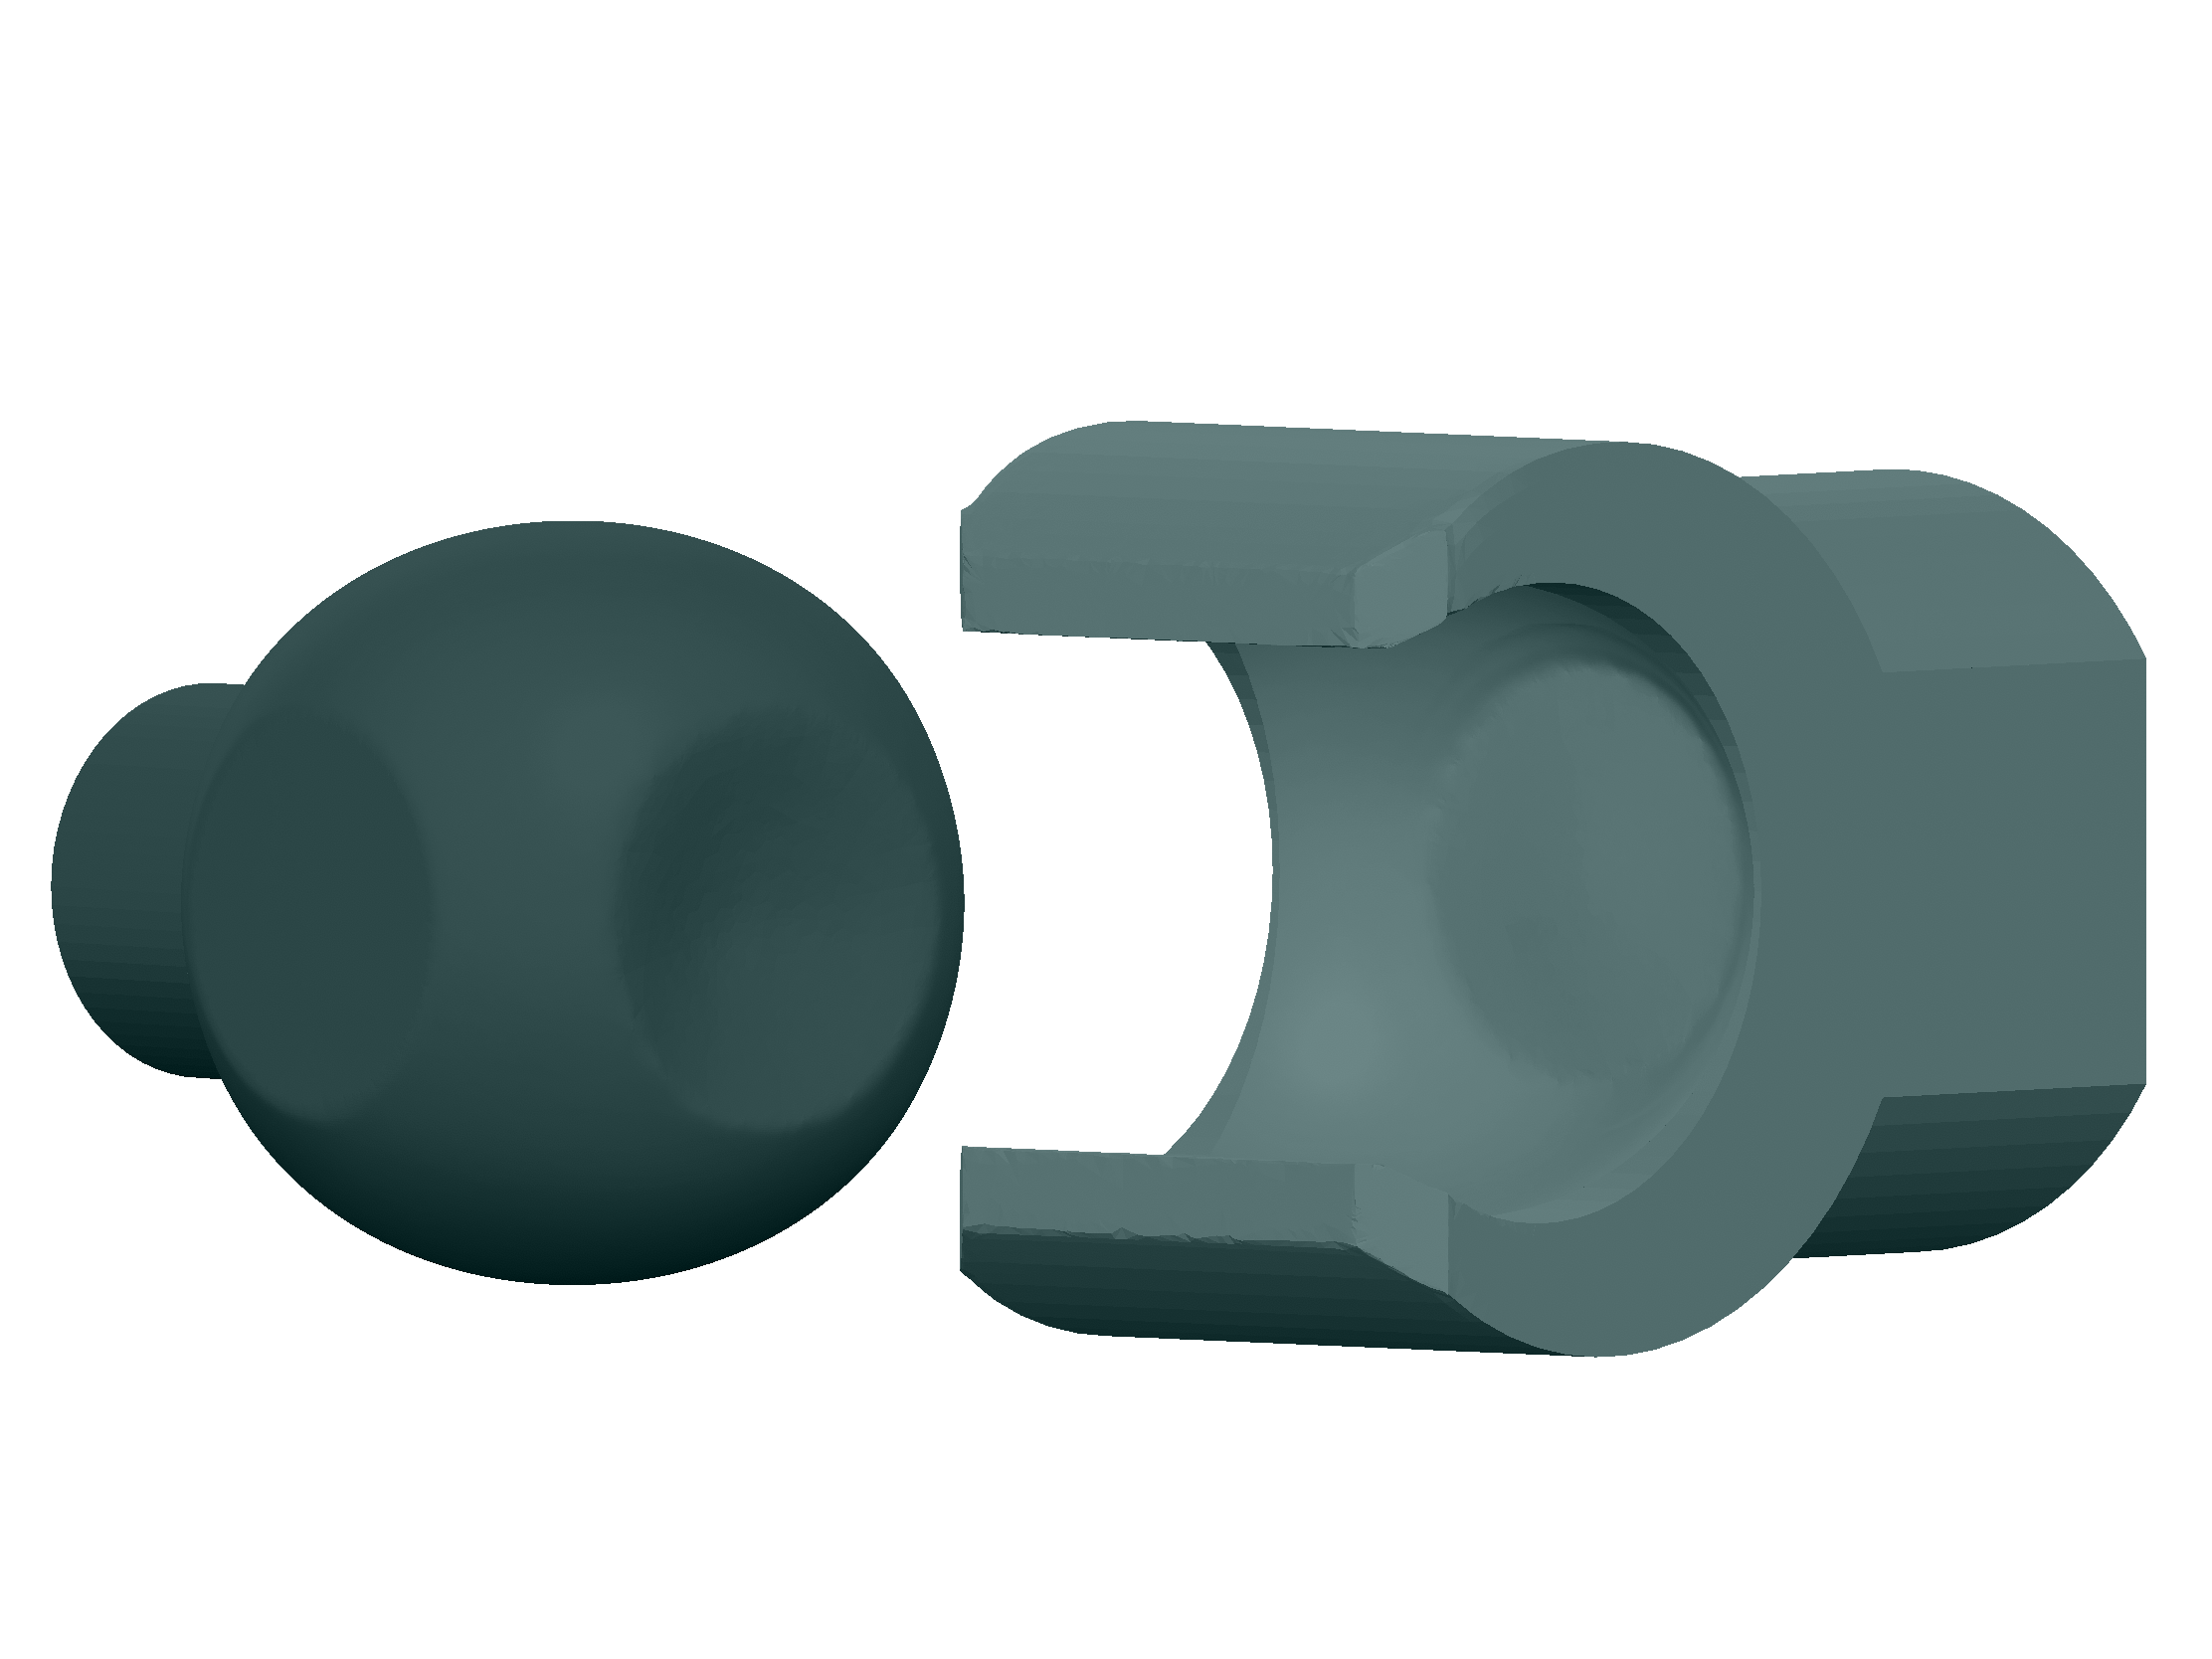
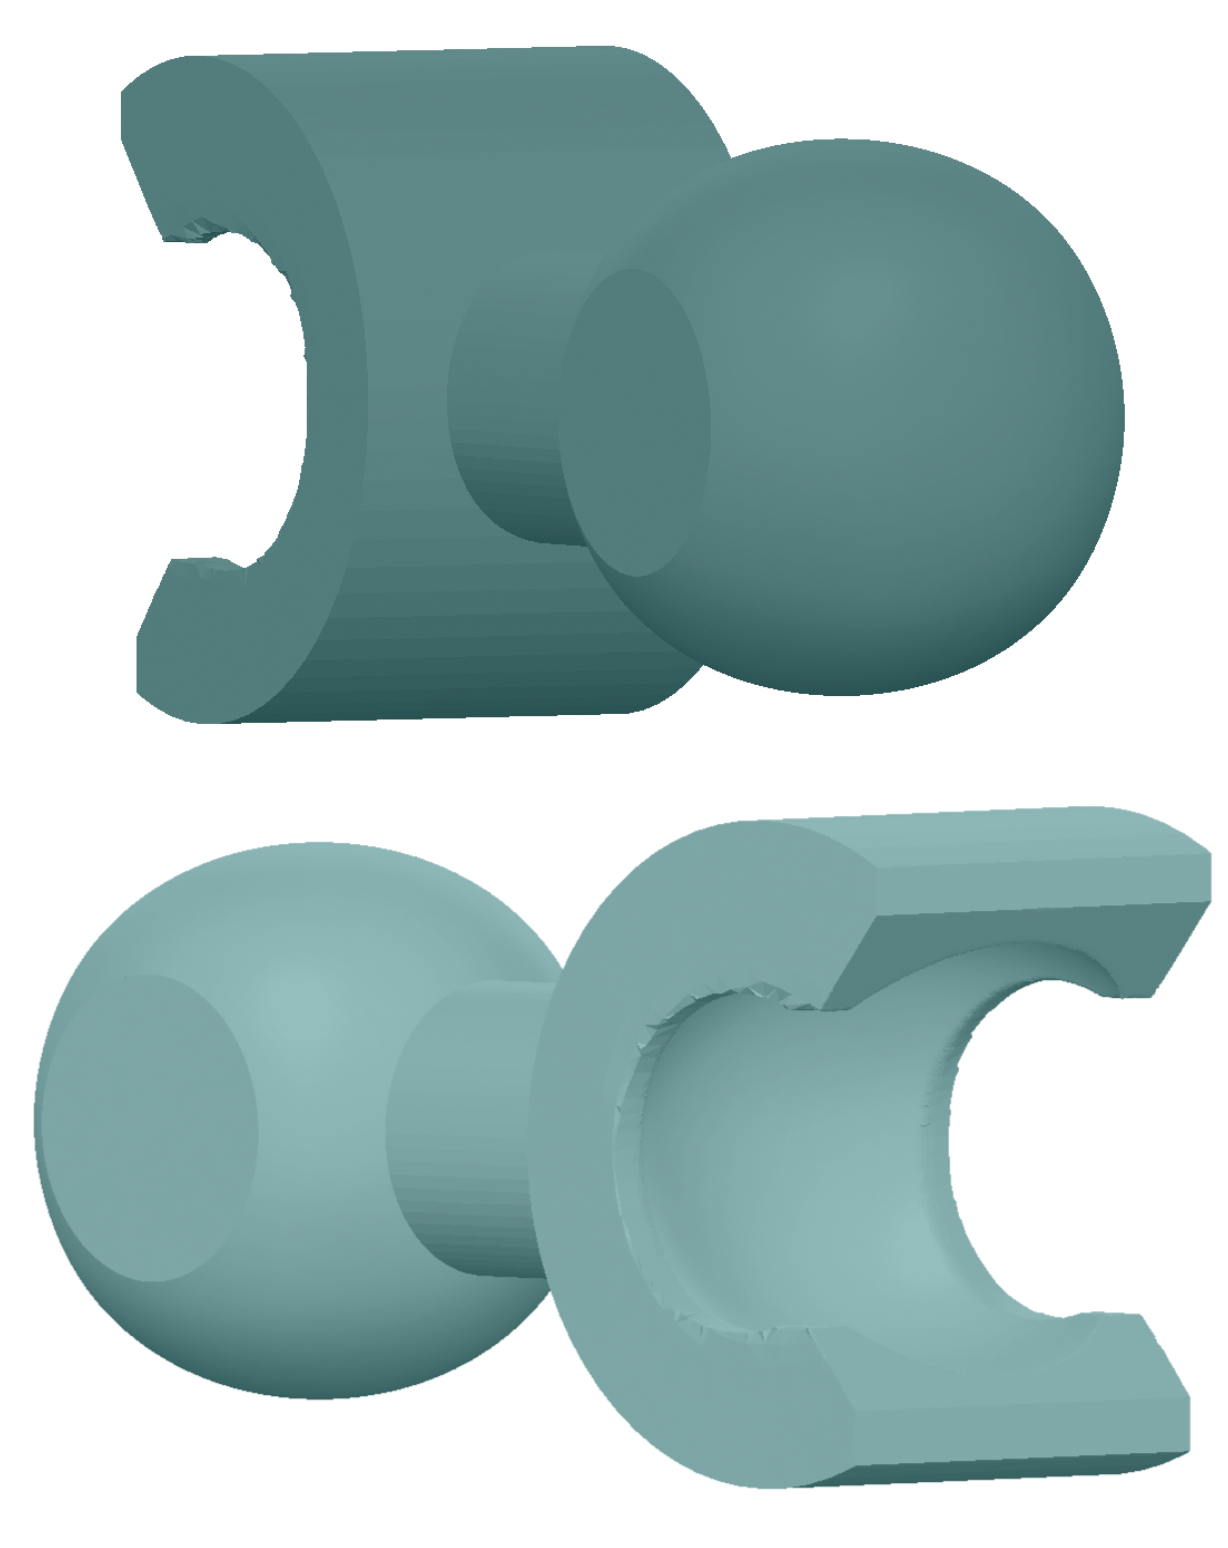
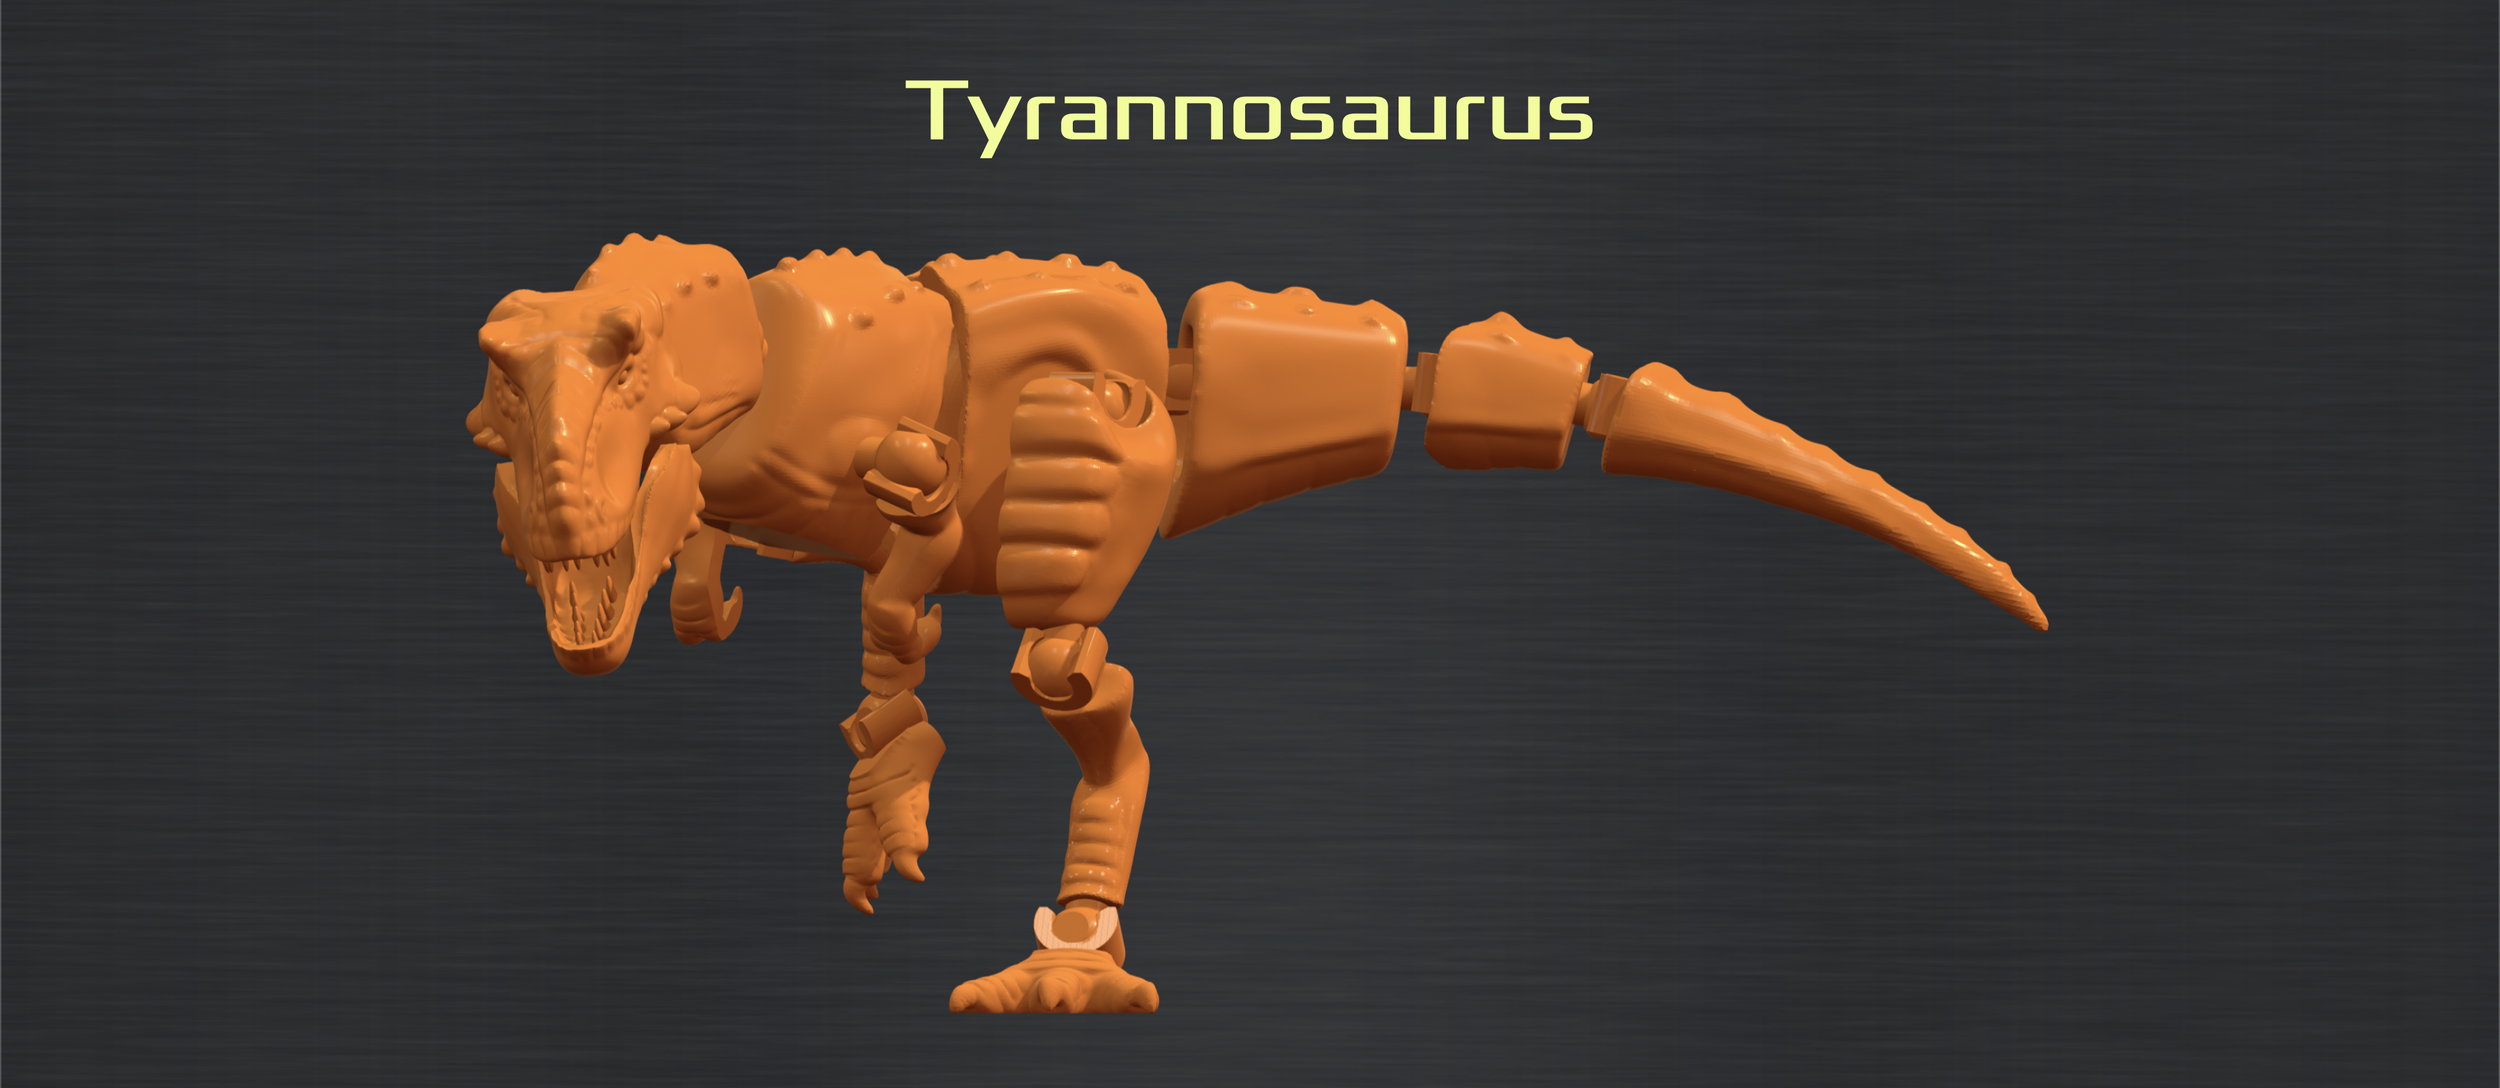
A ball-joint system was decided upon for this project due to their versatility, ease of assembly and ease of printing. Multiple iterations were created through before the final joint was created.
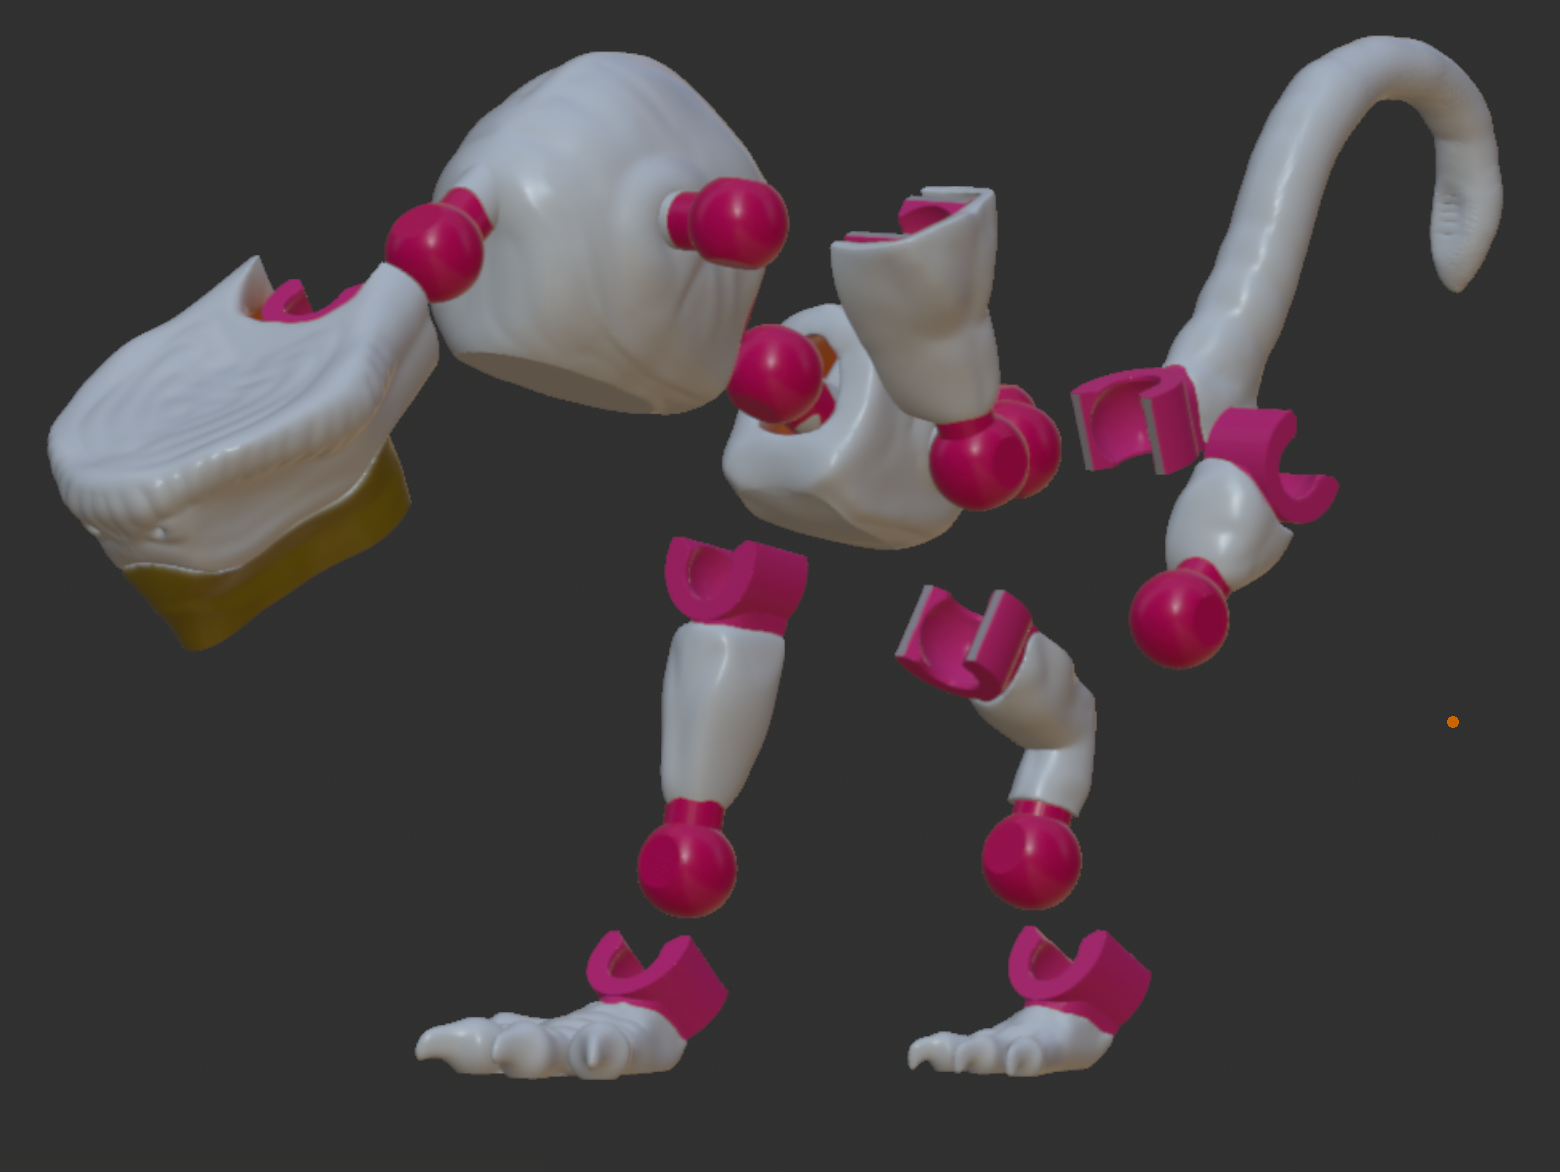
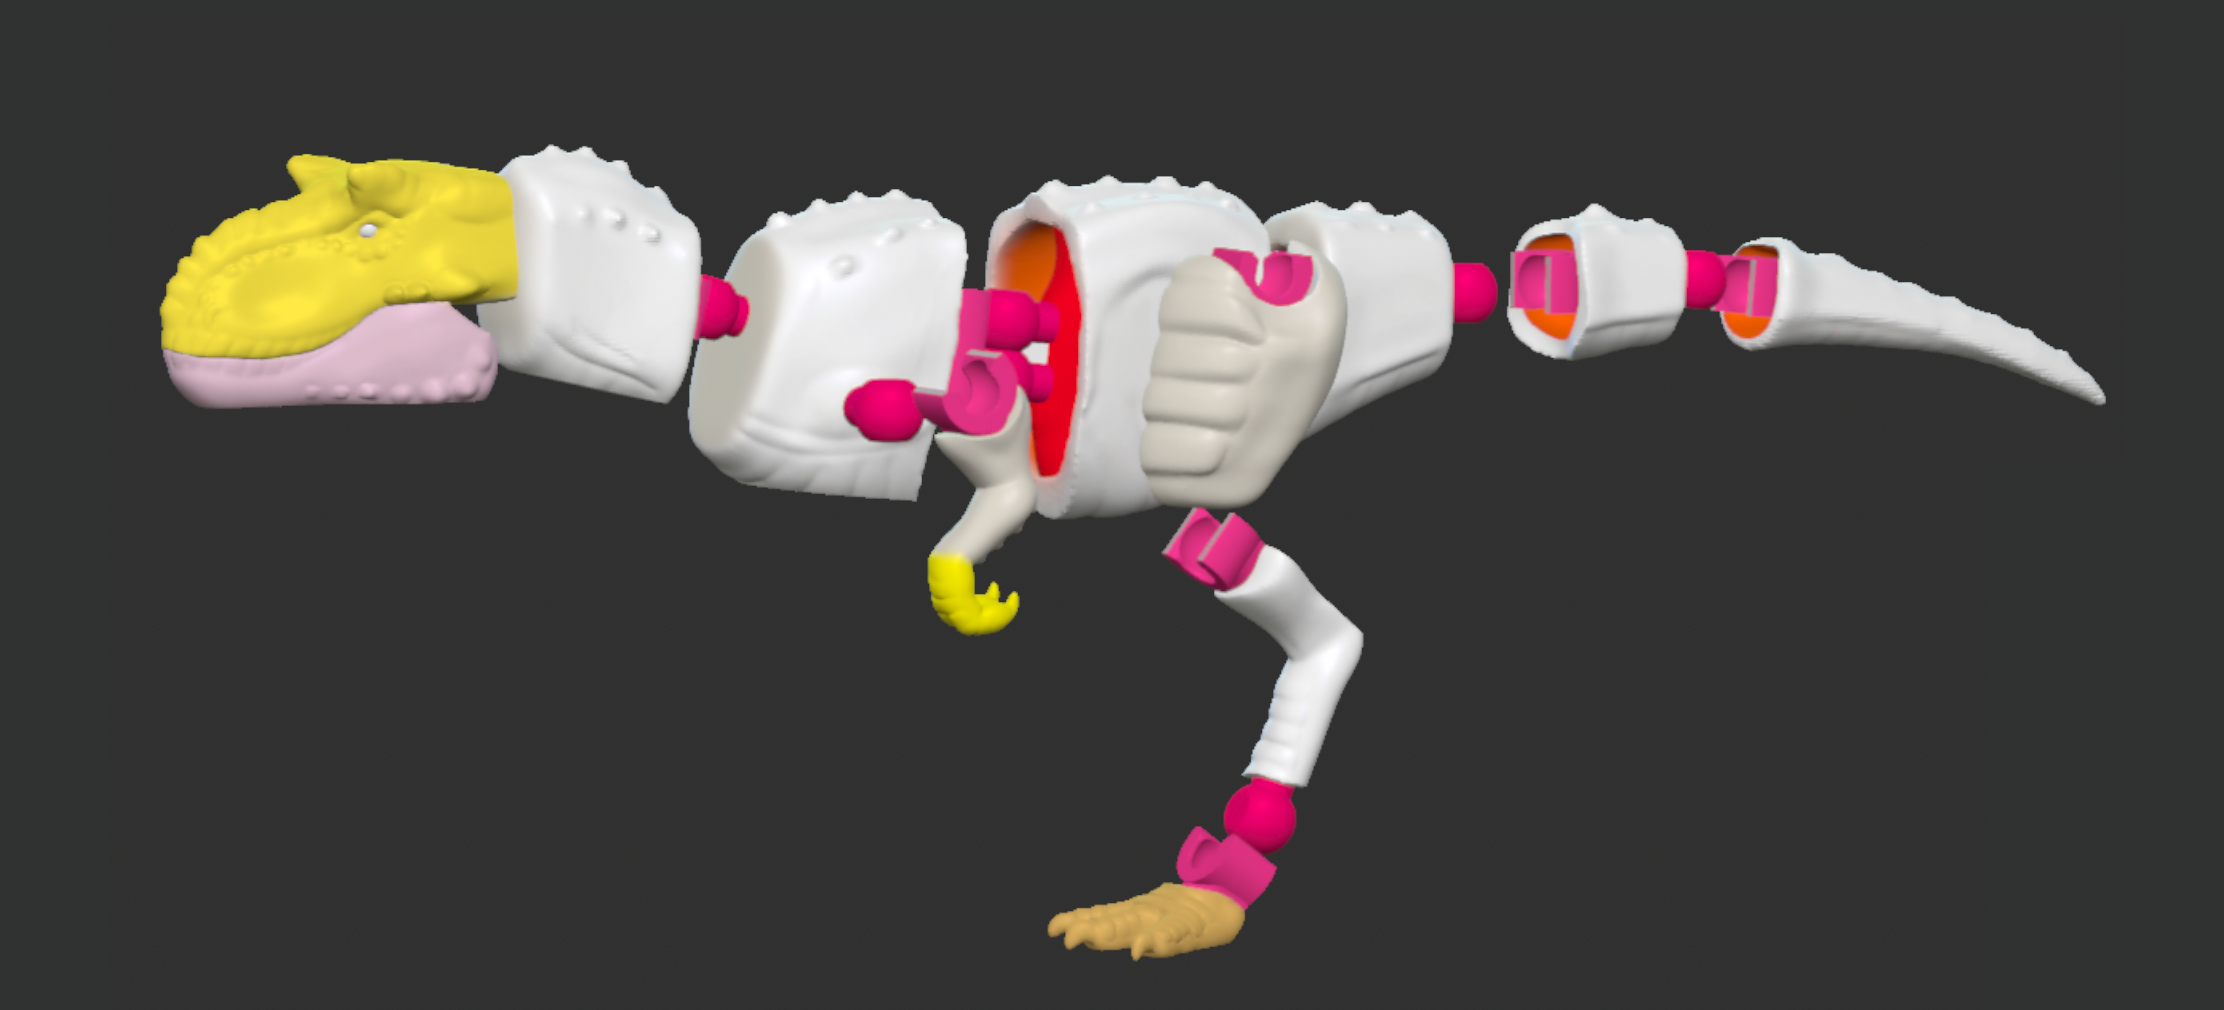
Model Development
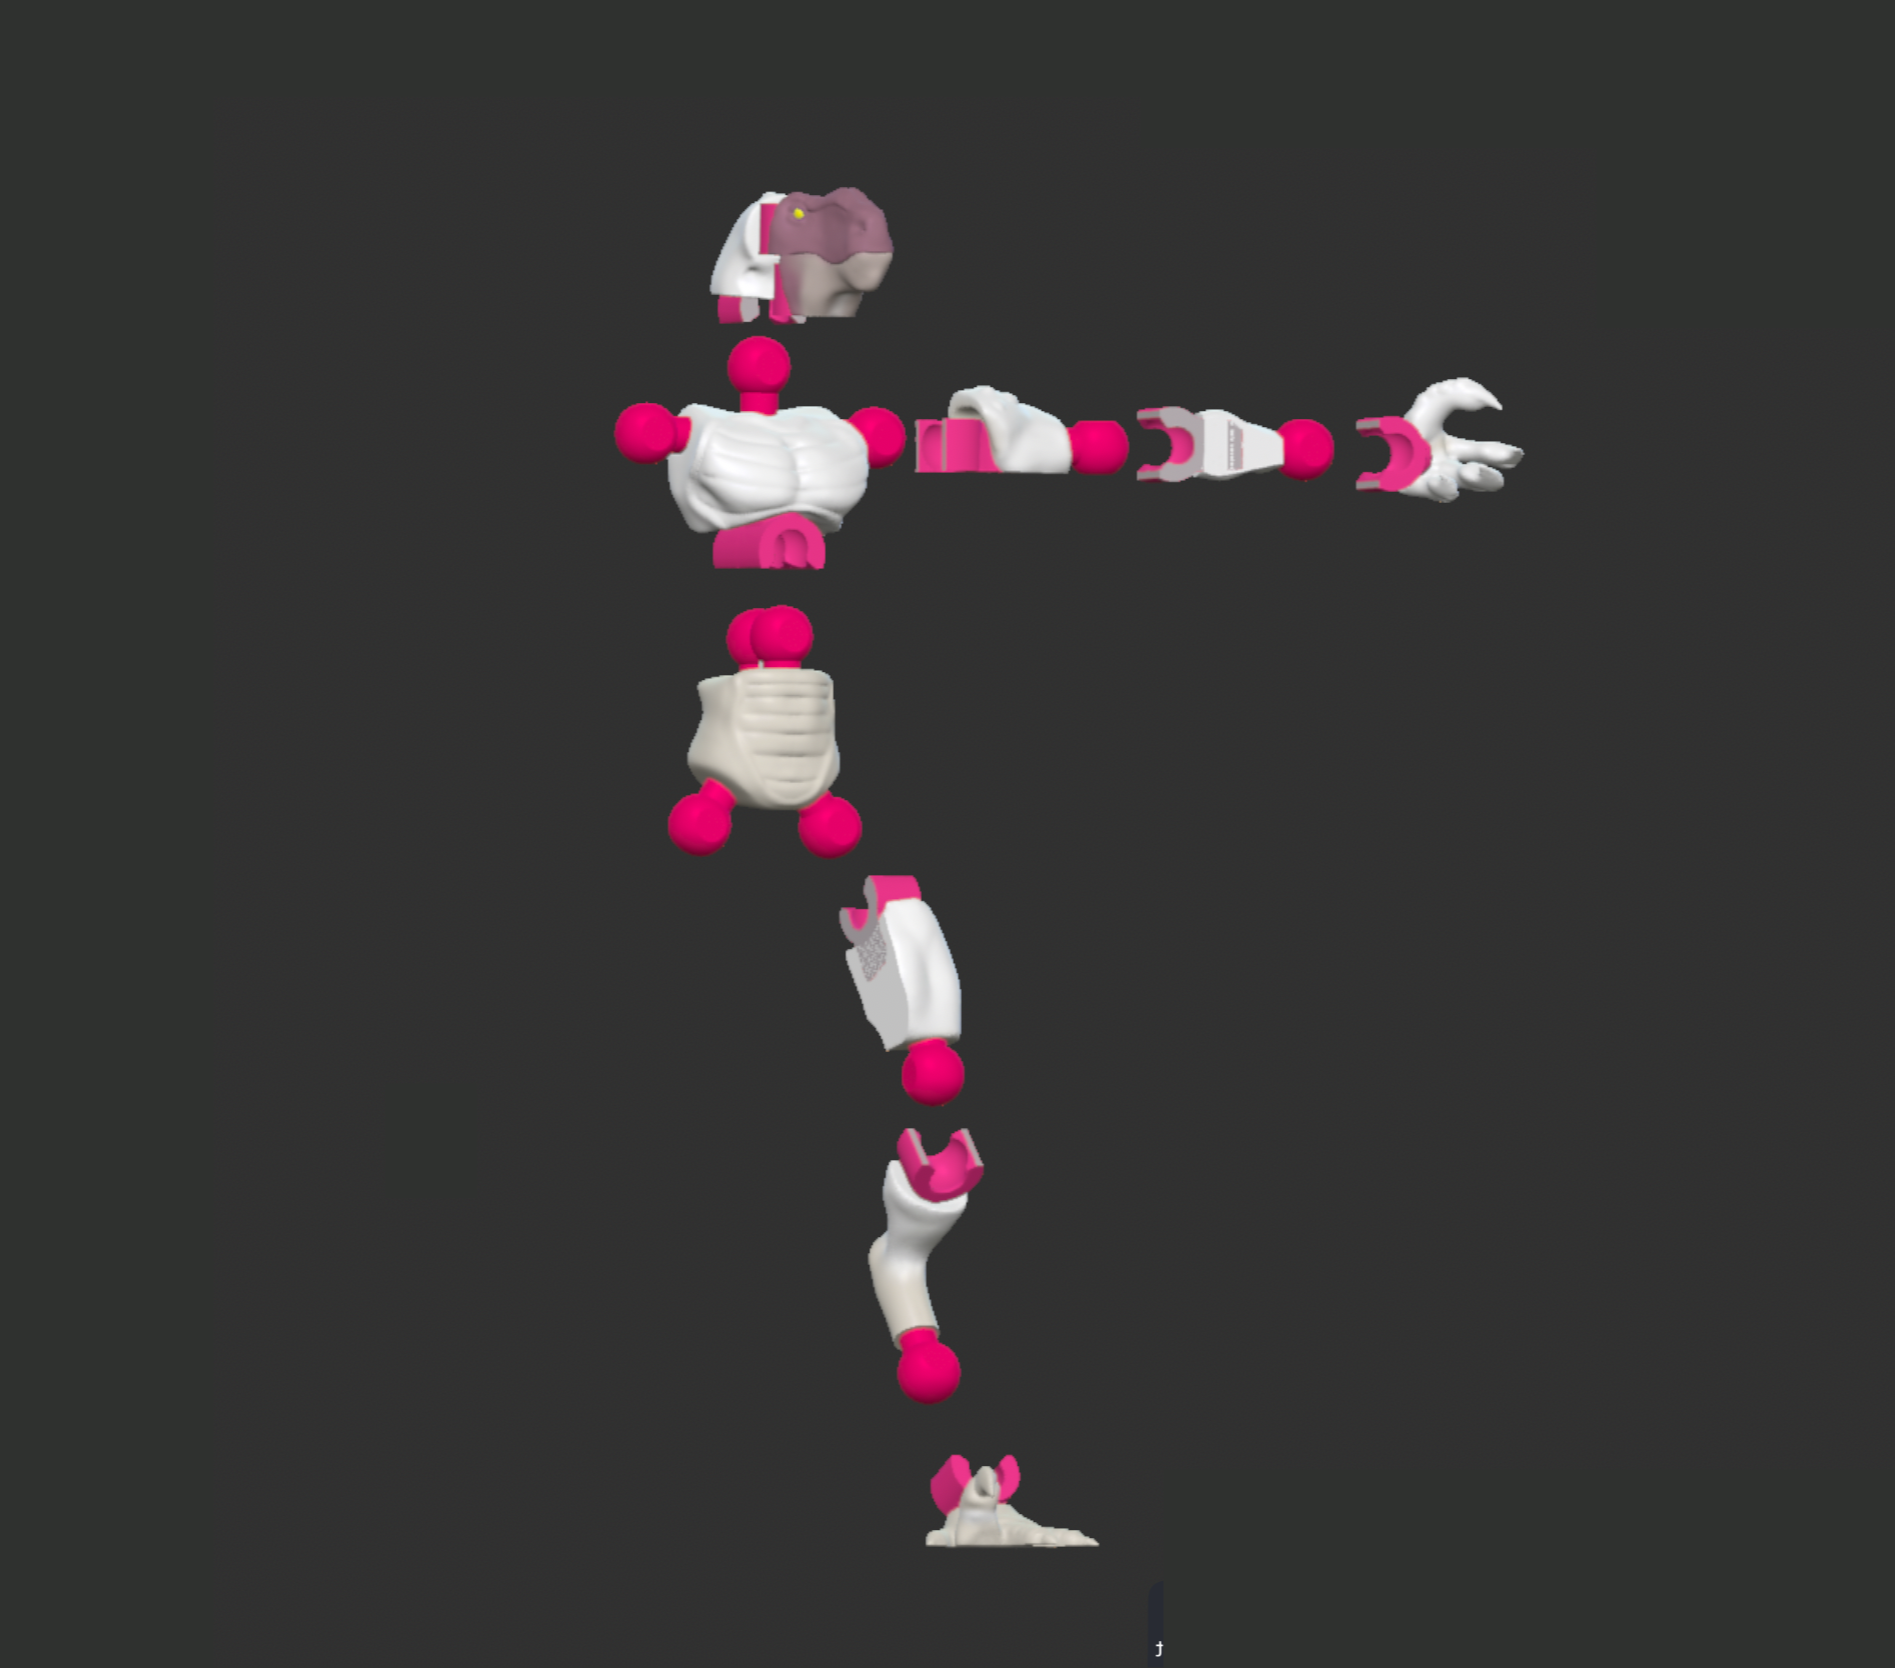
With a functional joint system in place, the next step was to apply it. There were six characters designed for the first wave of SnapLab, with each theme getting two.
Website Development
Website Goals
There were three primary goals when creating the SnapLab website: Provide education to the users of SnapLab, organize all the figures into their own collections, and keep the website visually cohesive with the SnapLab brand.
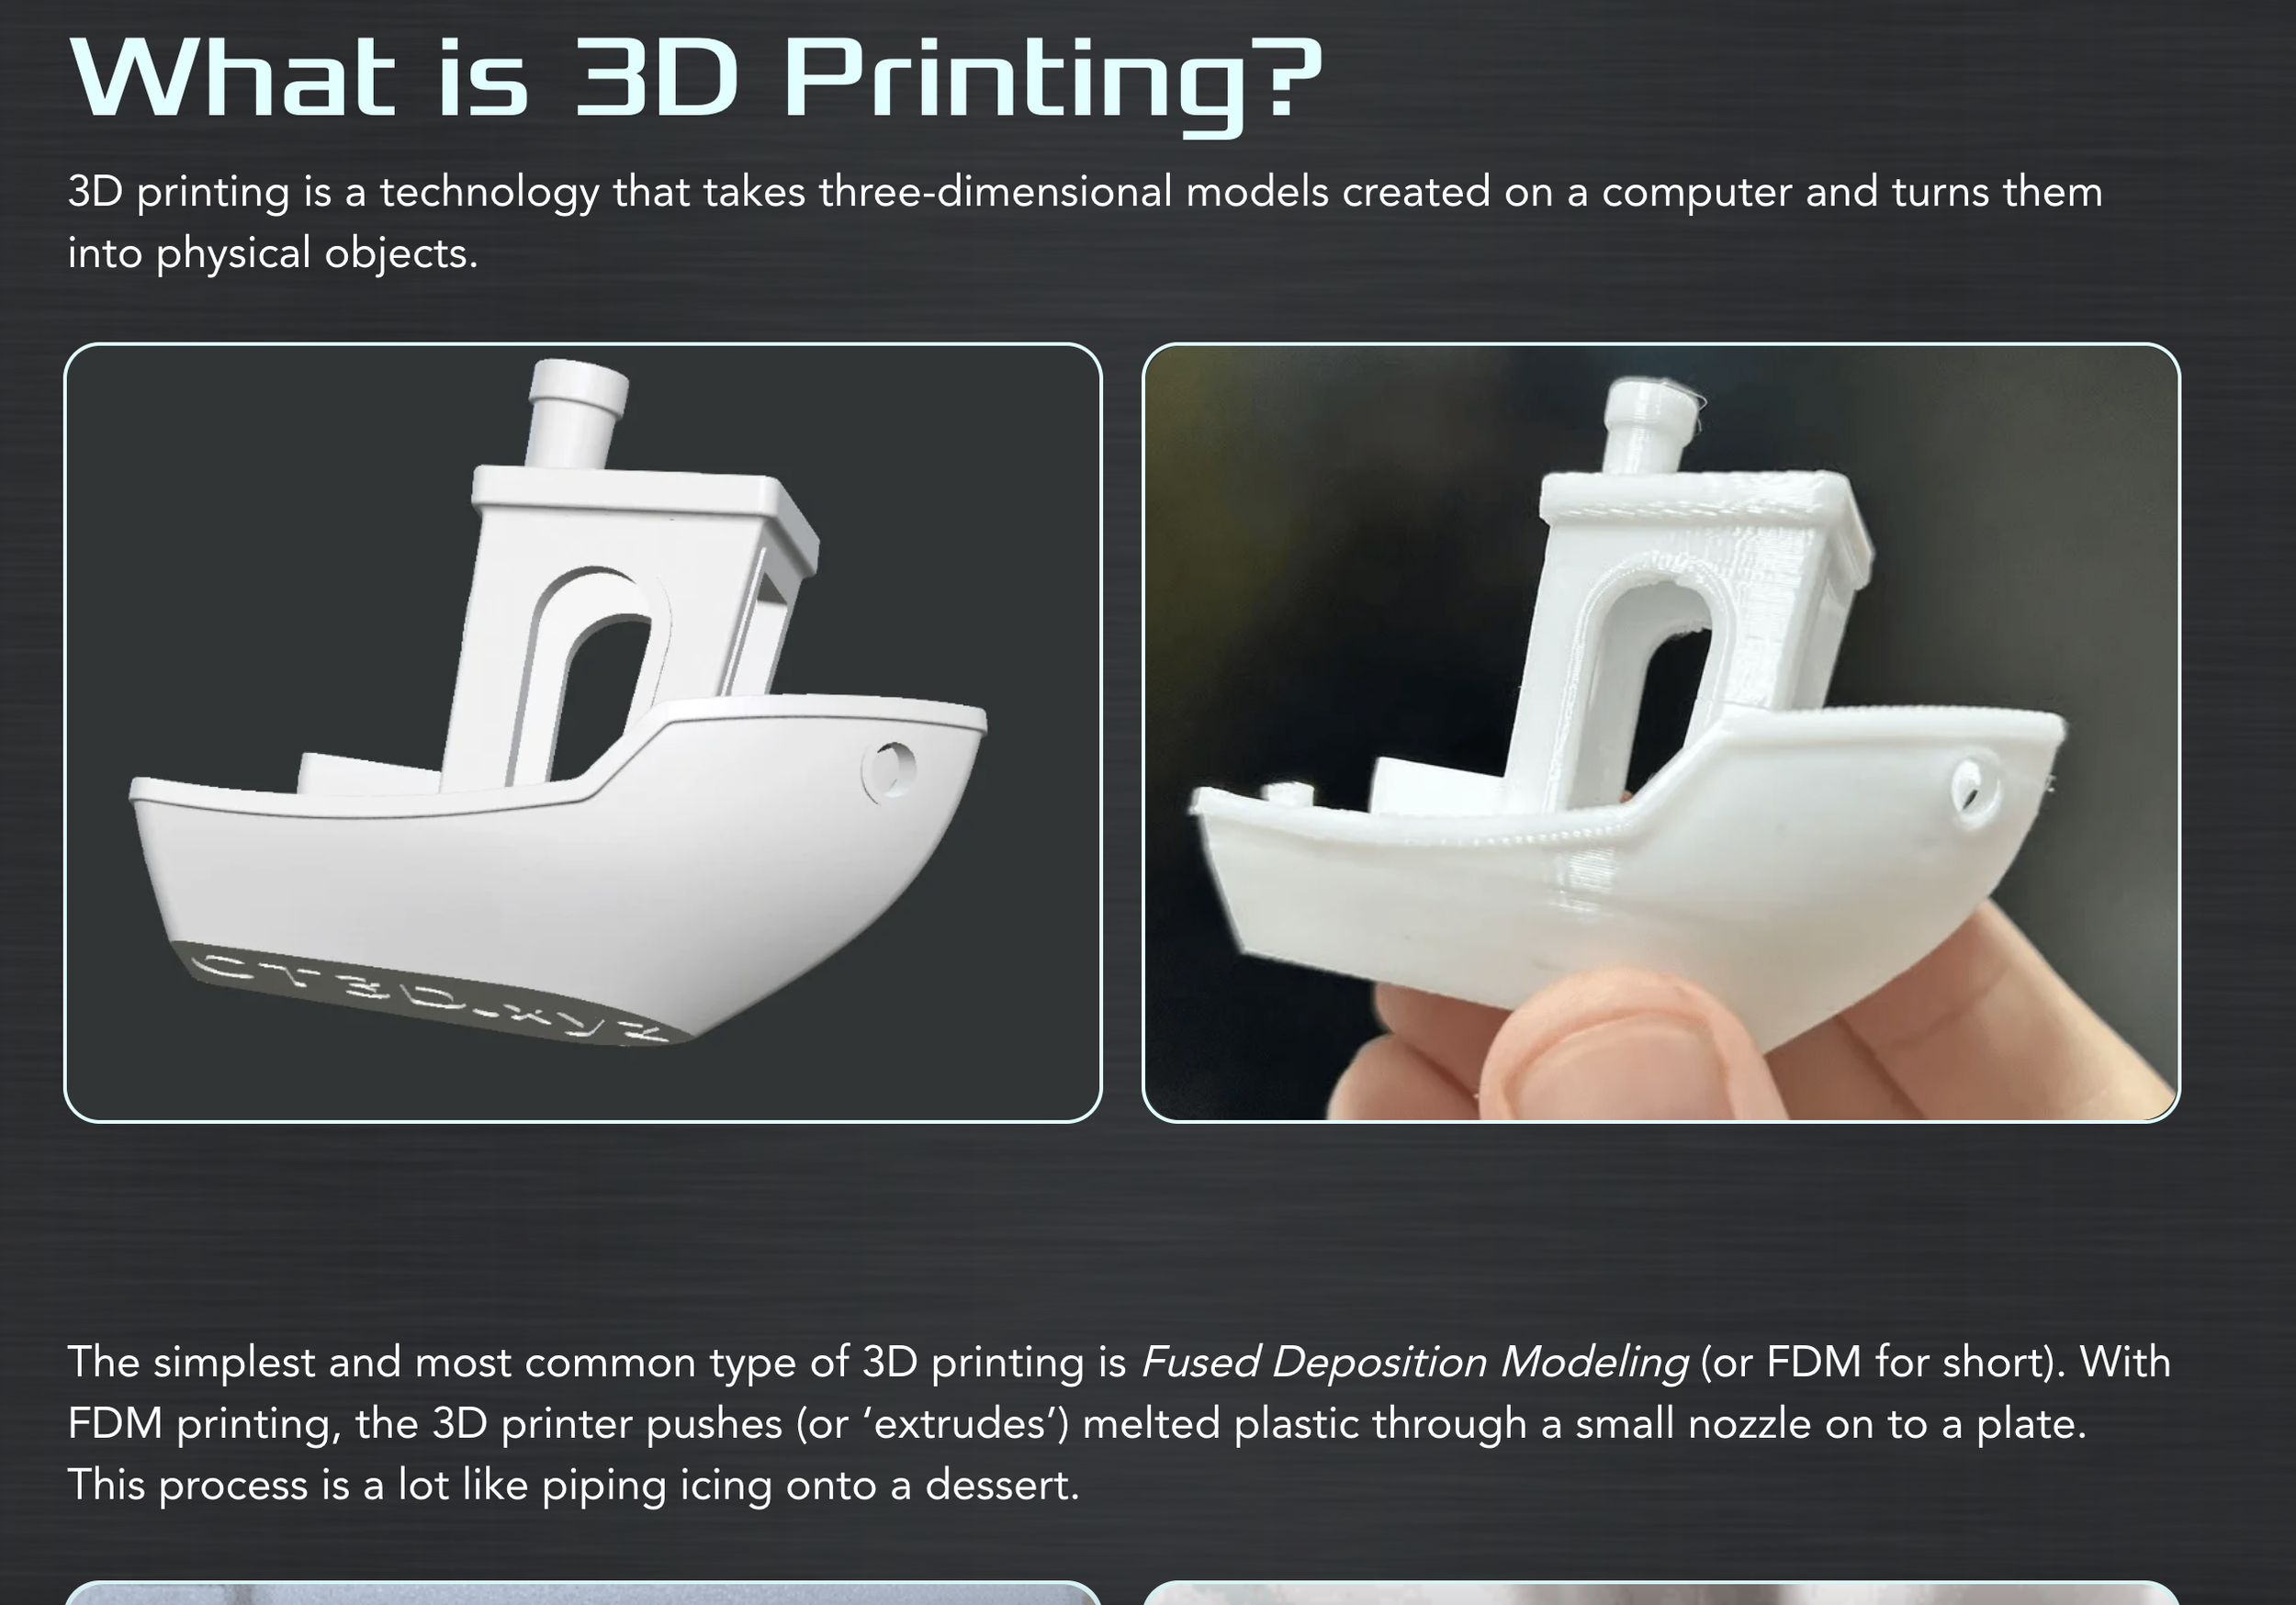
Education
Organization
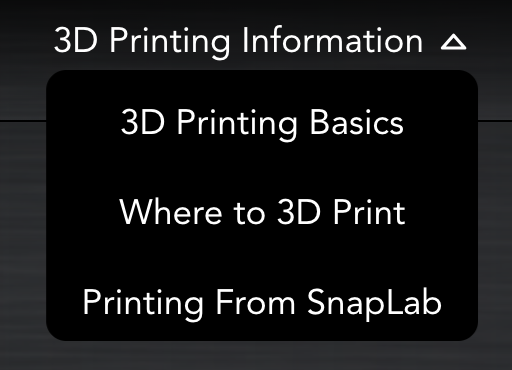
The SnapLab website has multiple sections, with the first being dedicated to education. This section has pages describing the basic idea of 3D printing, where users can find 3D printers and how they can use SnapLab models when printing.
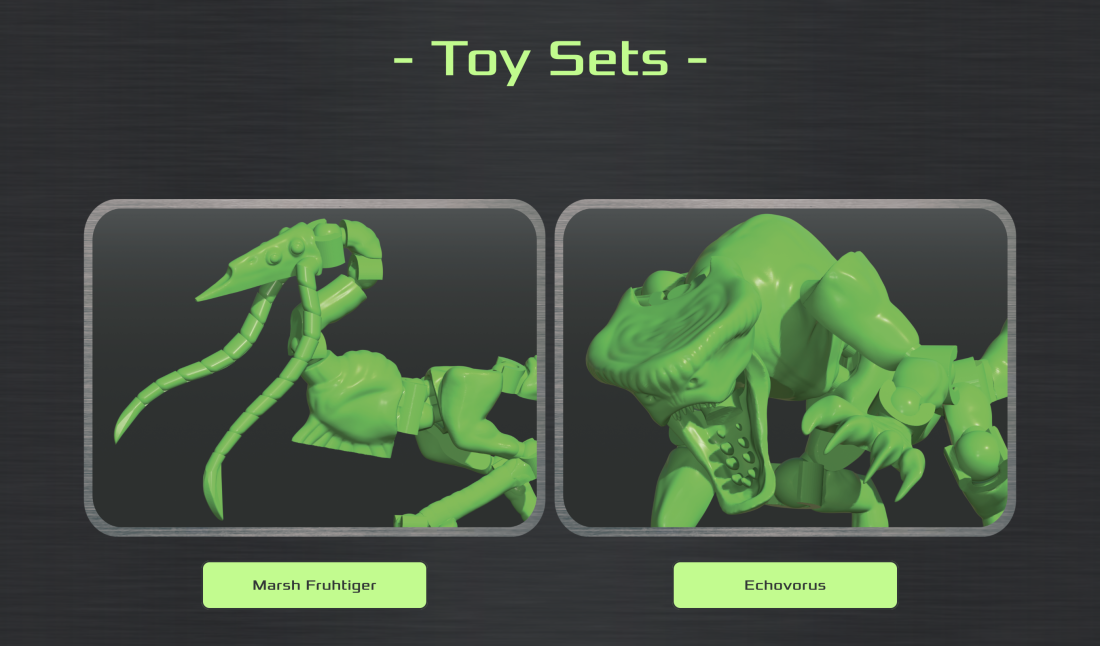
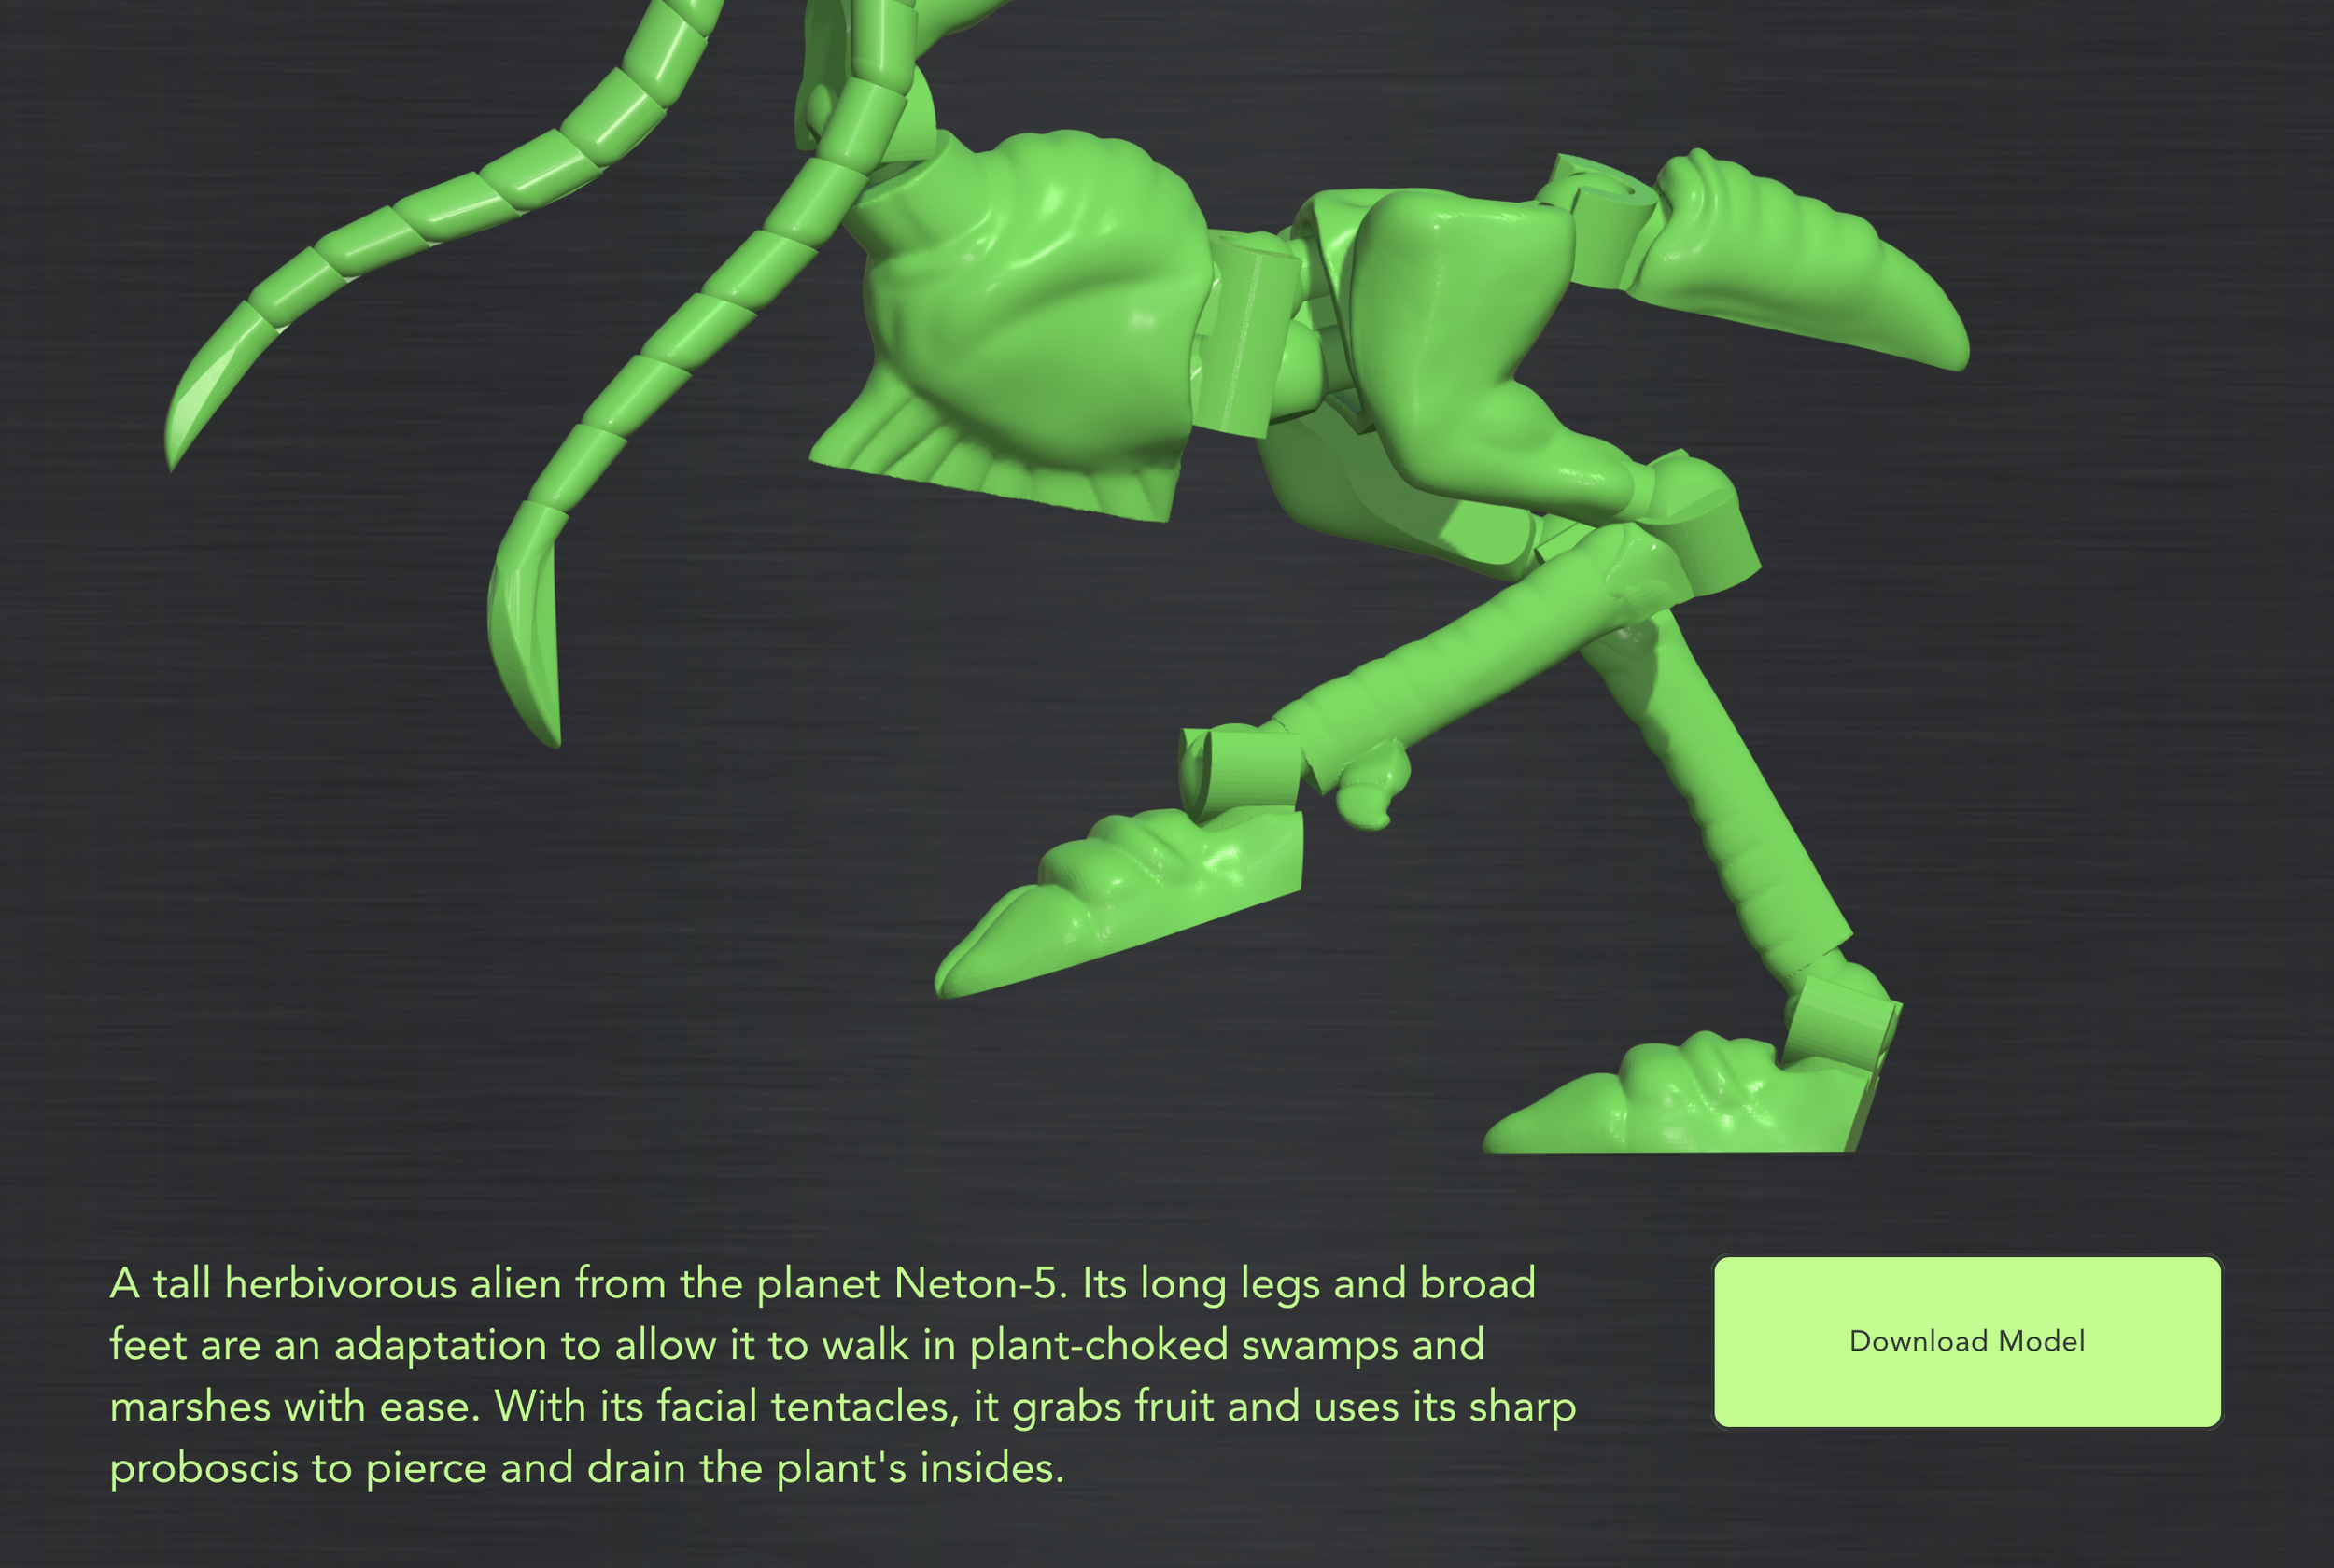
Each theme in the SnapLab brand has its own page, with its story and worldbuilding showcased on each. These pages also have a library for each figure in the theme. These figures have their own tidbit of lore along with a laid out STL file to download.
The SnapLab website uses metal brushed textures and angular fonts to stay consistent with the branding. Additionally, each toy theme has its own color which the text and the renders follow.
Visual Cohesion
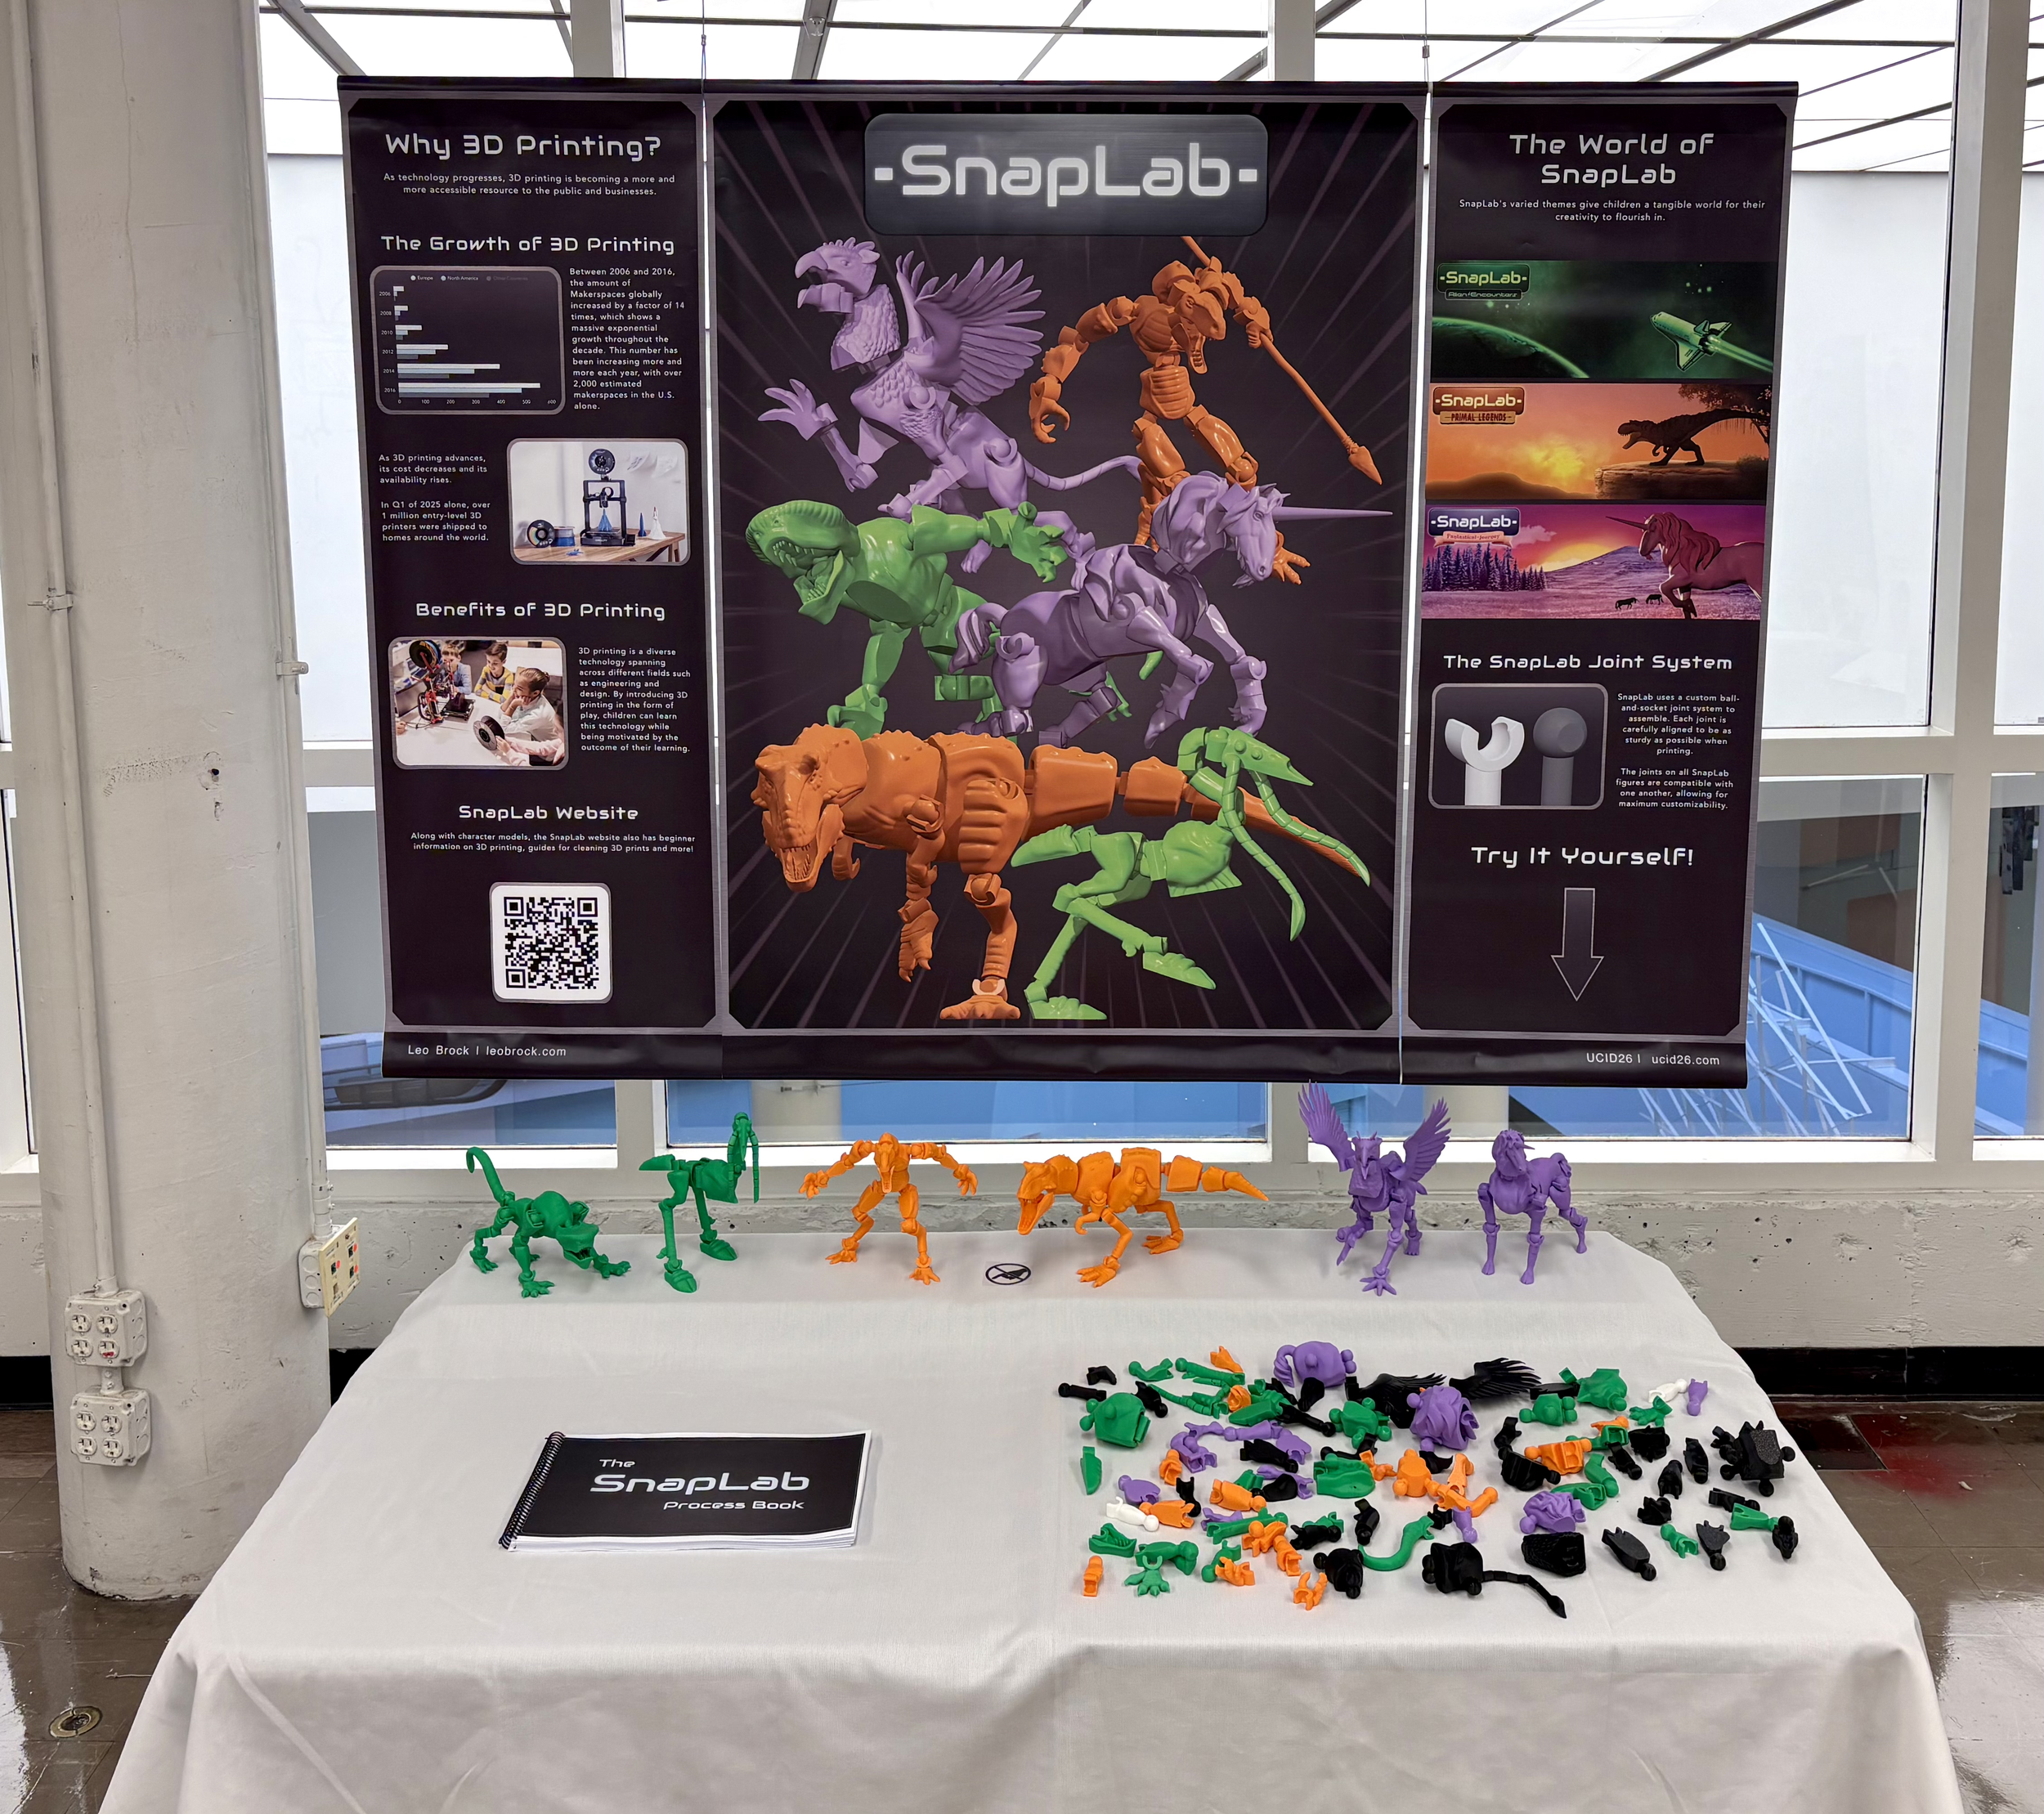
Final Product

Final Toy Figures

Final Website


DAAPWorks Display & 1819 Innovation Award